








Introduction: The Magic and Mechanics of Melt-and-Pour Swirls
For DIY artisans and professional crafters alike, creating a color swirl melt-and-pour soap project offers an immediate sense of creative satisfaction. Visually striking, beginner-friendly, and profoundly rewarding, the process always feels a little bit magical when the mold is finally stripped away and a fresh loaf is sliced into individual bars.
However, achieving those crisp, clean, professional-grade swirls requires a precise understanding of the physical and chemical properties unique to melt-and-pour soap bases. While traditional cold process soap crafting relies on reaching "trace"—a pudding-like consistency that grants artisans an extended window for intricate designs—melt-and-pour soap behaves entirely differently. It cools, sets, and hardens at a much faster rate, demanding swift execution, strategic timing, and strict temperature control.

Understanding these dynamics separates amateur crafts from high-end, boutique-quality creations. By mastering the delicate "sweet spot" of temperature management and tool handling, creators can unlock the secrets to crafting stunning, multi-toned masterpieces—such as dreamy cloud-like lavender relaxation bars—without ending up with a prematurely hardened block of soap.
Main Facts: What Sets Melt-and-Pour Swirling Apart?
To successfully execute a color swirl using melt-and-pour soap bases, crafters must navigate several foundational constraints:

- The Limited Thermal Window: Unlike cold process methods that allow for leisurely artistic expression, melt-and-pour bases transition rapidly from liquid to solid. If the temperature drops too low before the design is set, the material freezes; if it remains too high, the colors bleed together into an undesirable, muddy blur.
- The Power of Temperature Control: Precision is non-negotiable. Maintaining a pouring temperature of approximately 120°F is critical for achieving distinct, defined swirls without premature solidification.
- Material Uniformity: Mixing different types or brands of soap bases—such as combining goat’s milk with clear glycerin—introduces conflicting densities. This causes certain colors to sink or float unevenly, ruining the internal topography of the finished bar.
- Minimalist Intervention: Over-manipulating the soap with a skewer or chopstick will rapidly muddy the color separation. Professional results rely on a maximum of one to two light, deliberate passes through the mixture.
Chronology: Step-by-Step Execution of the Swirling Process
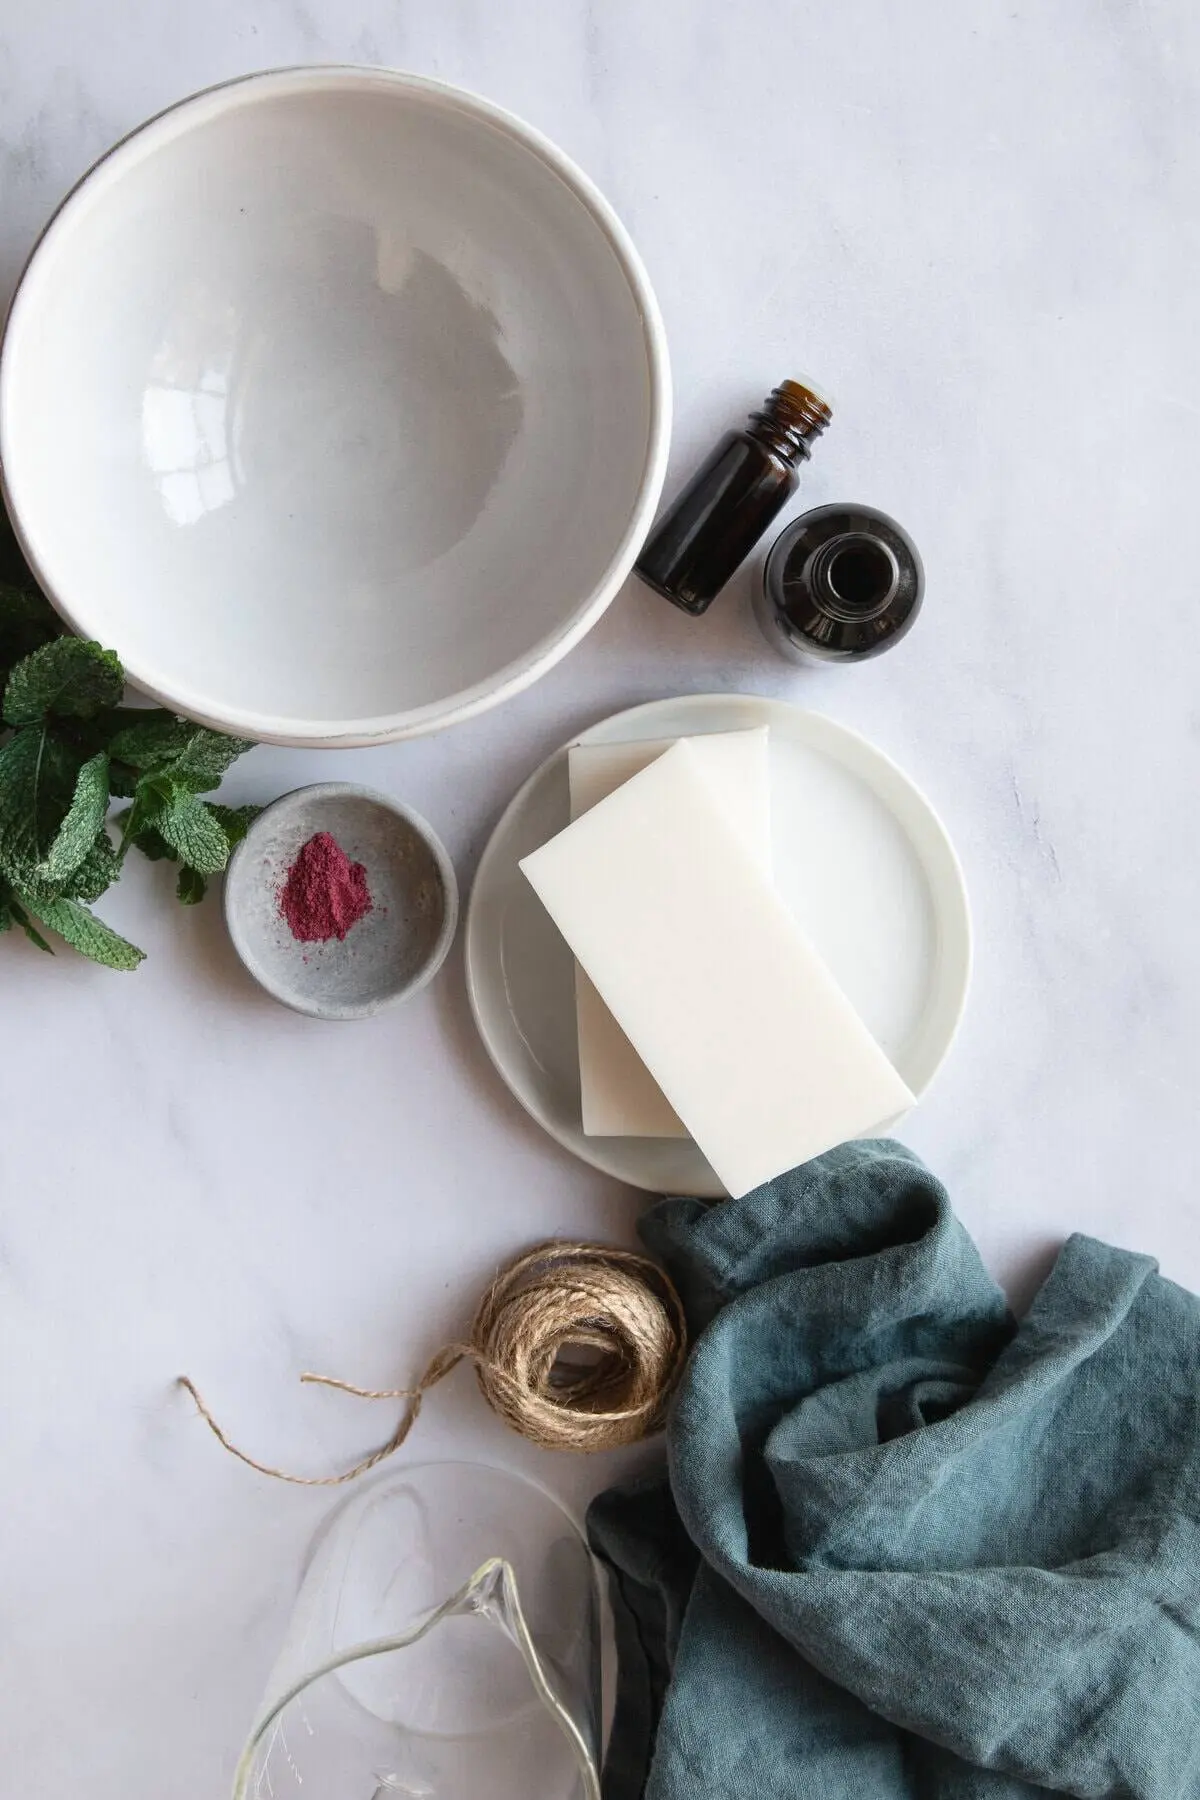
Executing a flawless swirl requires meticulous organization. Because melt-and-pour bases set rapidly, all ingredients, tools, and workspace elements must be prepped and arranged prior to melting the first cube.
Phase 1: Preparation and Melting
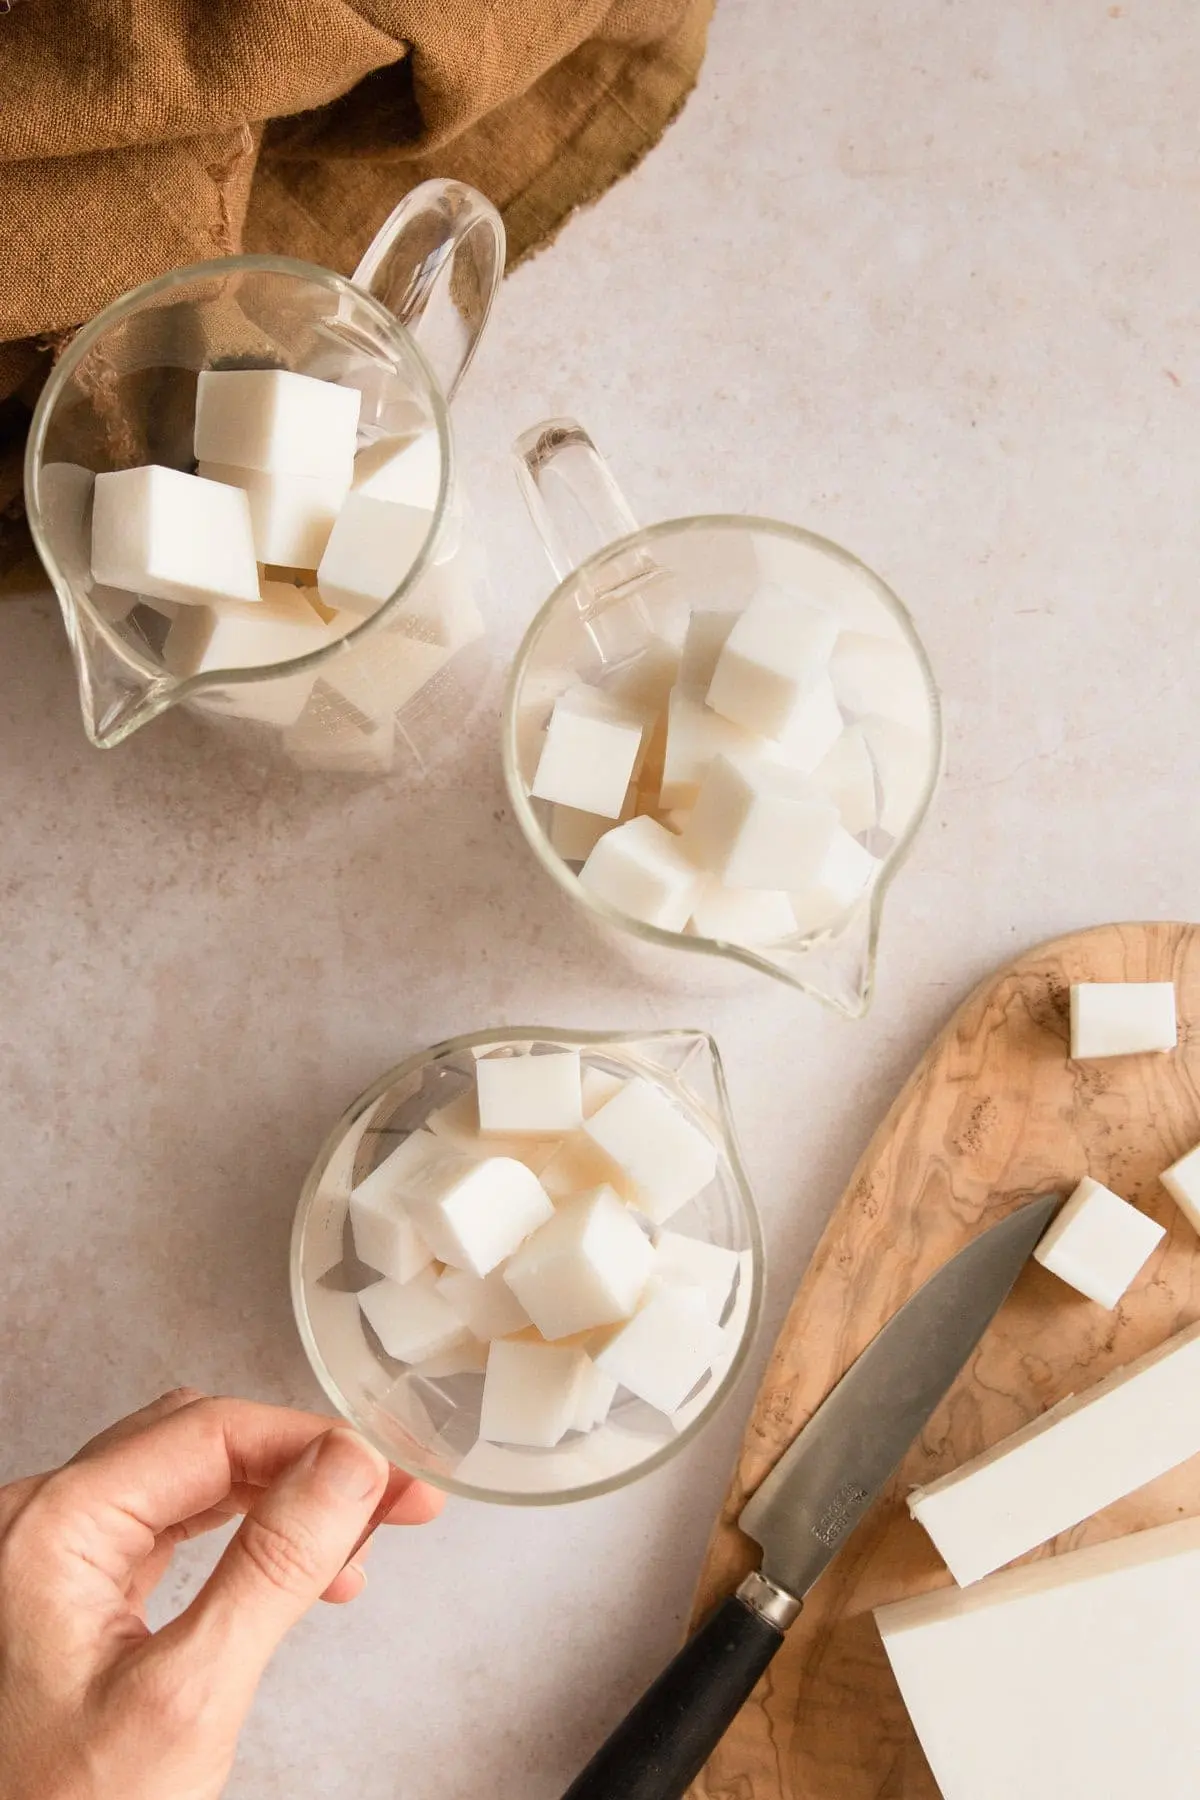
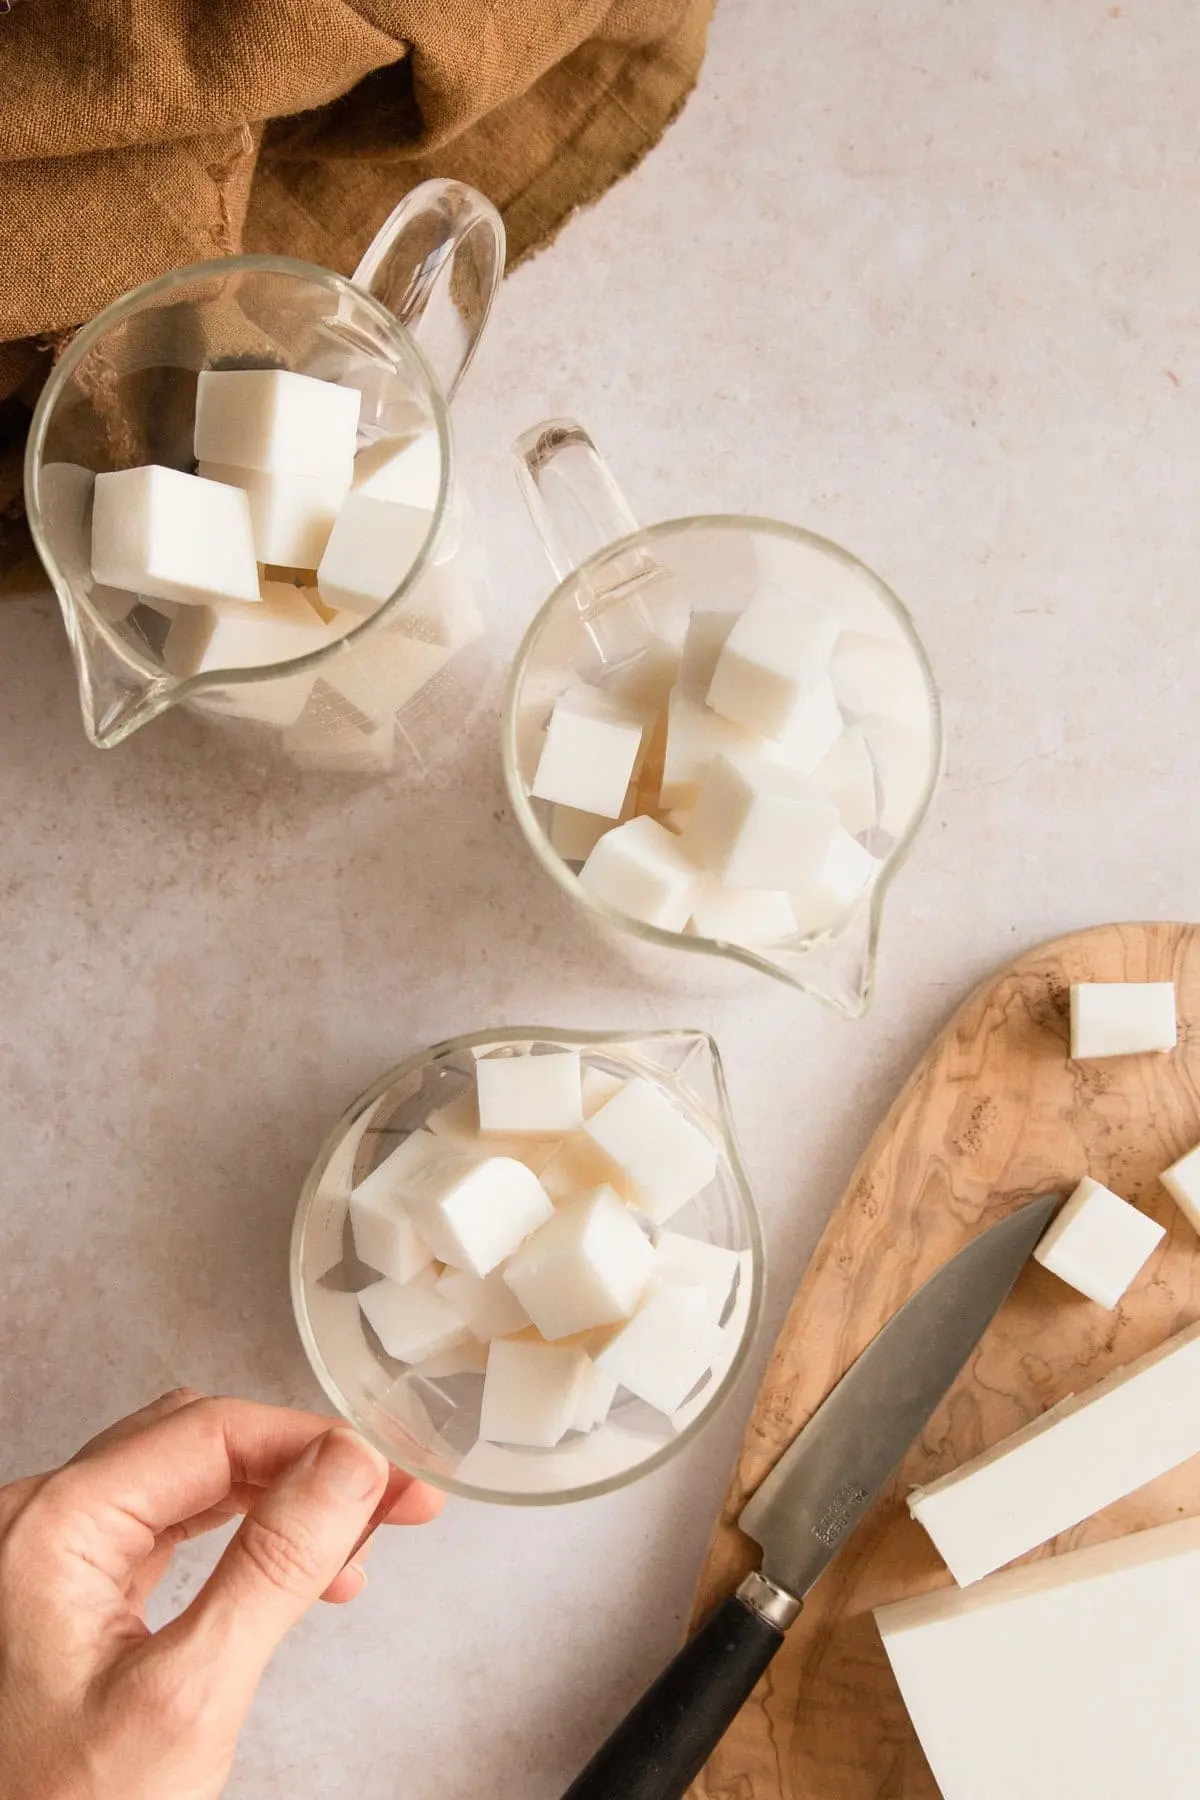
Begin by cutting the raw soap base into small, uniform cubes. Divide the cubes into separate microwave-safe containers, allocating one container for each designated color. This uniform sizing ensures that every portion melts at an identical rate.

Heat the containers in short, controlled bursts—typically 30 seconds at a time—stirring thoroughly between intervals to prevent scorching. Alternatively, a traditional double-boiler setup can be utilized for gentler, more gradual melting.
Phase 2: Pigmentation and Fragrance Integration
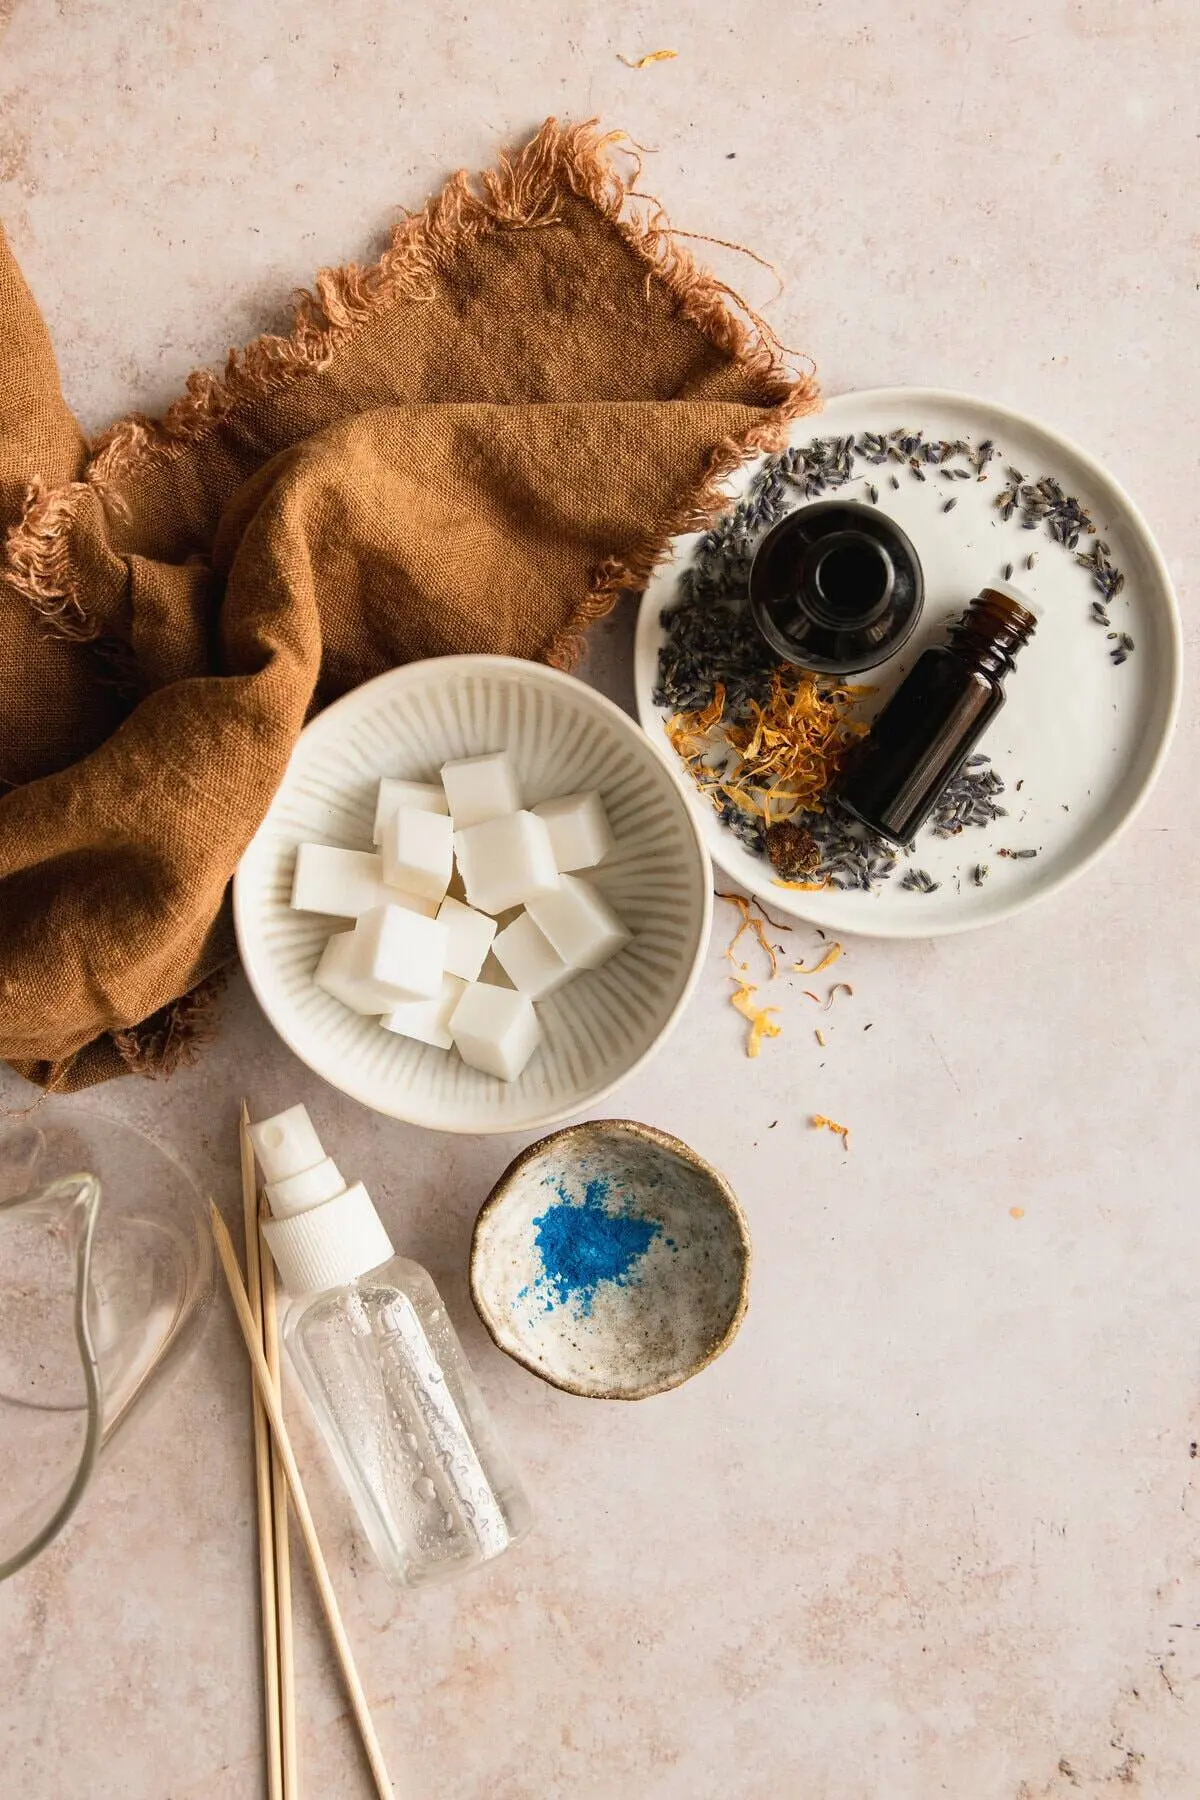
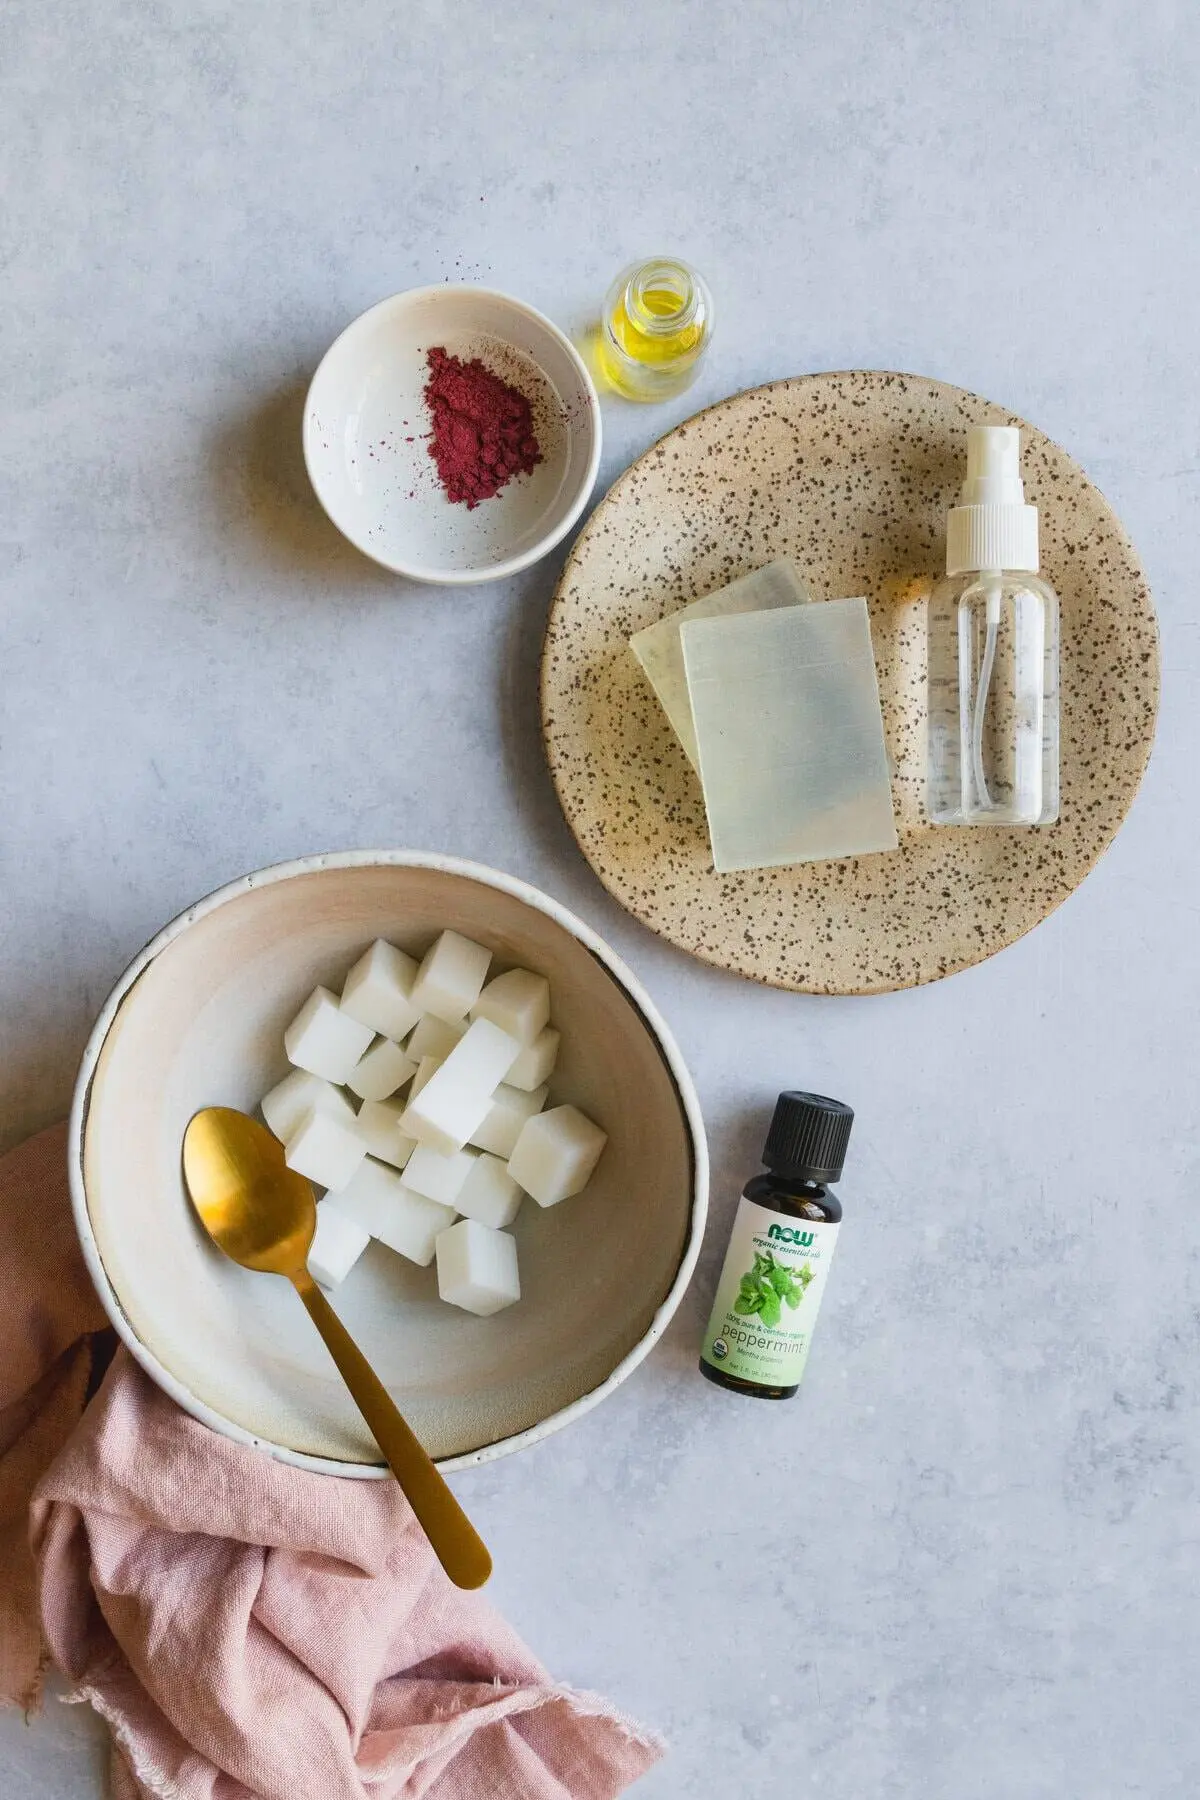
Once the soap base has completely liquefied, introduce the chosen mica powders and essential oils to each individual container. Stir vigorously to ensure the colorants and fragrances are homogeneously distributed throughout the base, eliminating any concentrated clumps or streaks of dry powder.

Phase 3: The Critical Cooling Phase
Monitor the temperature of the liquid soap with a dedicated digital thermometer. This is the single most critical juncture of the entire project. Allow the containers to cool undisturbed until they reach the target swirling temperature of roughly 120°F.
- Above 135°F: The excessive thermal energy causes distinct colorants to bleed into one another, creating a muddy aesthetic.
- Below 110°F: The soap begins premature surface gelling and solidification, rendering fluid motion impossible.
Phase 4: Pouring Strategies
Crafters generally choose between two primary pouring philosophies:

- The Divider Method: Utilizing physical inserts within the mold to segregate colors and prevent premature blending. While ideal for geometric layouts, this method requires tight seals, as fluid soap frequently breaches poorly fitted dividers.
- Free-Form Layering: Pouring alternating colors freely from varying heights. High-velocity pours from elevated positions generate dynamic internal movement, while low-level pours keep color distribution localized and contained.
Phase 5: Executing the Swirl
Insert a wooden skewer, chopstick, or specialized swirling tool into the pooled soap. Glide the tool smoothly through the medium, pulling one color into another rather than stirring in a circular motion. Limit interventions to a maximum of one or two gentle, deliberate passes to preserve crisp lines.
Phase 6: Final Surface Treatment and Curing
Immediately spritz the exposed surface of the soap with 99% isopropyl alcohol to break surface tension and instantly dissolve any unwanted bubbles. Place the mold on a completely flat, vibration-free surface and allow it to cool and cure undisturbed for several hours or overnight. Avoid relocating or bumping the mold during this vulnerable setting phase.

Supporting Data: Technical Parameters for Success
To maintain high standards of quality control in artisanal soap production, crafters should adhere to the following empirical guidelines:
| Parameter | Recommended Standard | Rationale |
|---|---|---|
| Pouring Temperature | ~120°F (49°C) | Balances fluid workability with color definition; prevents premature hardening. |
| Alcohol Purity | 99% Isopropyl | Rapidly eliminates surface bubbles without introducing excess moisture that causes sweating. |
| Swirling Passes | 1 to 2 passes maximum | Prevents over-mixing, which leads to muddying and loss of distinct color lines. |
| Base Consistency | Single brand/type across all cups | Ensures identical density profiles, preventing differential settling (sinking or floating). |
Official Recommendations and Expert Insights from Master Artisans
Leading voices in the handmade cosmetics and crafting communities emphasize that troubleshooting is an inevitable part of the learning curve. Professional soapmakers offer several insights regarding common pitfalls:

- On Muddy Colors: Master crafters reiterate that impatience with temperature is the primary culprit behind washed-out aesthetics. Relying on digital precision thermometers rather than tactile estimation eliminates thermal guessing games.
- On Bleeding Lines: Standard food colorants or water-based dyes are notorious for bleeding over time in melt-and-pour bases. Industry guidelines mandate the exclusive use of non-bleeding cosmetic-grade micas, liquid pigment dispersions, or pre-formulated color blocks designed specifically for glycerin-based soaps.
- On Reheating Solidified Batches: If a container begins to set prematurely before the pour can be executed, do not panic. Return the container to the microwave in 15-second intervals, stirring constantly until a pourable, fluid consistency is restored.
Implications: The Growth of Artisanal Self-Care and Craft Economics
The resurgence of interest in advanced melt-and-pour techniques reflects broader consumer trends within the trillion-dollar global wellness and self-care market. As consumers increasingly prioritize transparency, personalization, and sustainability, home-crafted cosmetics have evolved from simple kitchen-table hobbies into sophisticated micro-enterprises.
1. Market Accessibility Versus Professional Aesthetics
While traditional cold process soap making requires strict handling of sodium hydroxide (lye)—a hazardous chemical that deters casual hobbyists—melt-and-pour techniques democratize the art form. By removing the safety barriers associated with lye handling, a wider demographic of makers can focus entirely on design complexity, color theory, and scent profiling. This accessibility drives vibrant online communities, educational content creation, and small-scale e-commerce storefronts on platforms like Etsy.

2. Economic and Environmental Sustainability
Handmade soap production empowers consumers to curate ingredients consciously, avoiding synthetic detergents, harsh surfactants, and excessive single-use plastic packaging. By purchasing bulk soap bases and local botanicals, independent creators reduce their environmental footprint while producing customized items tailored to sensitive skin needs.
3. The Therapeutic Value of Creative Execution
Beyond the commercial implications, tactile crafting offers measurable psychological benefits. The focus required to monitor temperatures, coordinate color pairings, and execute precise physical movements provides a meditative escape from digital saturation. Ultimately, mastering the color swirl melt-and-pour technique bridges the gap between functional hygiene and expressive fine art, proving that everyday self-care products can also be miniature visual masterpieces.