






In the expansive landscape of modern artisanal crafts, few pursuits combine tactile gratification with visual artistry quite like soap making. While traditional cold-process soap making remains a revered, chemistry-heavy discipline requiring weeks of curing time, a parallel movement has quietly captured the imaginations of crafters and independent beauty brands alike: melt-and-pour soap crafting. Offering instant gratification without the handling of raw lye, melt-and-pour techniques have evolved far beyond simple solid blocks. Today, top artisans are elevating the medium by embedding intricate, colorful shapes and multidimensional scenes into their bars.

Yet, transforming a flat bar of soap into a vibrant canvas housing a floating star, a delicate butterfly, or a sculptural rose is not without its technical hurdles. Subtle variables—ranging from the chemical composition of the soap base and precise pouring temperatures to exact cooling intervals—ultimately dictate whether a design succeeds or fractures.

This comprehensive guide examines the technical roadmap, core methodologies, and expert troubleshooting protocols required to master embedded shapes in melt-and-pour soap like a seasoned professional.

Choosing Your Foundation: Selecting the Optimal Soap Base
The integrity of any embedded soap design begins long before the first pour; it relies fundamentally on selecting the correct foundational soap base. Melt-and-pour bases are pre-saponified blocks designed to be divided, liquefied via gentle thermal application, customized with cosmetic-grade colorants or fragrances, and reset within specialized molds.

While the market offers a diverse array of bases—including goat milk, honey, oatmeal, and shea butter—mastering embedded shapes requires an understanding of two primary categories:

1. Opaque White Bases (Goat Milk, Shea Butter, Oatmeal)
Characterized by their rich, creamy opacity and softer tactile profile, white soap bases typically incorporate skin-nourishing emollients, butters, or botanical extracts. Because they possess a slightly lower melting point and a softer physical consistency compared to their clear counterparts, white bases are predominantly utilized for creating the foundational elements or outer layers of a soap bar, rather than structural internal embeds.

2. Clear Glycerin Bases
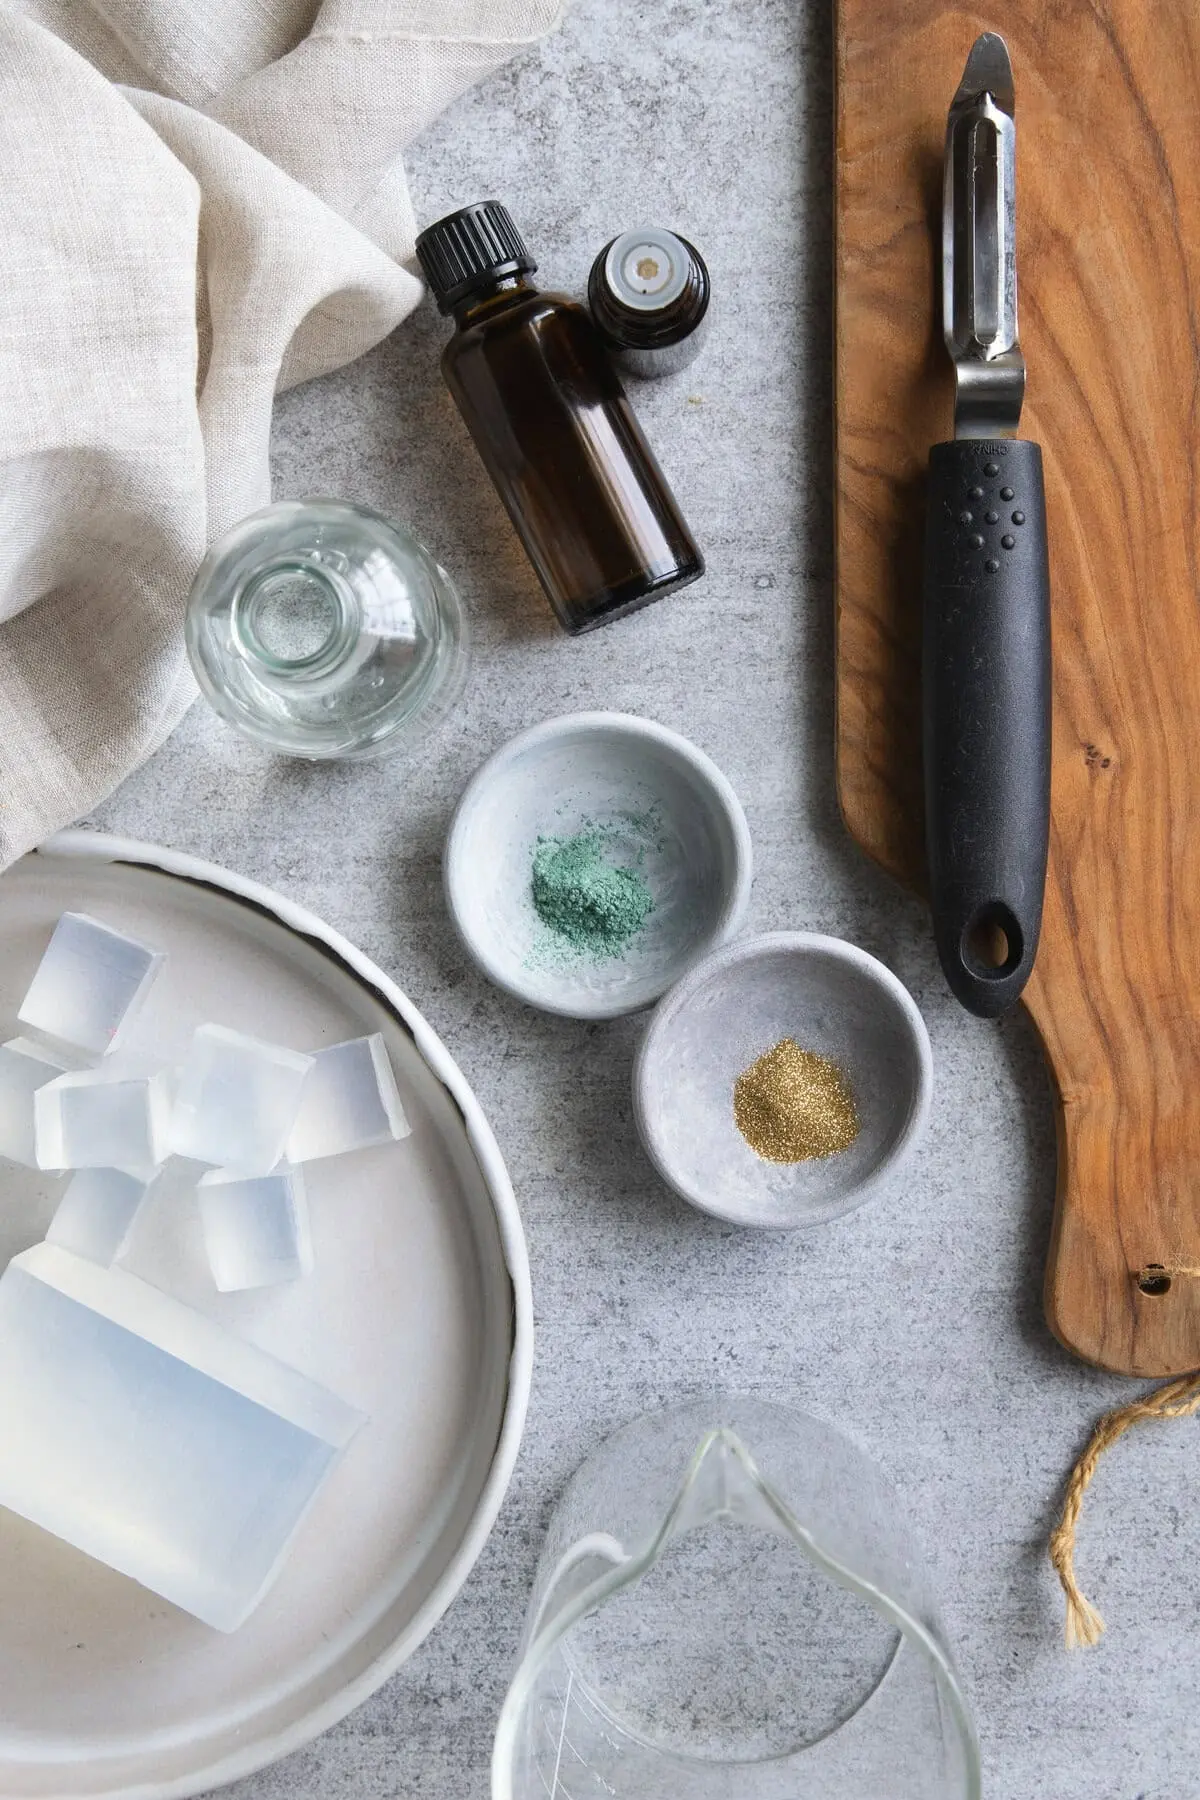
Formulated with a high concentration of glycerin—a powerful humectant naturally derived from plant and animal lipids—clear soap bases are structurally firmer than white bases. This increased density means they absorb and retain thermal energy longer, cool at a more controlled rate, and exhibit superior shape retention. Furthermore, transparent glycerin bases allow color pigments to appear remarkably vibrant and luminous. Consequently, clear bases serve as the gold standard for housing embedded shapes, allowing light to pass through and highlight internal designs. Once foundational proficiency is achieved, however, creators can interchange bases to suit artistic goals.

Architectural Molds: Structuring Your Craft
Achieving professional results requires pairing the correct casting equipment with the desired aesthetic outcome. Molds fall into two distinct functional categories: those used to manufacture the embedded shapes themselves, and those used to cast the final soap body.

Shaping Equipment
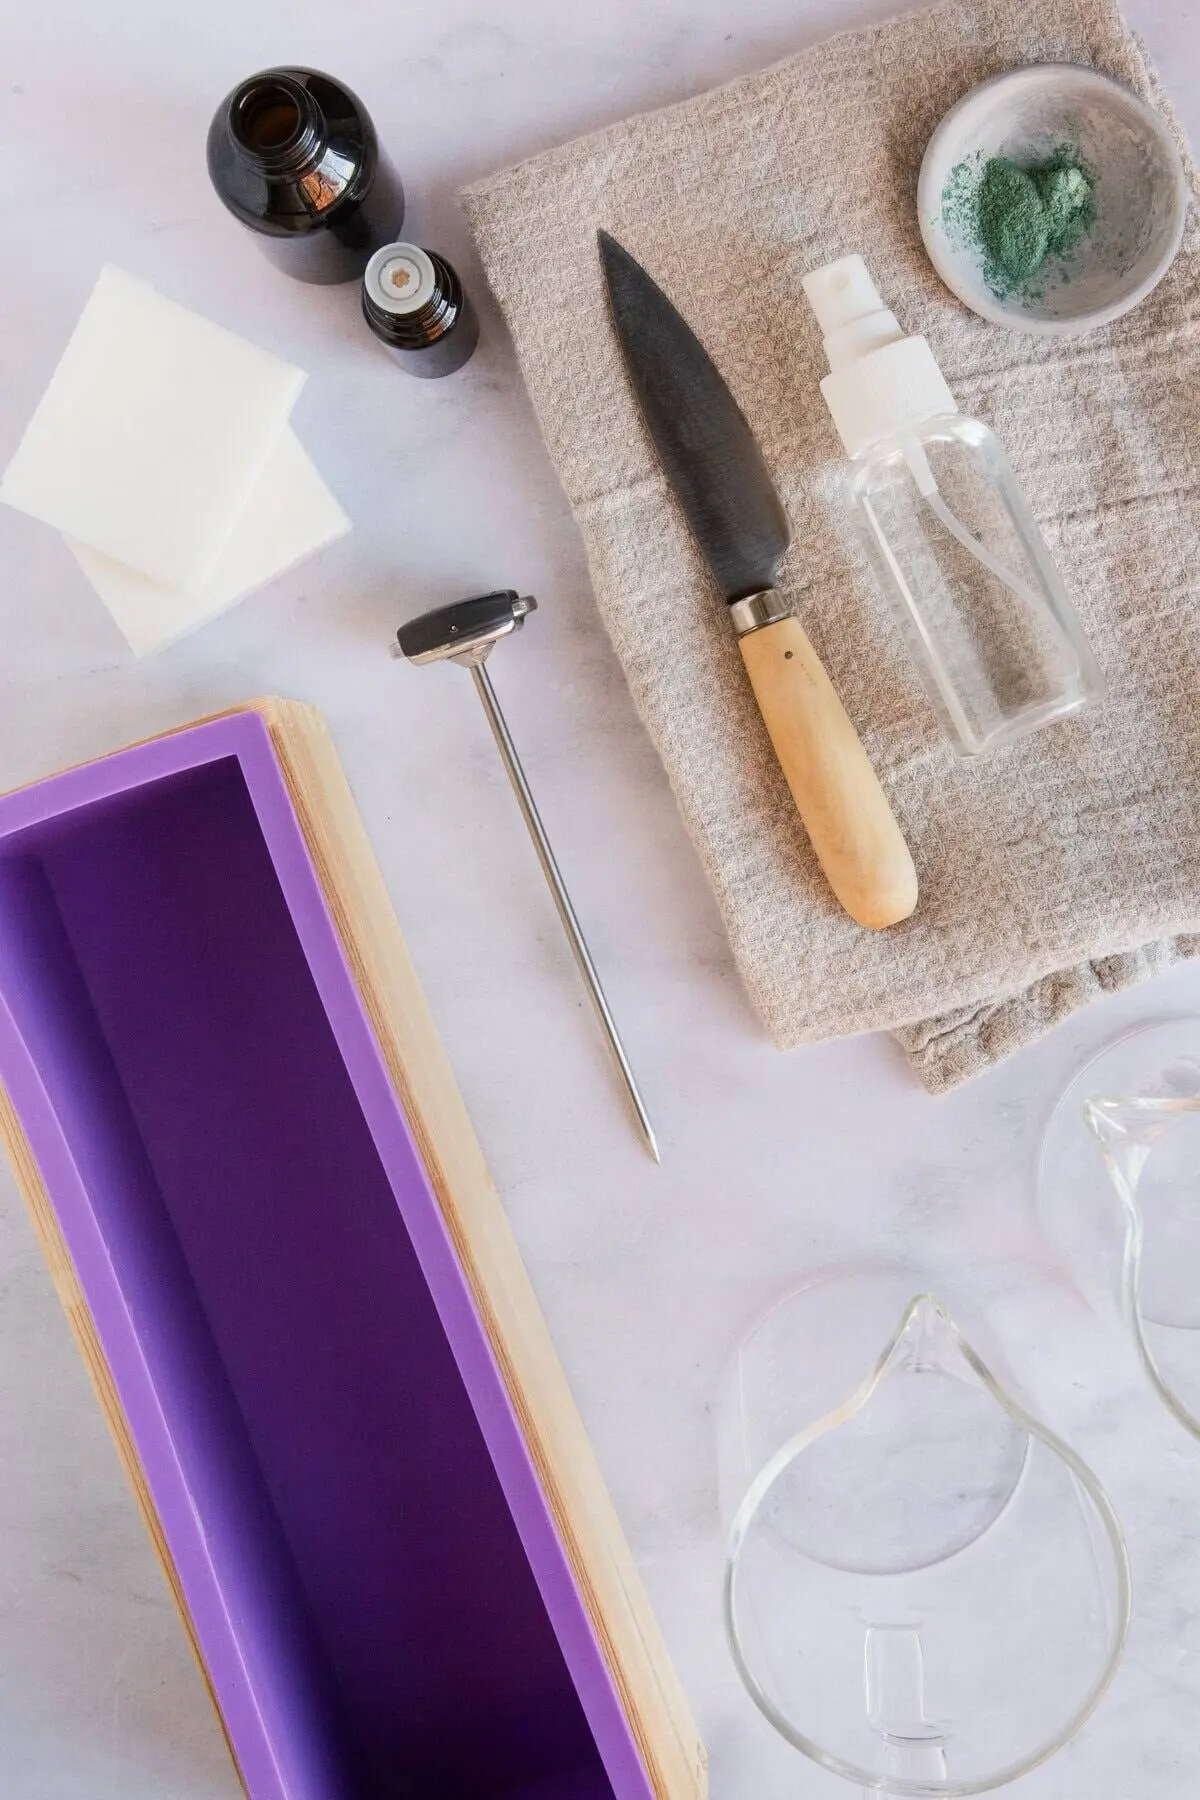
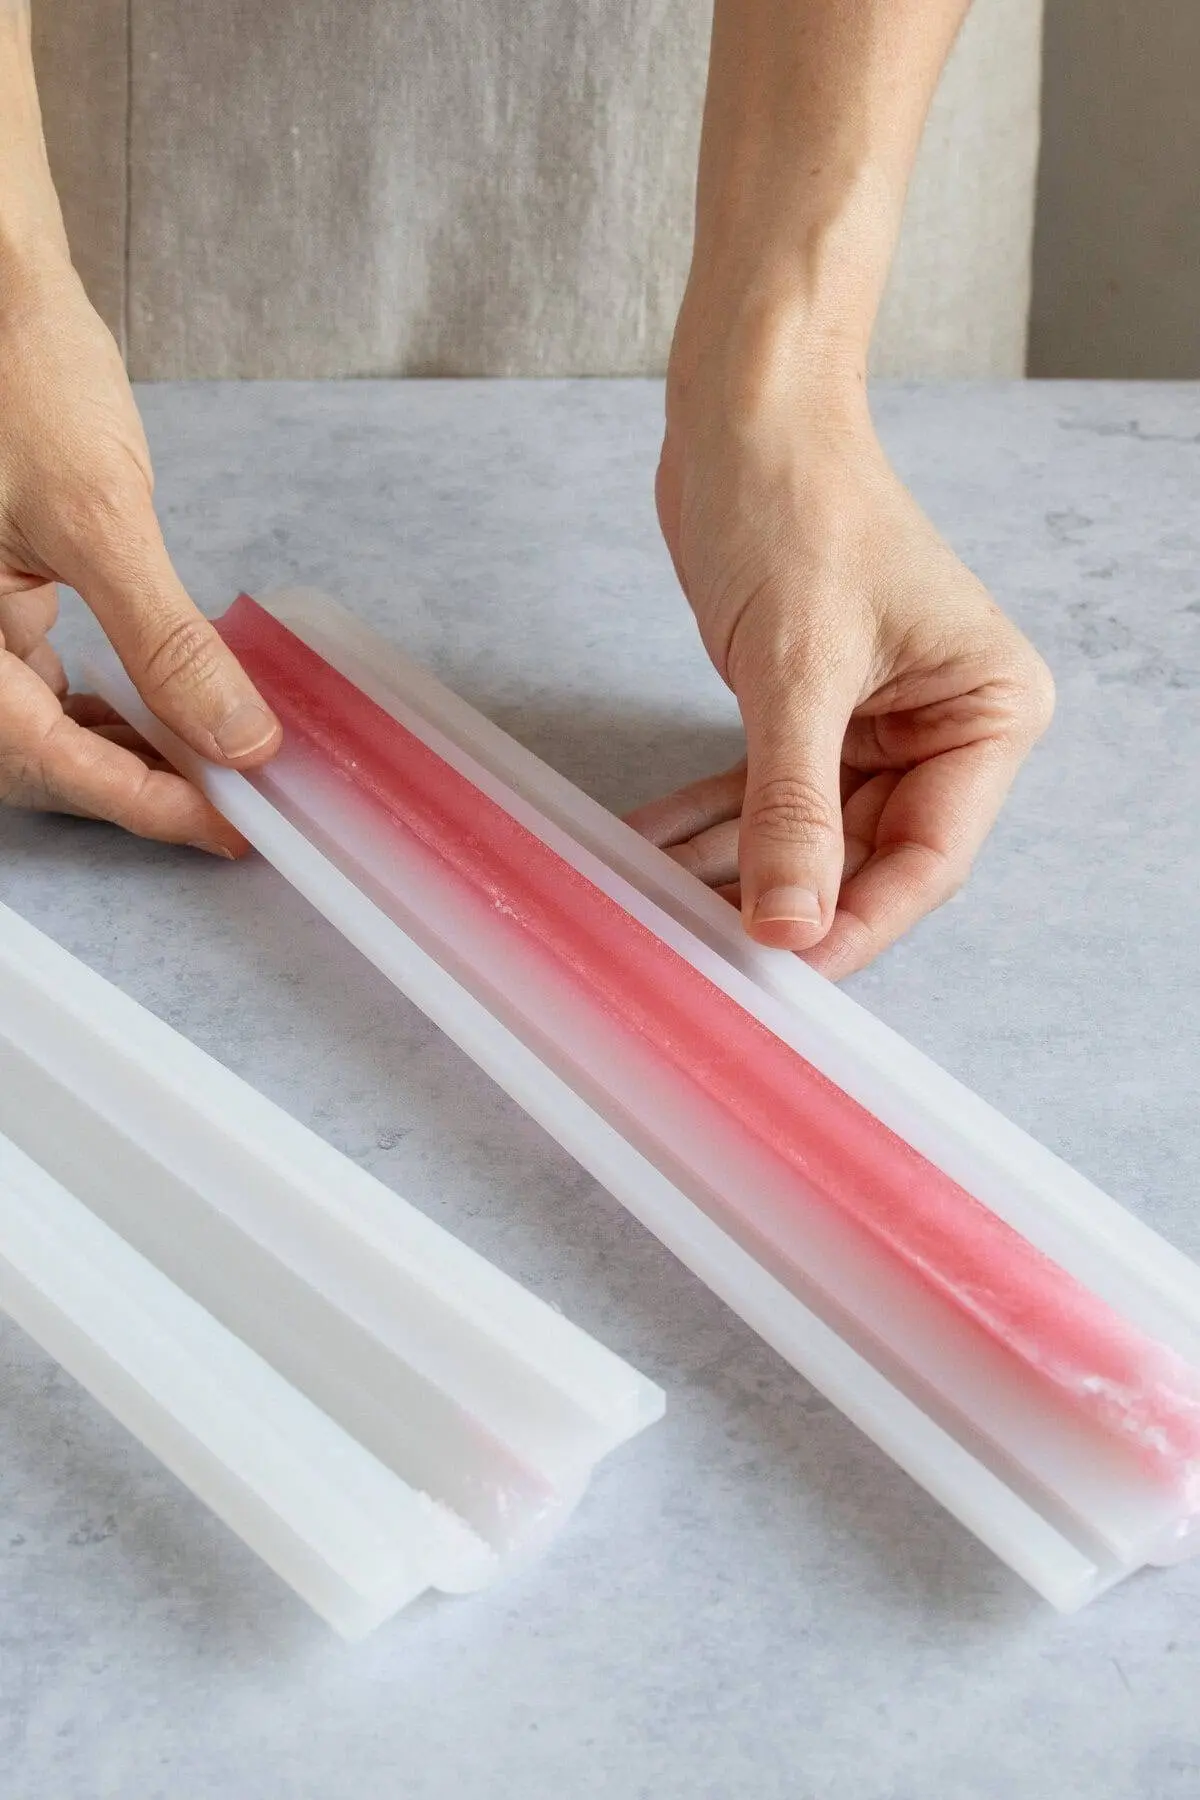
- Column Molds: These flexible silicone instruments feature interlocking seals that snap together to form a continuous cylindrical channel. Liquid soap is poured into the core, allowed to cure, and then unpeeled to reveal a long, uniform shape that is subsequently sliced for rectangular loaf integration.
- Silicone Cake Decorating and Candy Molds: Ideal for crafters eschewing large blocks in favor of individual bars, these shallow silicone trays produce delicate, flat motifs that can be layered directly onto individual soap cavities.
- Non-Soap Alternatives: Advanced artisans frequently incorporate alternative objects, such as natural loofahs, to add textural scrubbing elements within the soap matrix.
Final Pour Molds
- Rectangular Loaf Molds: Large, monolithic block molds that accommodate multiple bars per pour. Once fully set, the entire block is extracted and hand-sliced using a straight soap knife, revealing repeating cross-sectional patterns.
- Single-Bar Cavity Molds: Individual compartments that eliminate the need for post-pour cutting, ensuring clean, uniform edges straight out of the mold.
Thermal Management and Soap Preparation
Because melt-and-pour soap is predominantly liquefied via microwave heating, crafters frequently encounter thermal hotspots, clumping, and unwanted atmospheric air bubbles. Proper preparation is critical to safeguarding the structural integrity of the base.

To prep soap safely:

- Chop uniformly: Cut the base into small, evenly sized cubes to ensure balanced melting rates.
- Apply low, incremental heat: Microwave the soap in short, 30-second bursts, stirring thoroughly between intervals to prevent scorching or moisture loss.
- Manage viscosity: If repeated reheating causes the soap base to thicken undesirably, restore optimal consistency by whisking in approximately one-half teaspoon of distilled water per pound of soap base.
Three Essential Techniques for Embedding Shapes
Mastering three core methodologies provides artisans with the technical repertoire required to execute virtually any complex soap design.

Method 1: Column Shapes in Rectangular Loaf Molds
This technique produces a continuous, repeating pattern running straight through the center of every sliced bar.

- Cast the Column: Pour colored liquid soap into a sealed silicone column mold and allow it to cure completely.
- Position the Core: Place the long, solid cylinder horizontally inside the center of a rectangular loaf mold.
- Encase: Pour a contrasting color of melt-and-pour soap around the column until submerged. Once set, slice the loaf transversely to reveal the uniform internal shape.
Method 2: Multi-Stage Layering in Single-Bar Molds
This approach yields clean, professional, floating-element designs within individual bars.

- Create Flat Embeds: Melt an opaque white base, tint with cosmetic mica, pour into shallow silicone molds (such as butterflies), and let set.
- Pour the Base Layer: Melt a clear glycerin base, fill a single-bar mold cavity approximately halfway, and spritz with rubbing alcohol to eliminate surface bubbles. Let cool for 20 minutes to form a sturdy surface film.
- Arrange Embeds: Position two to three pre-made flat shapes onto the set foundation.
- Encase: Ensure the remaining clear soap base measures between 130°F and 140°F (preventing thermal melting of the embeds), pour over the arrangement, spritz with alcohol, and allow to cure fully.
Method 3: Sculptural 3D Shapes
For artisans seeking bold, tactile art pieces where elements physically break the surface plane of the soap.

- Cast 3D Elements: Pour tinted soap base into a 3D mold (such as a rose), let cure for one hour, and remove. If necessary, slice elements in half to achieve flat mounting bases.
- Cast the Lower Body: Prepare a secondary batch of colored soap, fill a single-bar cavity three-quarters full, spritz with alcohol, and let cool for 10 to 15 minutes.
- Mount the Sculpture: Verify that the second soap layer is stable, pour a thin skim coat of soap, and immediately press the 3D element onto the surface, allowing it to anchor securely as it cools.
Professional Best Practices for Flawless Execution
Achieving gallery-quality results demands strict adherence to physical and chemical controls:

- Precision Temperature Control: While some literature suggests pouring at 125°F, professional experience demonstrates that 140°F represents the optimal sweet spot. Temperatures exceeding this threshold will melt internal embeds, warp silicone, and generate excessive bubbles, while temperatures below 130°F cause premature gelling.
- The Science of Skin Formation: Always allow intermediary soap layers to cool until a sturdy surface skin forms. Touching the film lightly with a clean finger ensures it can physically support subsequent pours without sinking or drifting. For delicate pieces, chilling embeds in a refrigerator for five minutes prior to pouring prevents thermal deformation.
- The Alcohol Imperative: Keep a spray bottle of high-percentage rubbing alcohol nearby. Misting soap surfaces before and after pours eliminates surface tension, eradicates micro-bubbles, and promotes strong chemical adhesion between distinct layers.
Troubleshooting Common Crafting Failures
| Issue | Root Cause | Corrective Action |
|---|---|---|
| Embeds Sinking or Shifting | Soap base is excessively hot or poured too thinly. | Allow the base layer to form a rigid surface film before placing embeds; ensure pour temperatures do not exceed 140°F. |
| Cloudy Clear Soap Base | Overheating or aggressive microwave agitation. | Melt base slowly in short intervals; stir gently to maintain optical clarity. |
| Layer Cracking or Separation | The bottom layer cooled completely before the next pour. | Pour subsequent layers while the foundational layer remains slightly warm to the touch; mist with alcohol between pours. |
Frequently Asked Questions
How long does it take for melt-and-pour soap to fully cure?
While smaller individual bars set within an hour, large structural loaves require at least four hours of undisturbed setting time. While refrigeration can accelerate this process to approximately 30 minutes, freezers should be strictly avoided, as extreme thermal shock causes severe condensation and post-extraction sweating.

Can botanical oils or raw additives be safely mixed into melt-and-pour bases?
Purists advise caution regarding heavy oil additives, as commercial bases are already chemically balanced. However, incorporating limited quantities (under one teaspoon per pound) of additives rarely compromises structural integrity. Exceeding this threshold results in greasy textures and emulsion failure.

Implications for Independent Artisans and the DIY Market
The accessibility and creative flexibility of melt-and-pour soap embedding have profound implications for the artisanal economy. By removing the steep safety barriers associated with handling sodium hydroxide (lye), hobbyists and micro-entrepreneurs can scale production rapidly, launching artisanal bath and body brands with minimal overhead. As consumer demand for customized, aesthetically driven self-care products surges, mastering advanced melt-and-pour techniques transforms simple cleansing bars into miniature sculptures—proving that functional hygiene and high design can seamlessly coexist.