ST. PAUL, MINN. — As the holiday season approaches, a quiet shift is occurring in kitchens and craft rooms across the country. Consumers are increasingly turning away from mass-produced commercial toiletries in favor of personalized, high-end handcrafted goods. At the vanguard of this movement is a deceptively simple yet stunning home-crafting technique: the layered melt-and-pour soap project. Combining the invigorating aroma of peppermint with the comforting warmth of vanilla, holiday-themed DIY soap projects—specifically those mimicking the iconic aesthetic of candy canes—have surged in popularity as the ultimate personalized gift for educators, neighbors, and loved ones.
Far from being a mere children’s craft, modern melt-and-pour soap making has evolved into an upscale, accessible art form. Industry experts note that while cold-process soap making remains popular among dedicated hobbyists due to its chemical complexity, melt-and-pour bases offer an immediate, stress-free alternative that sacrifices none of the finished product’s aesthetic or tactile luxury. By incorporating sophisticated design elements like geometric color gradients, embedded shapes, and diagonal layers, crafters can achieve boutique-quality results in a fraction of the time.
Main Facts: The Anatomy of a Holiday Melt-and-Pour Project
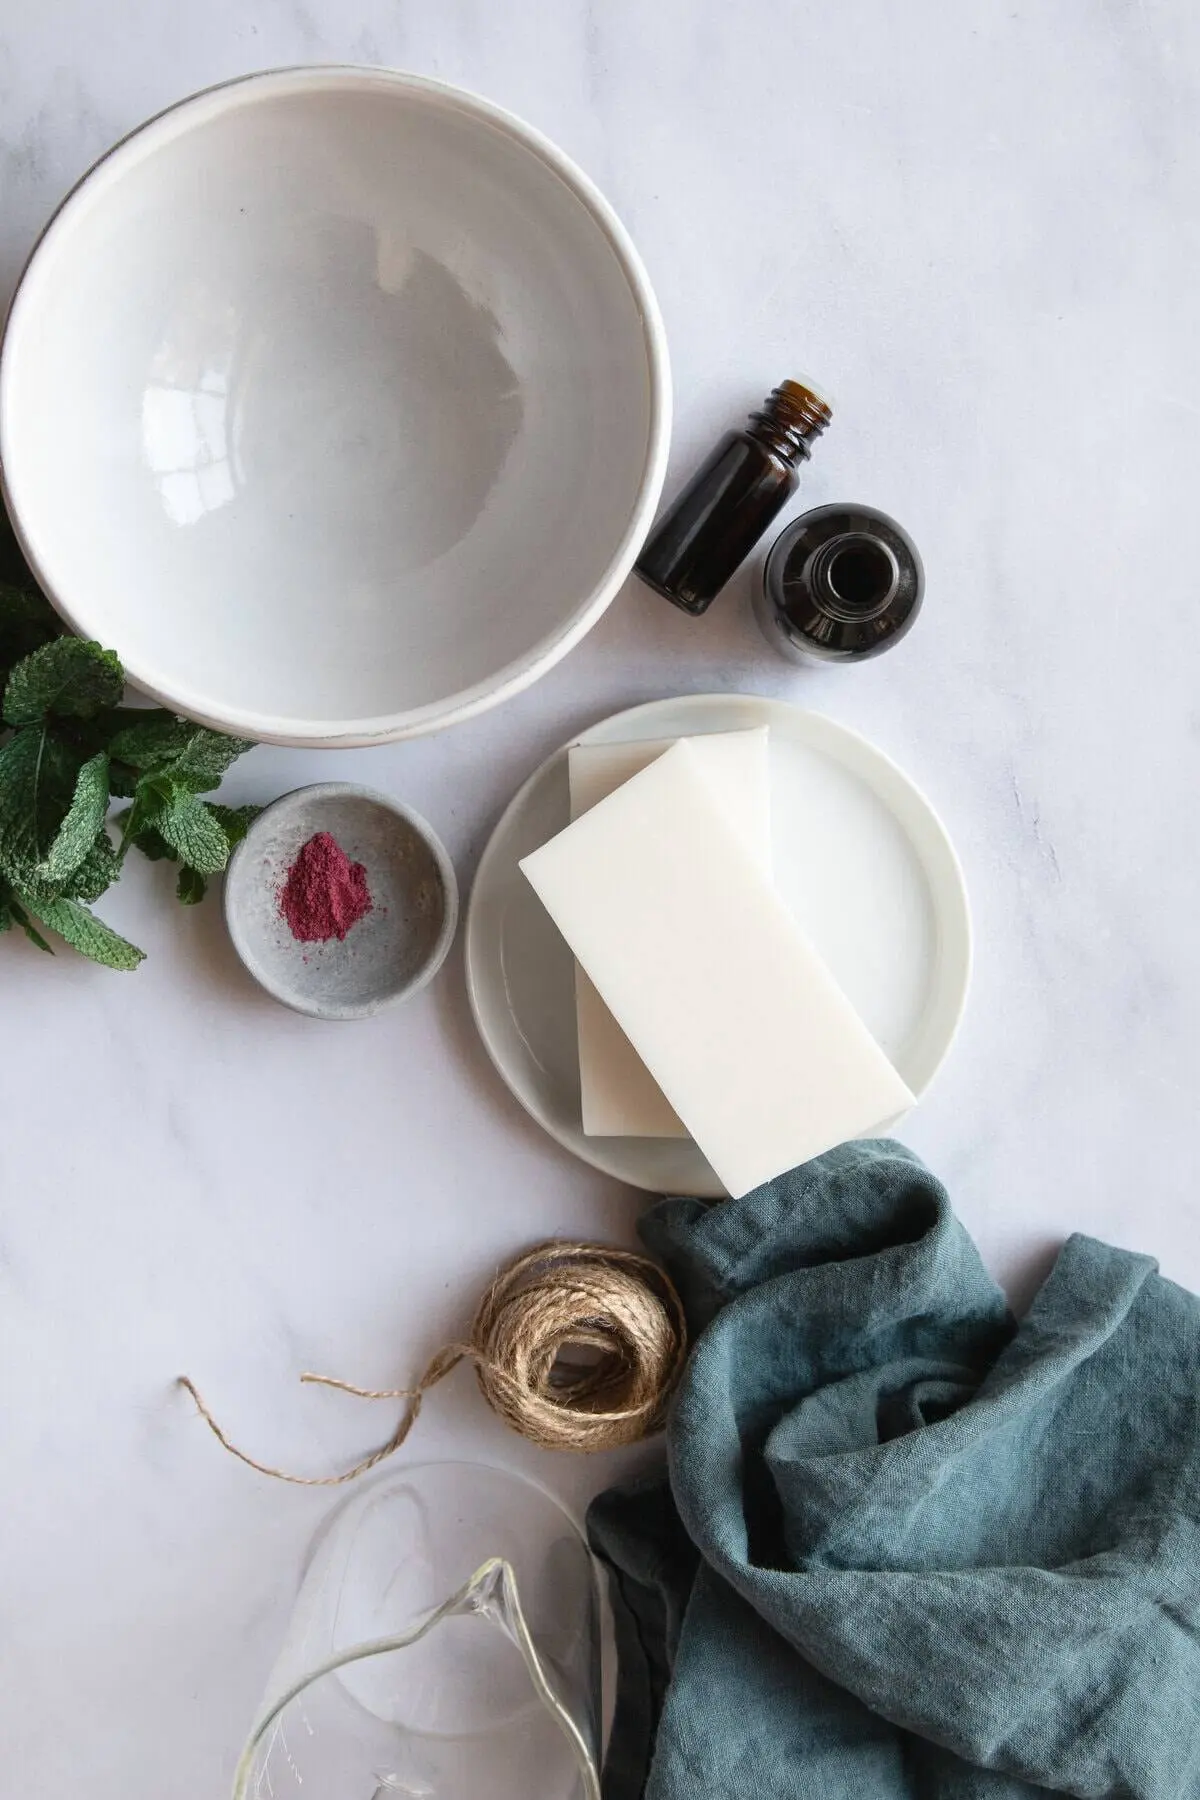
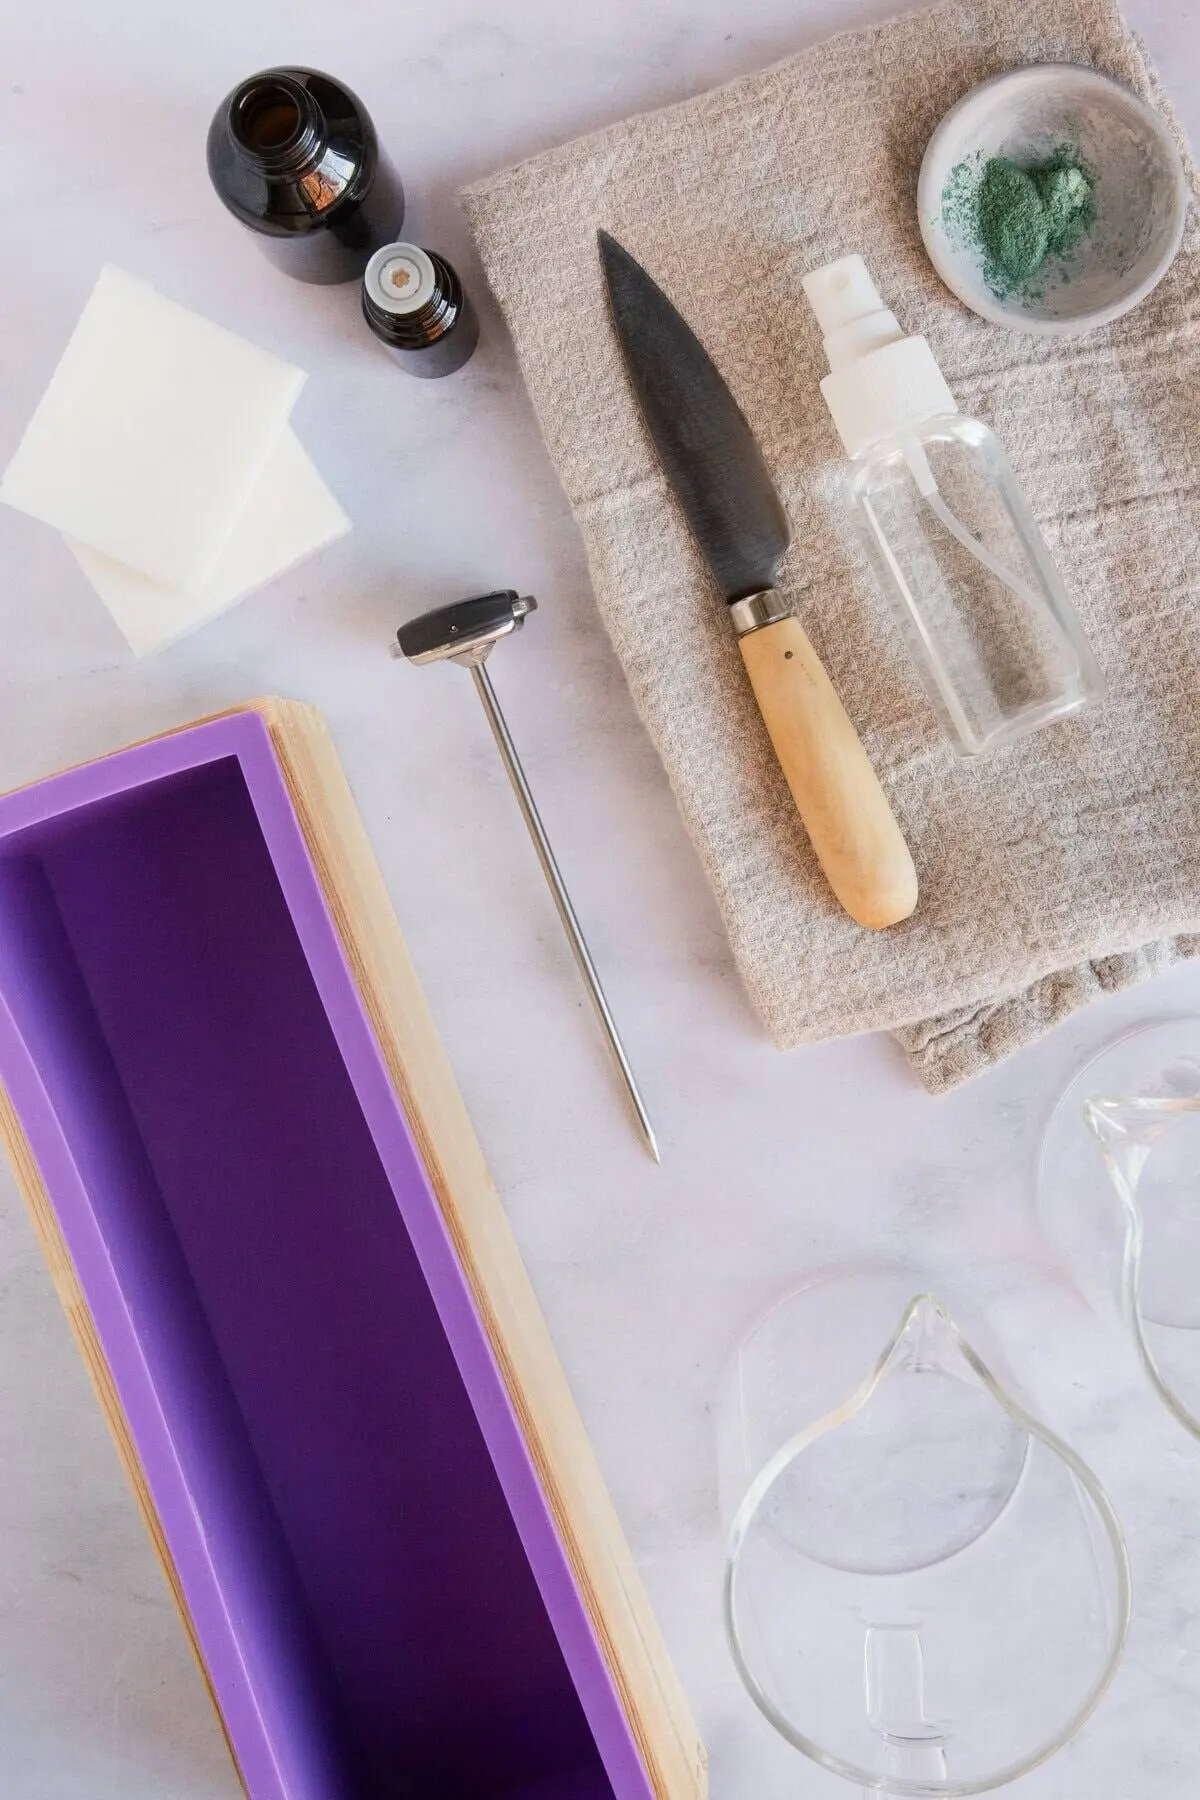
The classic peppermint-and-vanilla layered soap project operates on a straightforward principle: using a pre-manufactured melt-and-pour soap base (typically clear or opaque goat’s milk or glycerin), dividing it into portions, tinting it with cosmetic-grade micas, and scenting it with skin-safe essential oils.
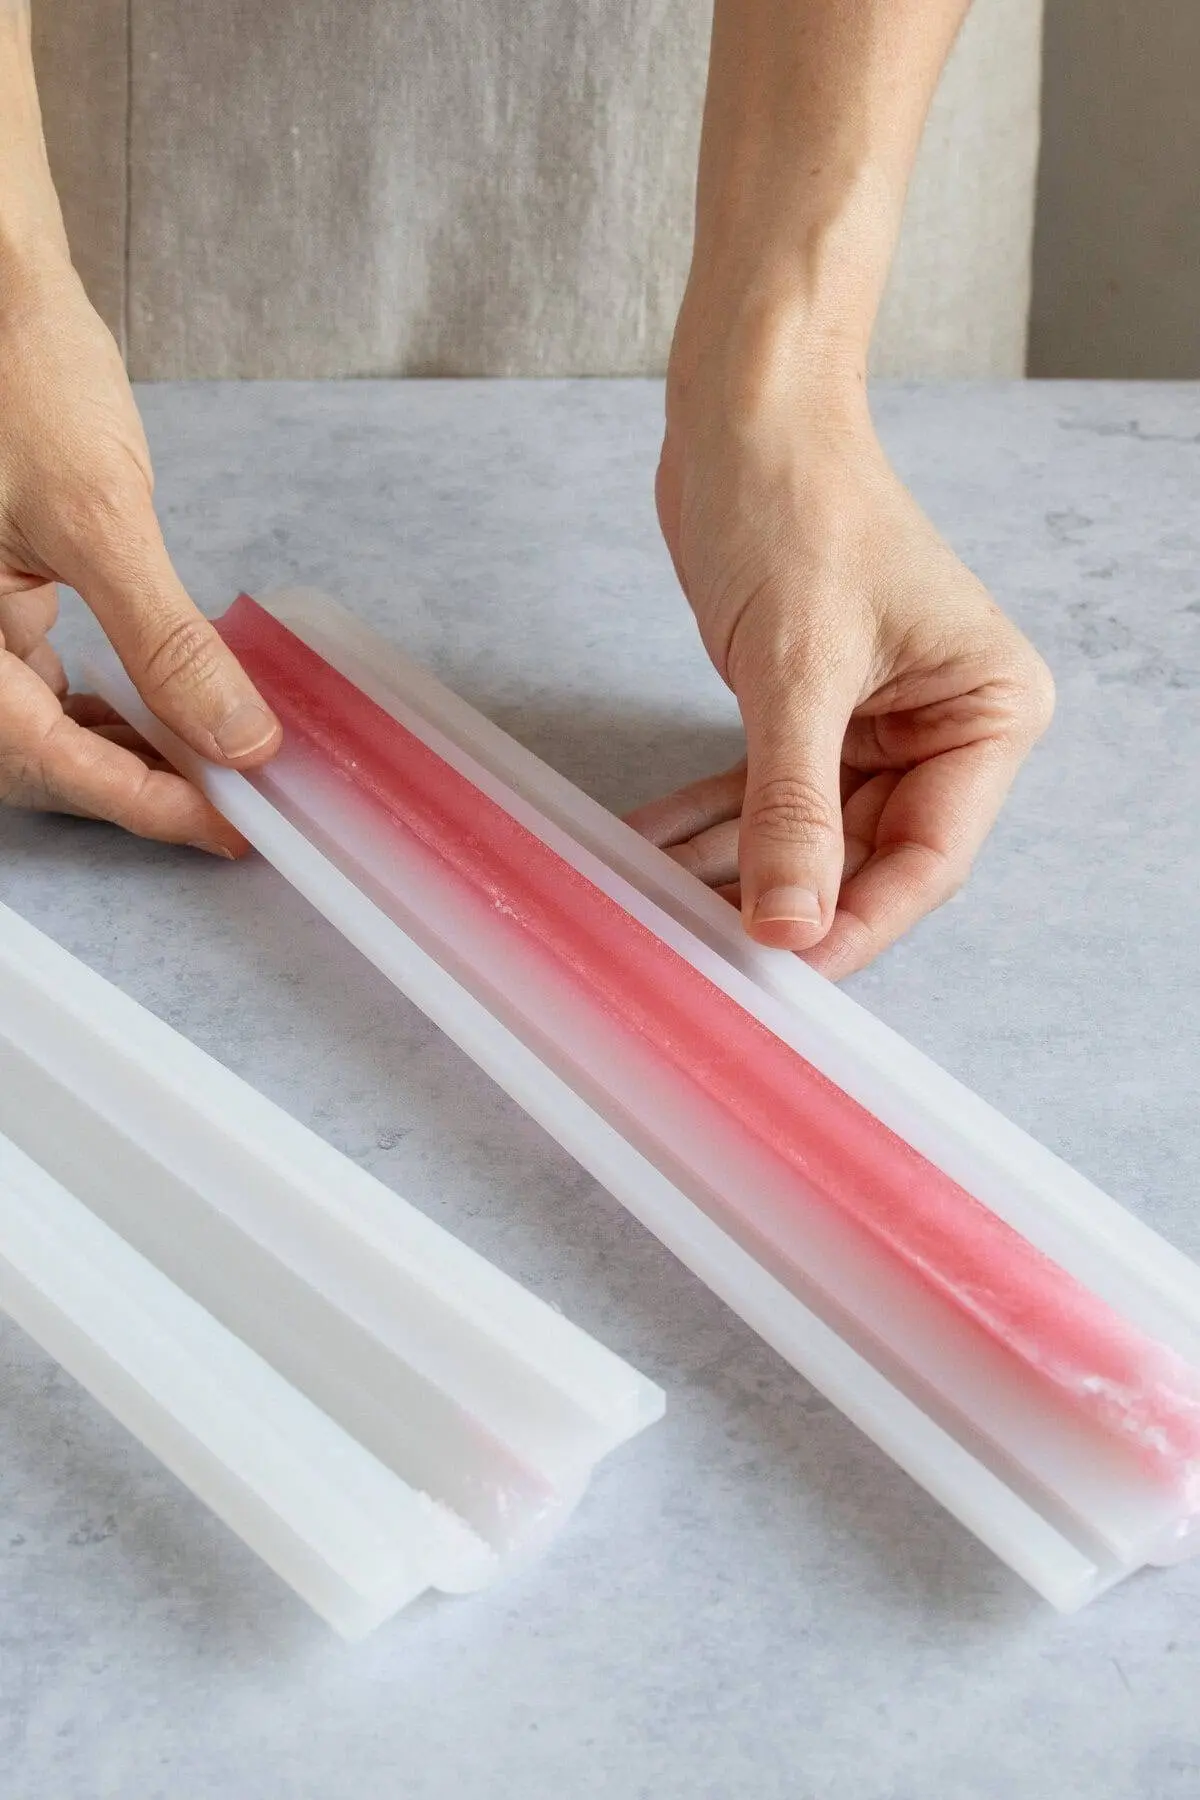
The Semicircle Aesthetic: Utilizing a multi-stage pouring technique, the soap mimics a candy cane’s classic red, pink, and white visual palette.
Time Investment: Unlike traditional cold-process soap, which requires weeks of curing time before it can be safely used or handled, melt-and-pour soaps are ready to cut, wrap, and gift within hours of setting.
Cost Efficiency: With an estimated project cost of around $20 for a yield of approximately eight bars, homemade artisan soap provides a high perceived value for gift-givers operating on a holiday budget.
Customization: Crafters maintain absolute control over ingredients, allowing them to avoid synthetic detergents, parabens, and harsh sulfates commonly found in commercial cleansers.
Chronology: Step-by-Step Execution of Layered Soap Making
Achieving clean, distinct lines in a multi-colored soap bar requires precision, patience, and a strict adherence to timing. Below is the chronological breakdown of how artisans construct these holiday masterpieces.
Step 1: Preparation and Cube Melting
To accelerate the melting process uniformly, the raw soap base is sliced into small, consistent cubes and distributed evenly among separate microwave-safe containers. Each container is heated in short, controlled 30-second intervals, accompanied by thorough stirring to prevent scorching or boiling the base.
Step 2: Pigment and Scent Integration
Once liquefied, the soap bases are individualized using mica powders and essential oils. For a candy cane gradient, one container is left completely unpigmented for a pure white layer. The second container receives a modest dose of red mica (approximately one teaspoon) to yield a soft pink hue, while the third receives a heavier concentration (around two teaspoons) to achieve a deep, vibrant holiday red. Essential oils are stirred into each container simultaneously to lock in the aroma.
Step 3: Angled Pouring for the Initial Base
To create dynamic visual movement within the bar, the silicone soap mold is propped at an angle using a small ramekin or wedge. The first layer is poured into the tilted cavity. Because this initial layer does not immediately abut a contrasting color, temperature regulation is less critical here. A light spritz of rubbing alcohol is applied immediately to the surface to eliminate trapped air bubbles before the layer is left to form a solid film over 10 to 15 minutes.
Step 4: Sequential Layering and Temperature Management
As subsequent portions of the soap base cool toward an optimal threshold of approximately 140 degrees Fahrenheit, the crafter lightly mists the preceding layer with rubbing alcohol. This step is chemically crucial: the alcohol acts as a bonding agent, ensuring the new layer adheres securely to the old one rather than sliding off or separating later. Layers are poured sequentially—alternating white, pink, and red—until the mold is nearly full.
Step 5: Final Flattening and Curing
The propped mold is gently lowered back to a flat, horizontal position for the final top layer. A final mist of rubbing alcohol removes surface bubbles, and the entire block is left undisturbed to cure and solidify for six to eight hours. Once fully cooled, the block is unmolded and sliced into eight distinct, vibrant bars using a straight soap cutter or chef’s knife.
Supporting Data: The Growing Appeal of Handcrafted Self-Care
Market research within the wellness and craft sectors indicates sustained consumer interest in DIY hygiene and cosmetic products. According to specialty craft retailers, sales of melt-and-pour soap bases and cosmetic-grade micas experience a predictable spike of over 40% during the fourth quarter, driven primarily by holiday gift-giving trends.
Project Metric
Specification
Active Prep Time
~2 Hours
Cooling & Setting Time
~6 Hours
Total Turnaround
8 Hours
Yield
8 Standard Bars
Estimated Material Cost
$20.00
Shelf Life
Indefinite (if stored properly)
Experts attribute this growth to a cultural emphasis on mindful consumption. Consumers increasingly value the "slow living" movement, preferring to invest their leisure time into creating tangible, functional items that carry personal sentiment rather than purchasing generic commercial commodities.
Official Responses and Expert Insights: Tips for Flawless Layers
While melt-and-pour soaping is beginner-friendly, seasoned artisans emphasize that minor technical errors can compromise the structural integrity of layered bars. The most common pitfall is improper layer bonding, which leads to "layer separation" when the finished block is sliced into individual bars.
The "Finger Test" Technique:
Renowned DIY soap instructors advise crafters to evaluate the surface temperature and firmness of a layer before introducing a new pour.
"Gently touch the layer with a clean finger," instructors note in official crafting guides. "It should feel slightly soft and warm, but not wobbly or liquid underneath. If it bounces like a waterbed, it needs more time. If it feels completely firm and cool, the window has closed, and the layers may split."
Furthermore, experts stress the non-negotiable role of isopropyl (rubbing) alcohol. Spraying the soap surface before and after every single pour is the singular mechanism that prevents unsightly surface bubbles and guarantees molecular adhesion between contrasting color bands.
Implications: The Shift Toward Meaningful Holiday Gifting
The enduring popularity of projects like the peppermint-vanilla layered soap reflects a broader societal shift in how holidays are celebrated. In an era dominated by supply chain concerns, corporate retail dominance, and digital fatigue, handmade gifts offer a tangible counter-narrative.
By dedicating time to craft a physical item tailored for teachers, neighbors, and coworkers, gift-givers communicate thoughtfulness and personal care that monetary value alone cannot purchase. Moreover, the accessibility of melt-and-pour crafting democratizes artistry, allowing individuals with zero prior chemical or artistic background to produce professional-grade goods.
As these seasonal DIY trends continue to evolve, they reinforce a timeless truth: the most cherished gifts are often those imbued with the time, patience, and creativity of the giver. Whether displayed proudly on a bathroom sink or wrapped thoughtfully in twine for a holiday exchange, these candy-cane-inspired bars stand as a testament to the satisfying intersection of utility, beauty, and festive cheer.