






As the holiday season approaches, consumer trends are shifting away from mass-produced commercial items toward personalized, handcrafted goods. Leading this charge in the artisanal bath and body sector is a charming, highly shareable craft: the DIY Melt-and-Pour Gift Box Soap. Designed to resemble miniature wrapped holiday presents complete with shimmering ribbons and cascading soap-curl bows, these creations offer a blend of aesthetic appeal, aromatic luxury, and absolute beginner accessibility.

Crafting enthusiasts and holiday gift-givers alike are embracing the project for its simplicity. Utilizing accessible components like melt-and-pour soap bases and mica powder, creators can bypass the complexities of traditional cold-process soap making—which requires handling caustic lye and weeks of curing time—and instead produce high-end, gallery-worthy holiday gifts in just a single afternoon.

Chronology of Production: A Step-by-Step Manufacturing Guide
Creating these intricate soaps requires precision, timing, and an understanding of how melt-and-pour bases behave. To achieve the signature "gift box" aesthetic, production is divided into three distinct chronological phases: ribbon fabrication, box casting, and bow assembly.

Phase 1: Crafting the Ribbons
The process begins with the structural details that give the soap its signature look.

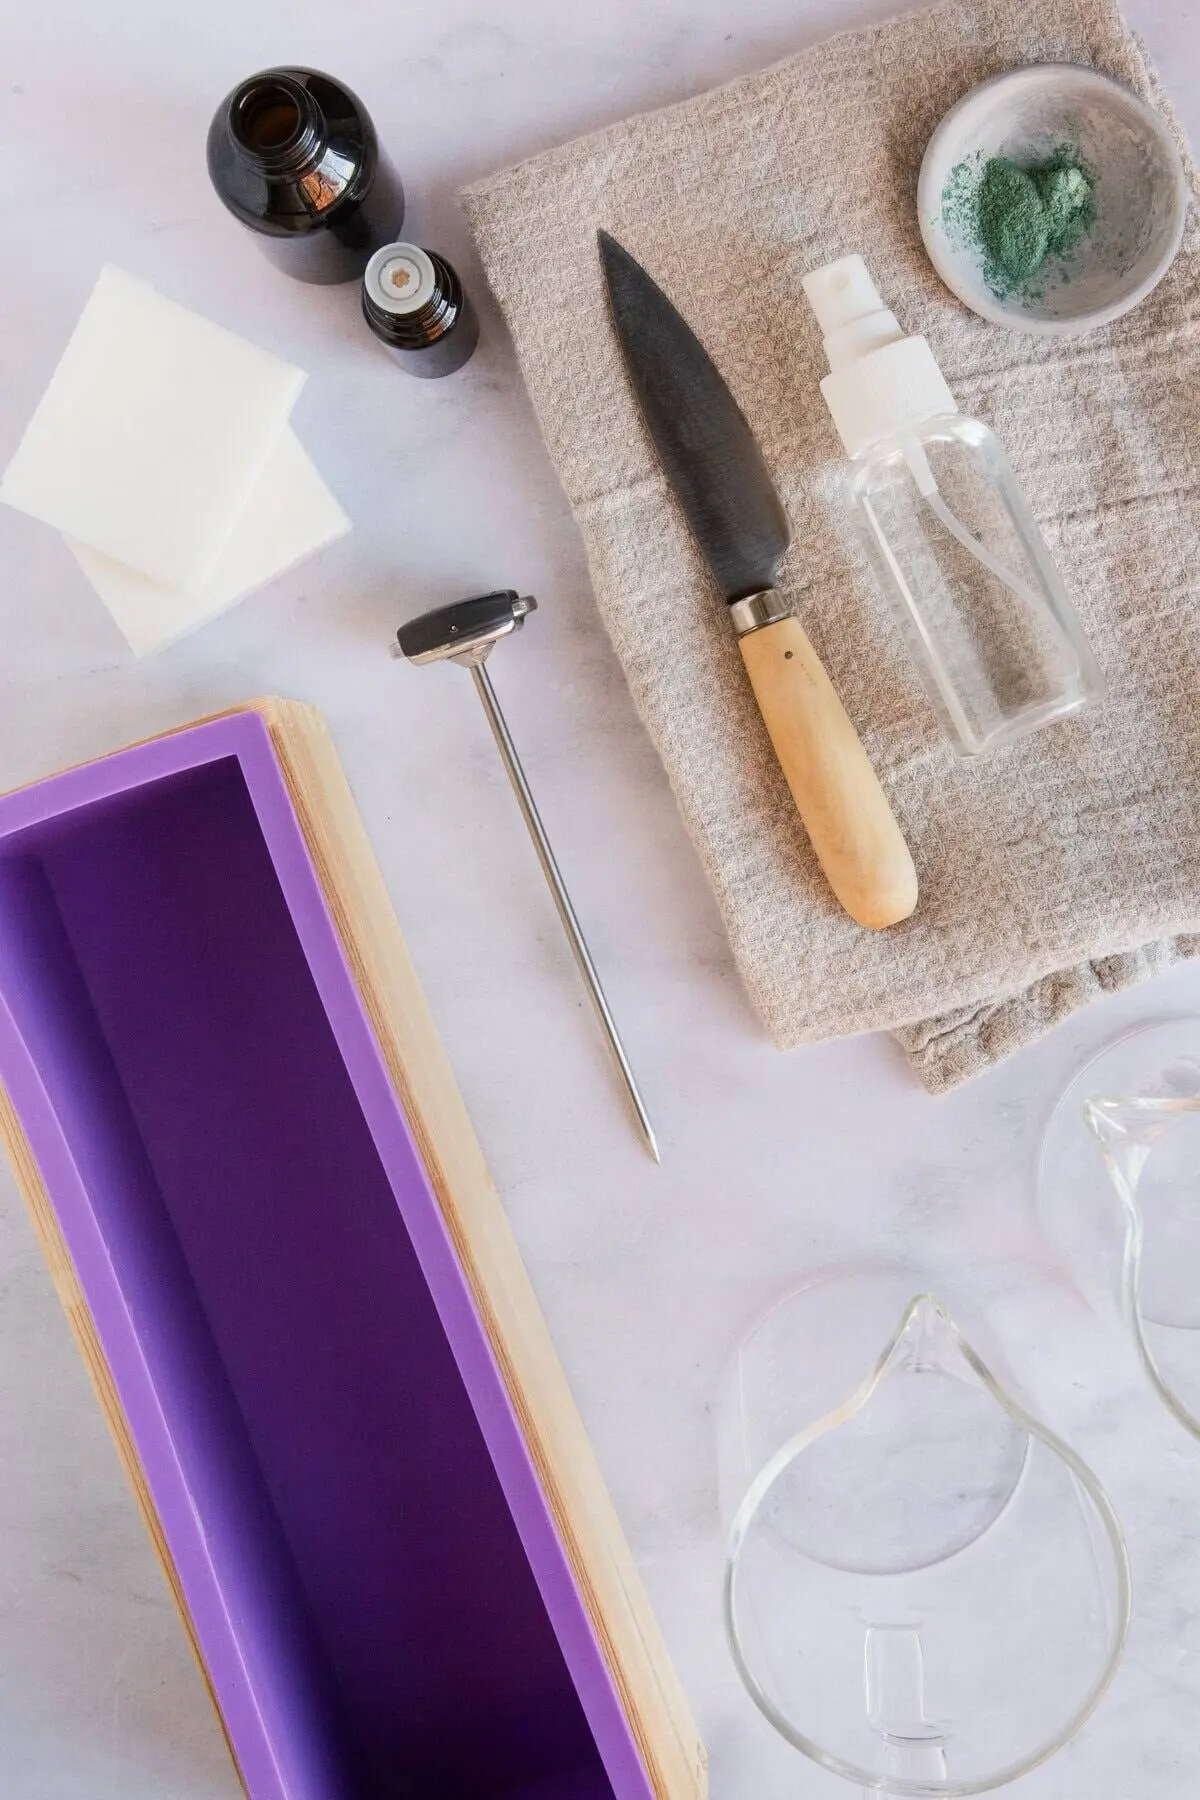
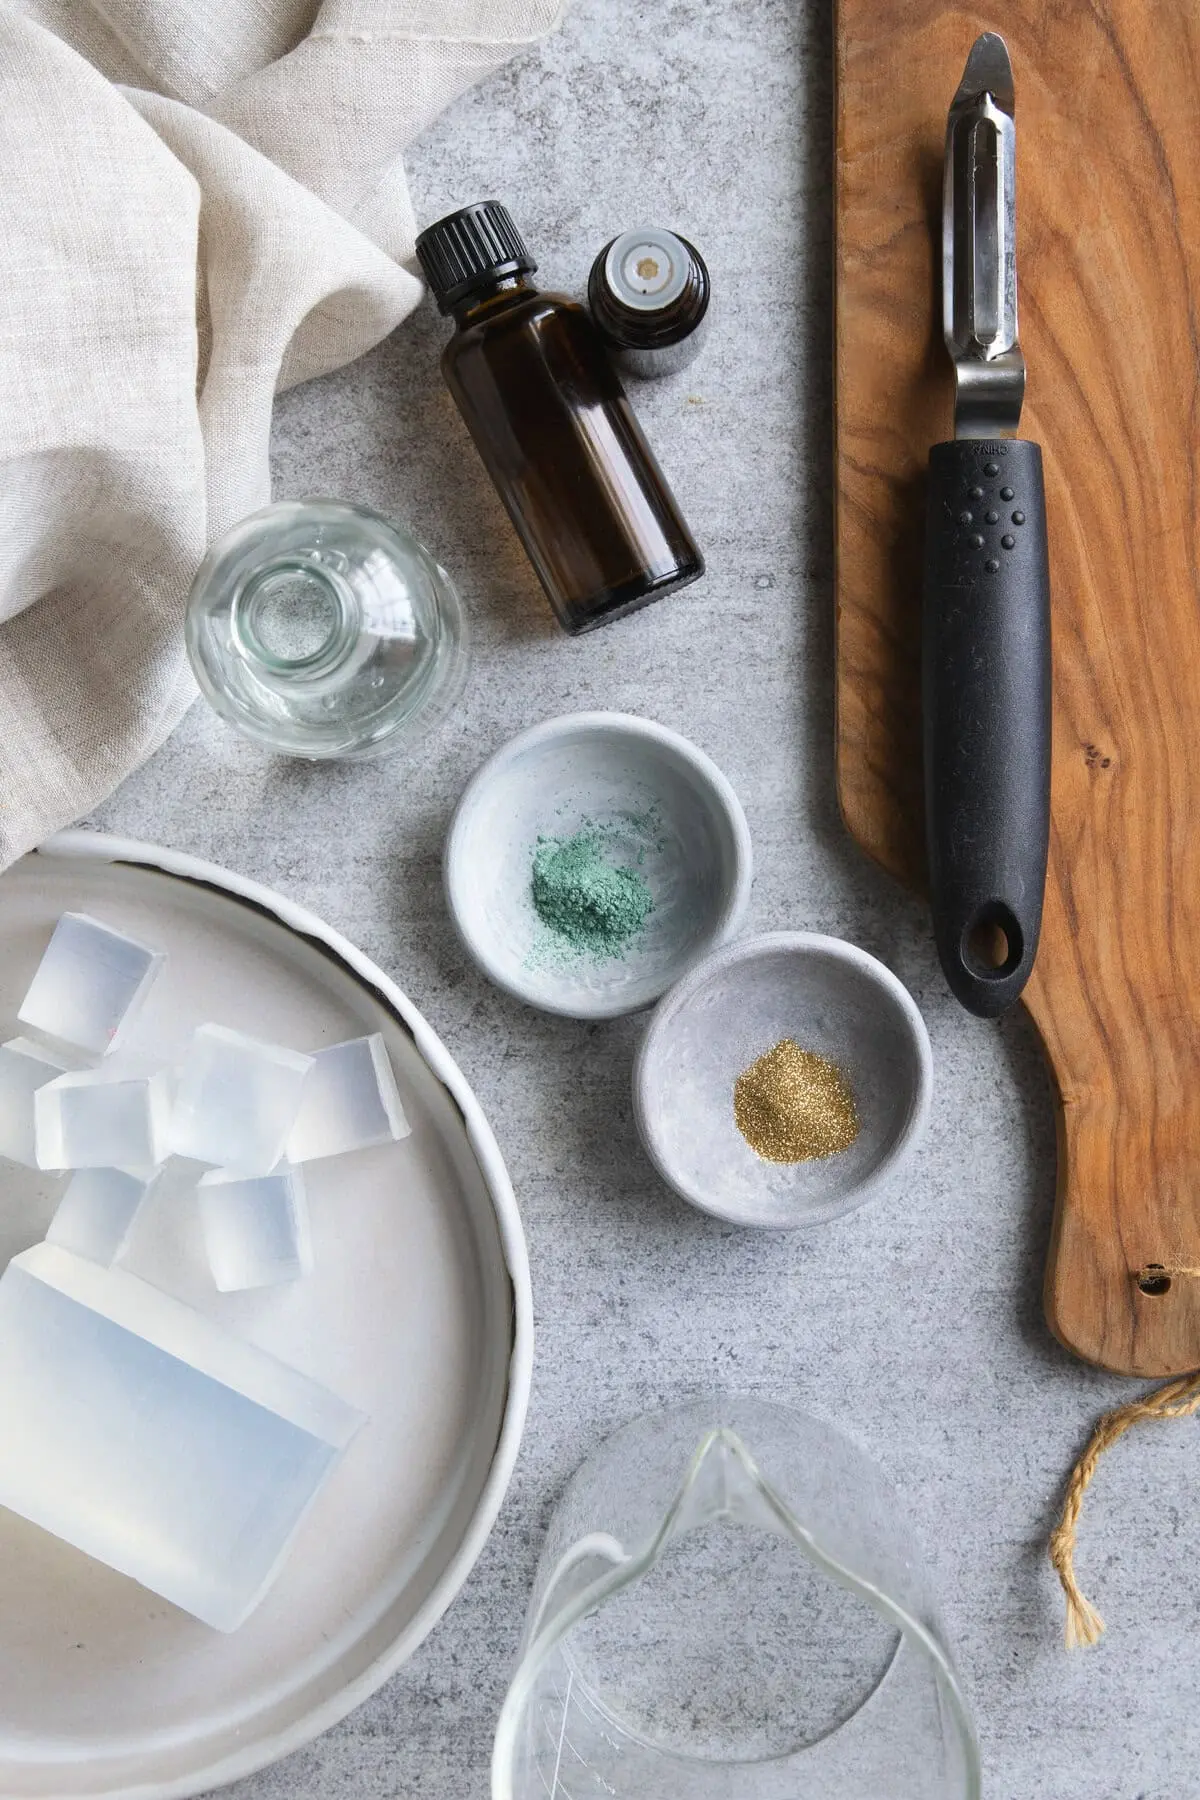
- Step 1: Cutting the Base. Artisans start by slicing 3 ounces of clear melt-and-pour soap base into uniform 1-inch cubes, placing them into a microwave-safe measuring cup.
- Step 2: Melting and Coloring. The base is liquefied in the microwave using short, 30-second bursts, stirring intermittently to prevent scorching. Gold mica powder or cosmetic glitter is whisked into the molten liquid to establish a metallic, festive sheen.
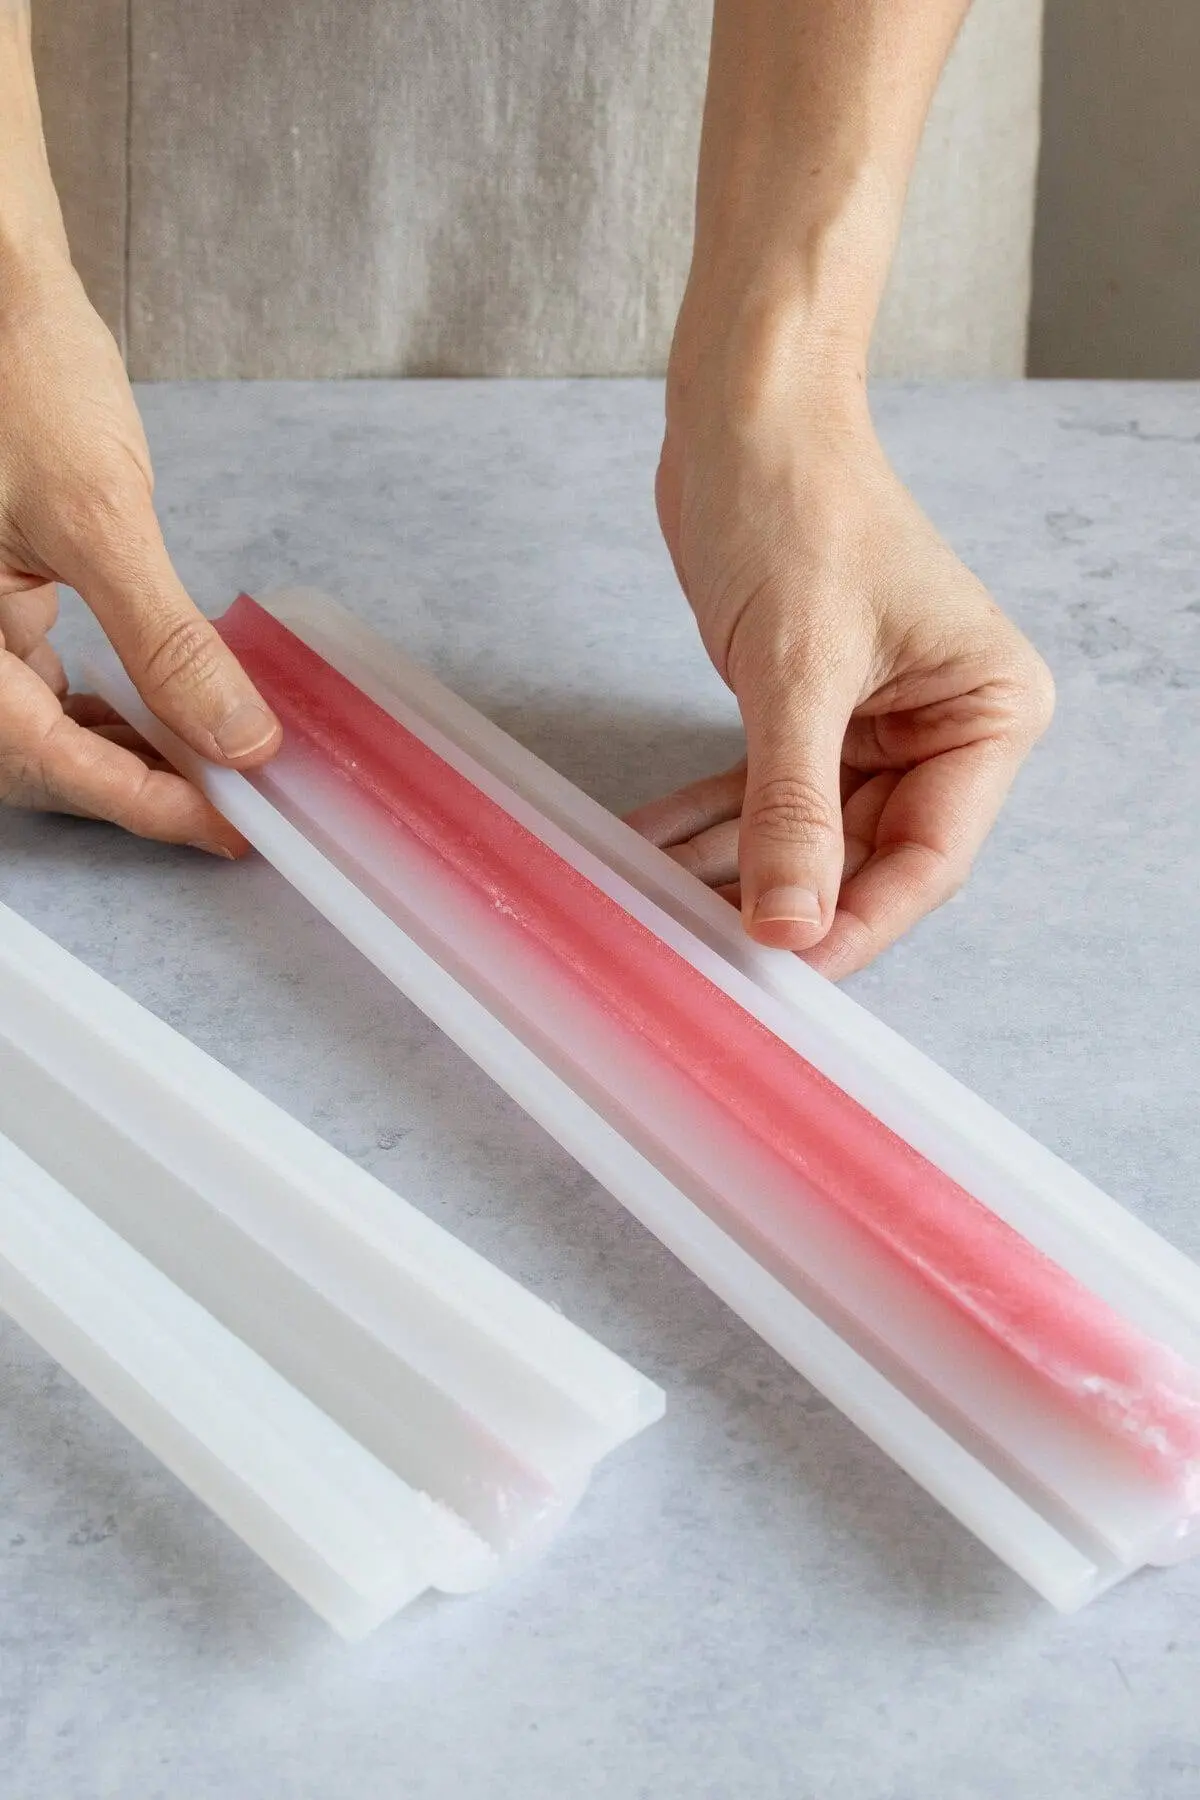
- Step 3: Pouring the Sheets. Approximately 0.5 ounces of the gold-tinted soap is poured into a shallow mold compartment to create a thin sheet for the ribbon strips. The remaining soap is poured into a separate, deeper compartment to form a thick block later used for shaving curls.
- Step 4: Eliminating Imperfections. A light spritz of rubbing alcohol is applied immediately to dissipate surface bubbles. Once cooled and hardened, the thin sheet is sliced into four uniform strips. Two of these strips are arranged in a "plus sign" formation at the bottom of the main soap mold, with overlapping center material trimmed to ensure a flat foundation.
Phase 2: Casting the Box Body
The primary body of the soap requires a deliberate two-stage pour to secure the embedded ribbon design without letting it float or distort.

- Step 1: Preparation and Scenting. Four ounces of a fresh clear soap base are melted down. Crafters then stir in a chosen mica colorant alongside skin-safe essential oils for fragrance.
- Step 2: Securing the Foundation. Allowing the molten mixture to cool to approximately 140°F prevents it from melting the underlying gold ribbon strips. The strips are pressed firmly into the bottom of the mold before a minimal amount of colored soap is poured just over the ribbons to anchor them.
- Step 3: Layering and Final Pour. After spritzing the initial layer with alcohol and allowing it to set, a second spritz ensures adhesion before the remaining colored soap is poured to fill the mold cavity entirely.
Phase 3: Constructing the Soap Curl Bow
The defining architectural feature of the gift box soap is the dimensional bow perched atop the package.

- Step 1: Shaving the Curls. Using the thick gold soap block cast during Phase 1, the artisan employs a standard kitchen vegetable peeler to shave thin, flexible ribbons of soap.
- Step 2: Shaping. If the ribbons do not curl naturally under the tension of the peeler, they are gently manipulated and rolled by hand.
- Step 3: Assembly. Approximately 1 ounce of clear soap base is melted in a shallow dish. By dipping the corner of each individual curl into the warm liquid, creators can securely stack and cluster the pieces atop the main soap box, building a multi-dimensional bow. For structural integrity, an optional final glaze of clear melted soap can be poured over the completed cluster to form a protective shell.
Supporting Data and Technical Specifications
Understanding the technical requirements ensures successful batch production, whether crafting for personal use or small-scale holiday markets.

- Project Timeline: Preparation requires approximately 1 hour of active workspace management, followed by a mandatory 4-hour cooling and curing window, bringing the total time investment to roughly 5 hours.
- Yield and Cost Efficiency: A standard batch yields two specialized soaps, with an average ingredient and material cost of approximately $10 per batch.
- Equipment Requirements: Minimalist tools are required—a microwave, a microwave-safe measuring cup, a silicone square mold, a standard vegetable peeler, and 99% rubbing alcohol in a spray bottle.
- Optimal Environment: Because melt-and-pour soap bases react quickly to ambient temperatures, forming a thin surface film almost immediately, workspace efficiency is critical. Professionals recommend pre-cutting all components and organizing tools prior to applying heat.
Storage and Preservation Protocols
Because artisanal glycerin soaps lack the synthetic preservatives found in commercial cleansers, environmental factors such as humidity and light exposure can compromise their appearance over time.

Short-Term and Long-Term Storage Guidelines
- Individual Wrapping: Finished gift box soaps should be individually sealed in tight plastic wrap. This barrier blocks ambient moisture, preventing "glycerin dew" (condensation) and protecting mica colorants from bleeding.
- Climate Control: Soaps must be stored in a cool, dry cupboard away from direct ultraviolet light, which can degrade and fade vibrant mica pigments over months of exposure.
- Bulk Preservation: For long-term storage, individually wrapped soaps should be housed in airtight containers accompanied by silica gel packets to absorb excess ambient humidity. If minor condensation does develop prior to gifting, artisans advise unwrapping the bar and lightly polishing the surface with a soft, dry cloth.
Frequently Asked Questions (FAQ)
Can I substitute cold process soap for this project?
No. Cold process soap undergoes a complete saponification process and features a different chemical structure and moisture content. It lacks the remelting properties and flexibility required to slice thin, pliable ribbons or carve structural curls using a vegetable peeler. Melt-and-pour base is mandatory for this specific design.

What is the shelf life of handmade melt-and-pour soaps?
When properly wrapped, stored in a low-humidity environment, and kept away from extreme heat sources, these artisanal soaps maintain their structural integrity, scent, and aesthetic quality for up to one year.

Is fragrance an absolute requirement?
Fragrance is entirely optional. While essential oils or cosmetic-grade fragrance oils enhance the sensory experience of the gift, unscented formulations are fully functional and ideal for individuals with sensitive skin or fragrance sensitivities.