







The holiday season often brings an unspoken pressure to find gifts that strike the exact balance between meaningful, beautiful, and budget-friendly. Amidst supply chain delays and mass-produced commercial items, a quiet counter-movement is taking root in kitchens and craft spaces across the country. Artisanal, handmade gifts are surging in popularity, with DIY melt-and-pour soaps leading the charge.

Among the latest trends captivating the crafting community are "DIY Gift Box Soaps"—meticulously crafted bars that resemble miniature, beautifully wrapped holiday presents. Complete with contrasting ribbon strips embedded into the base and intricate, clustered soap curls forming a decorative bow on top, these creations offer a masterclass in visual deception. To the untrained eye, they look like luxury boutique items requiring hours of advanced soap-making expertise. In reality, they utilize a beginner-friendly melt-and-pour technique that strips away the intimidation factor of traditional soap crafting.

As consumers increasingly seek simplified, cost-effective ways to express appreciation during the festive period, this project proves that luxury aesthetics do not require professional equipment or exorbitant budgets. By combining accessible ingredients like clear soap base, mica powder, and essential oils with innovative shaping techniques, makers can produce professional-grade bath products from the comfort of their homes.

Chronology of the Craft: A Step-by-Step Production Guide
Creating these miniature masterpieces requires precision, timing, and a structured approach. Because melt-and-pour soap base cools rapidly and forms a surface film within minutes, preparation is the key to success.

Phase 1: Crafting the Ribbons and Foundation Blocks
The process begins by establishing the contrasting elements that give the soap its "wrapped gift" appearance.

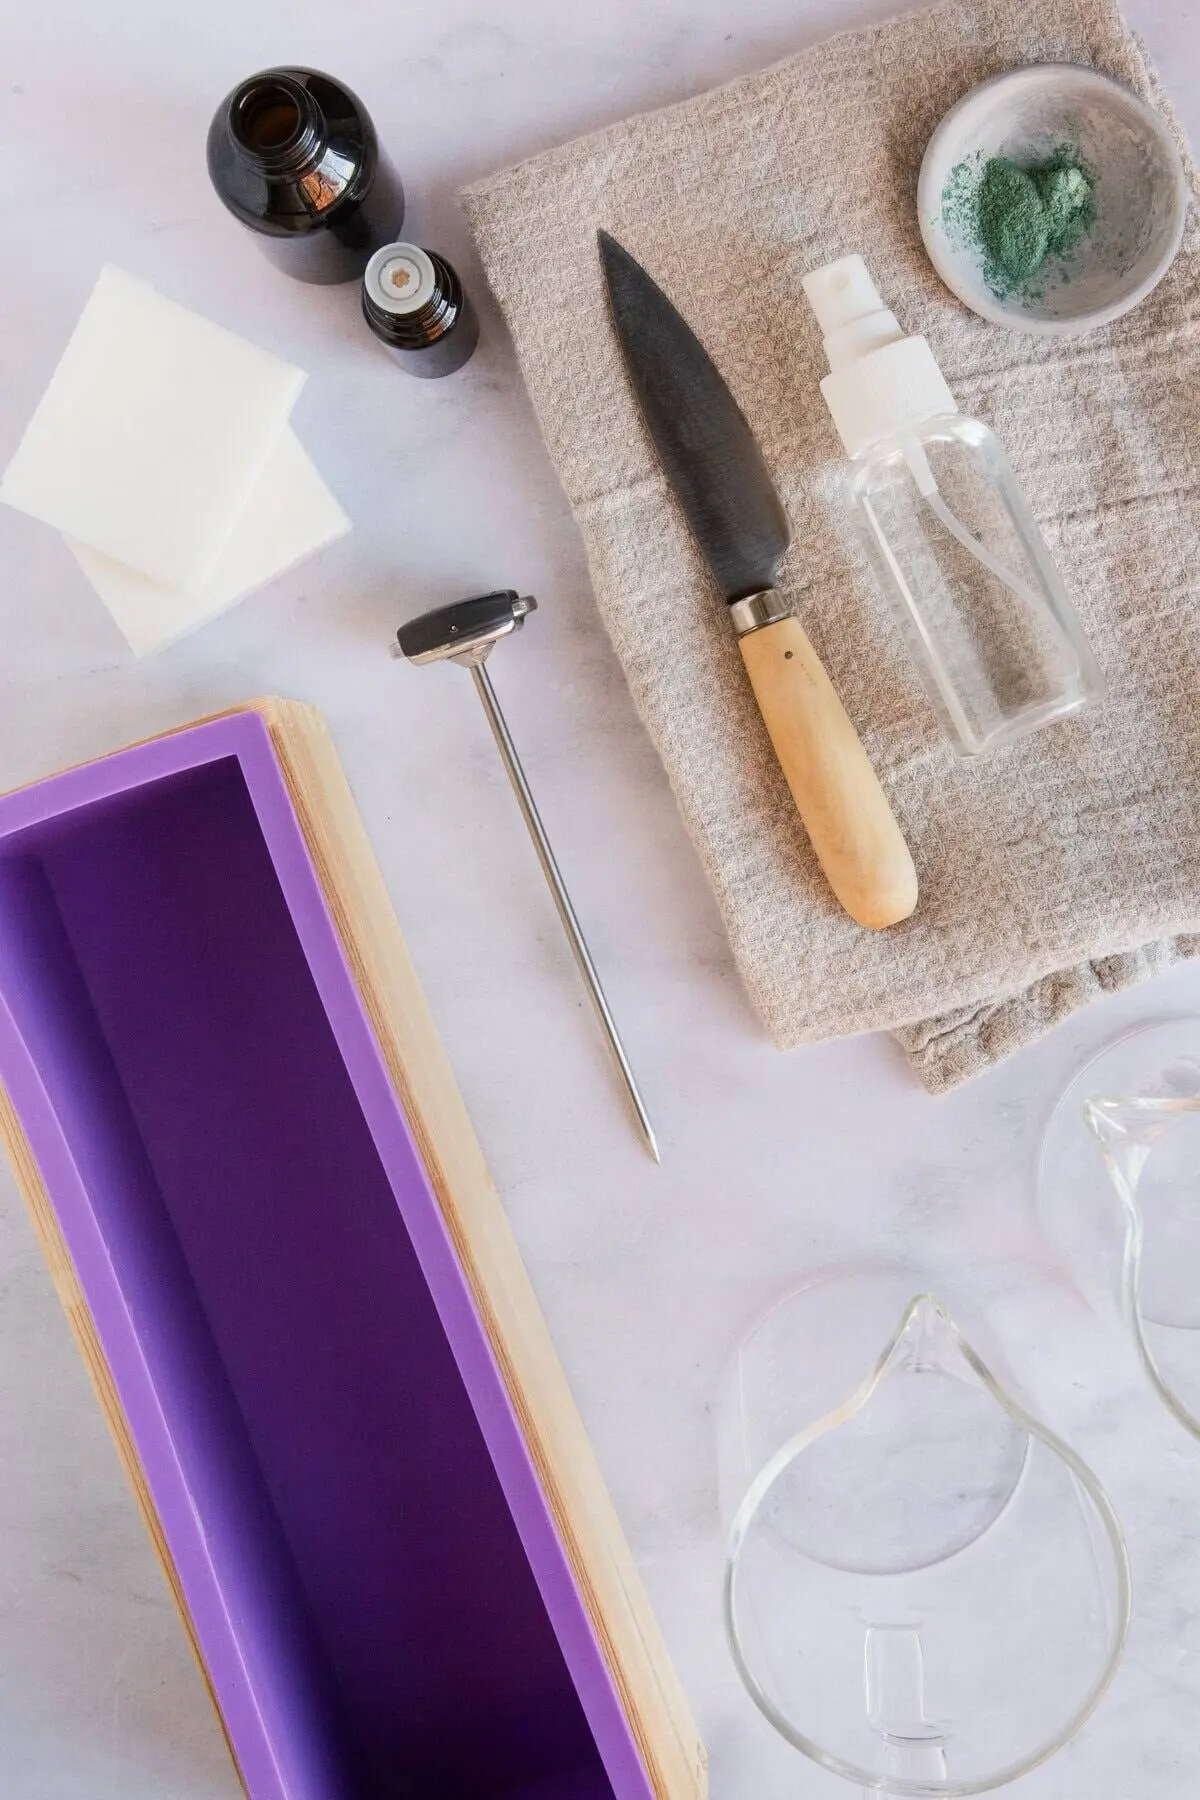
- Cube the Soap Base: Measure out 3 ounces of clear melt-and-pour soap base, slicing it into uniform 1-inch cubes. Place these cubes into a microwave-safe measuring cup.
- Melt and Color: Heat the soap in the microwave using 30-second intervals, stirring thoroughly between each burst to ensure even melting without overheating. Once liquefied, add gold mica powder (or a colorant of your choice) to achieve a vibrant, metallic hue, stirring until completely dissolved.
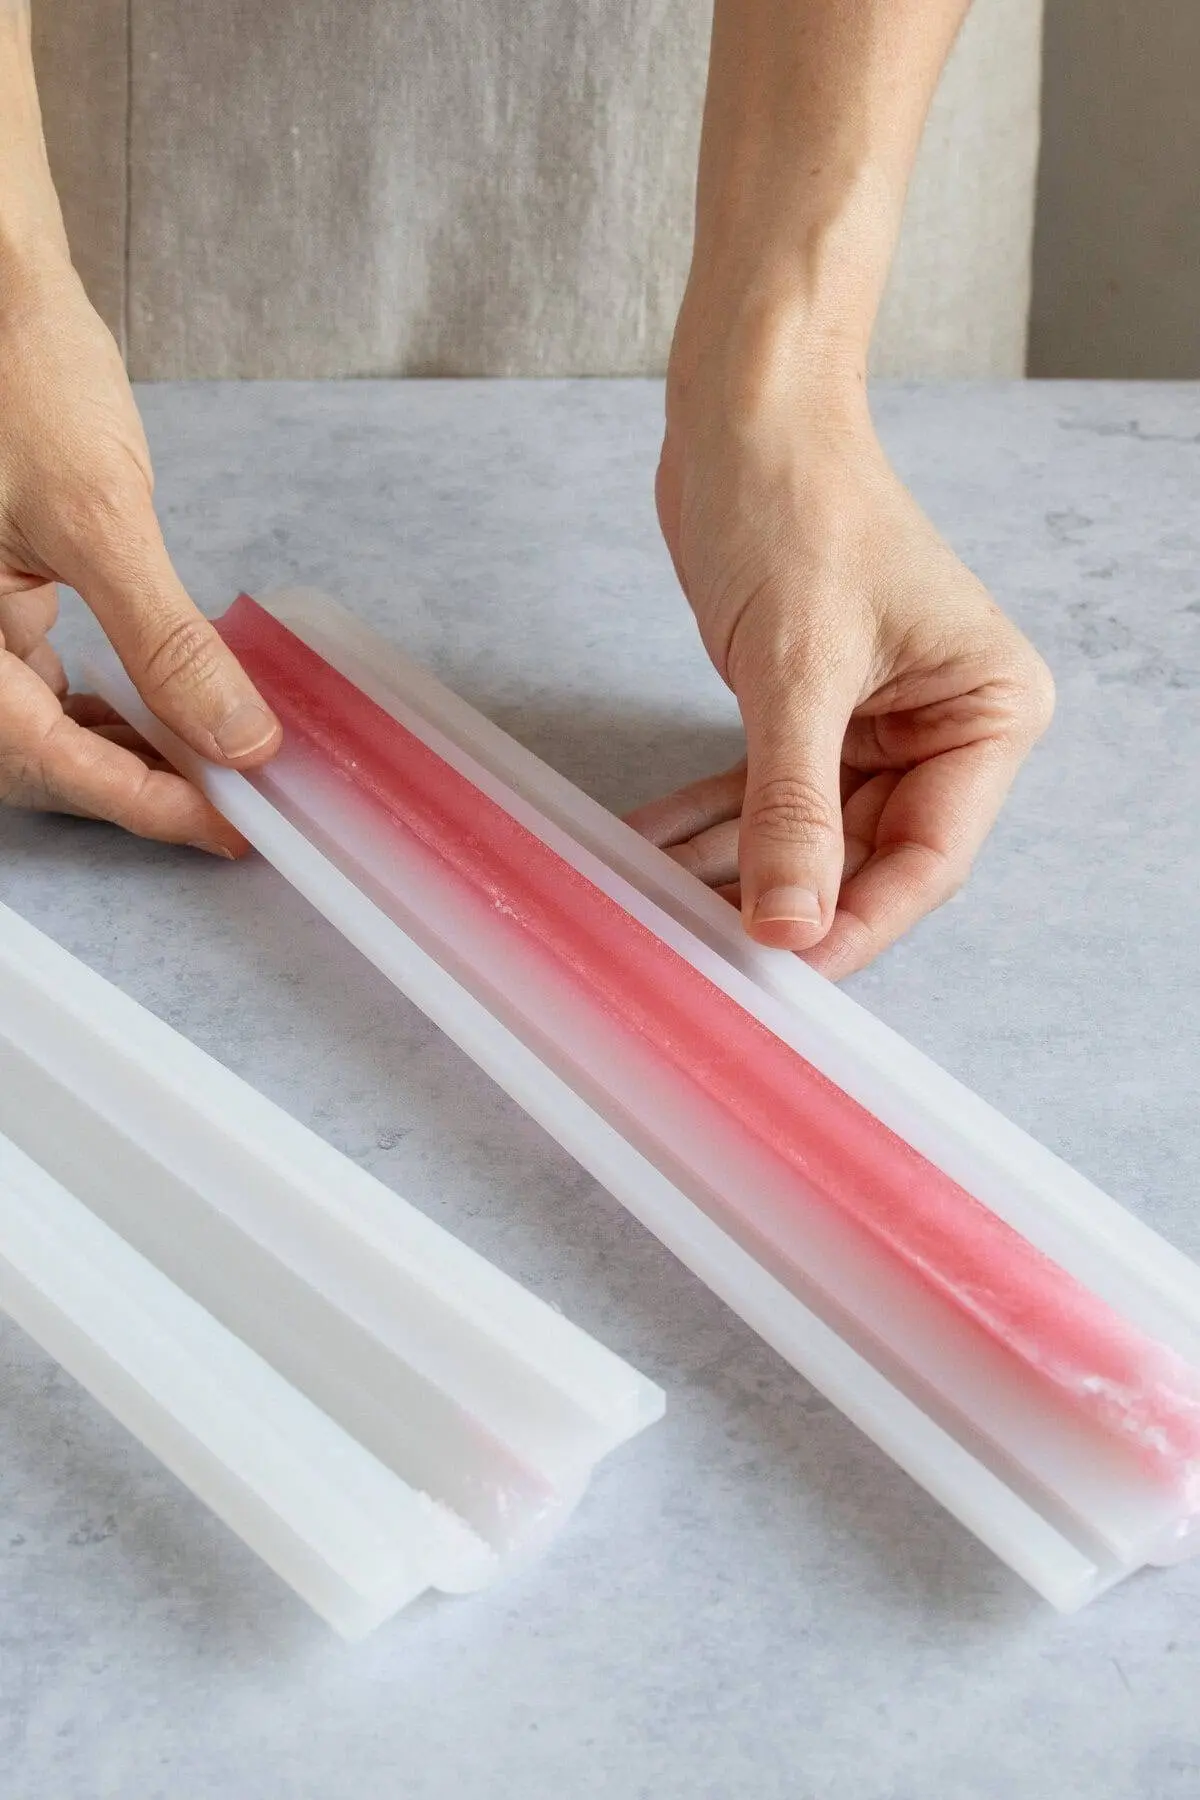
- Pour the Ribbon and Curl Blocks: Pour approximately 0.5 ounces of the colored soap into a shallow compartment of your mold to form a thin square—this will be sliced into ribbon strips later. Pour the remaining gold soap into a separate compartment to create a thicker block destined for future curling.
- Eliminate Surface Imperfections: Lightly spritz the surface of the liquid soap with rubbing alcohol to instantly banish unwanted air bubbles. Allow the blocks to cool and set completely.
- Cut the Ribbons: Once fully hardened, slice the thin square into four clean, straight strips. Take two of the strips and layer them into a cross or "plus" sign. Trim away the overlapping center material so the assembly lies flat against the bottom of your primary mold; the minor seam will later be concealed by the bow.
Phase 2: Assembling the Main "Gift Box" Body
To prevent the delicate ribbon strips from floating or shifting during the pouring process, makers utilize a strategic two-stage pour method.

- Prepare the Box Base: Melt 4 ounces of clear soap base, incorporating your primary box colorant (such as a rich holiday red) and a skin-safe essential oil for fragrance. Allow the mixture to cool slightly to around 140 degrees Fahrenheit.
- Anchor the Ribbons: Firmly press your pre-cut ribbon cross into the bottom of the clean silicone mold compartment. Pour just enough colored soap over the ribbons to anchor them securely in place.
- Set the Anchor Layer: Spritz with rubbing alcohol to remove bubbles and let this initial layer cool partially.
- Complete the Pour: Spray the surface with alcohol once more to ensure adhesion, then pour the remaining colored soap to fill the mold to the top (reheating the mixture briefly if it has begun to solidify). Spritz a final time and leave the bars to cool undisturbed until they reach room temperature.
Phase 3: Sculpting and Attaching the Soap Curls
The defining feature of the gift box soap is its three-dimensional bow, constructed using a common kitchen utensil.

- Shave the Curls: Take the thick gold block you reserved in Phase 1 and use a standard vegetable peeler to shave thin, flexible ribbons of soap from its surface.
- Form the Bow: If the shavings do not curl naturally upon contact with the blade, gently roll them with your fingers to establish a dynamic, ribbon-like shape.
- Construct the Cluster: Melt roughly 1 ounce of clear soap in a small, shallow container. Dip the base of each individual curl into the warm liquid and stack them sequentially on top of the hardened gift box soap. Continue layering until a dense, visually striking bow cluster is achieved.
- Secure the Structure: For enhanced durability, lightly brush or drizzle additional melted clear soap over the curl cluster. This creates a protective shell that preserves the shape and prevents accidental damage during handling or wrapping.
Supporting Data and Economic Efficiency
The appeal of DIY gift box soaps extends far beyond their visual charm; economics play a substantial role in their surging popularity. Industry metrics highlight significant consumer shifts toward handmade alternatives:

- Cost-Per-Unit Breakdown: A standard batch utilizing melt-and-pour bases, skin-safe micas, and essential oils averages approximately $10 in raw material costs, yielding multiple high-end bars. This brings the cost per individual luxury gift to a fraction of commercial equivalents.
- Time Investment: With a prep time of roughly one hour and a cooling time of four hours, an entire batch can be completed in an afternoon. This high efficiency makes it an ideal project for busy individuals balancing multiple holiday commitments.
- Shelf Life and Longevity: When properly stored in cool, dry environments away from direct ultraviolet light, melt-and-pour soaps maintain their structural integrity and fragrance profile for up to 12 months.
Official Recommendations and Storage Best Practices
Crafting artisanal bath products requires strict adherence to proper post-production care to ensure the items remain pristine until they reach their final recipients. Industry experts and experienced makers recommend specific handling protocols:

- Individual Plastic Wrapping: To combat humidity and prevent glycerin dew (commonly known as "sweating"), each finished soap should be individually wrapped in breathable plastic film immediately after curing. This safeguards the colorants against smudging or bleeding.
- Light and Climate Control: Store wrapped soaps in a dark, climate-controlled cupboard. Direct sunlight can rapidly degrade and fade bright mica colorants over long storage periods.
- Long-Term Storage Protocols: For extended storage, place wrapped bars inside airtight containers supplemented with food-safe silica gel packets to absorb excess ambient moisture. If minor condensation develops prior to gifting, simply unwrap the bar, polish the surface gently with a soft, dry cloth, and re-wrap.
Implications for the Artisanal Market
The mainstream adoption of advanced melt-and-pour techniques signals a broader evolution in consumer culture. As automation and mass manufacturing dominate commercial retail, hands-on hobbies offer a therapeutic and deeply personal outlet.

By removing the traditional barriers to entry associated with cold-process soap making—such as handling hazardous lye and managing long curing windows—melt-and-pour projects democratize artisanal crafting. They empower novices to produce items that rival professional cosmetic lines in both aesthetic complexity and sensory appeal.

Furthermore, this trend aligns with growing consumer demand for sustainable, low-waste gifting. Homemade bath and body products reduce reliance on single-use packaging, avoid harsh industrial synthetic preservatives, and allow creators to tailor ingredients specifically to the recipient’s skin sensitivities and scent preferences. As we navigate future holiday seasons, the convergence of accessibility, affordability, and visual artistry ensures that handcrafted creations like the DIY gift box soap will remain a cherished seasonal staple.