








Introduction: The Renaissance of At-Home Crafting
Over the past several years, the artisanal bath-and-body movement has experienced a massive surge in popularity. While traditional cold-process soap making—requiring exact lye calculations, safety equipment, and curing times that stretch from four to six weeks—remains a respected craft, a growing number of artisans and hobbyists are turning to a more accessible, highly rewarding alternative: melt-and-pour soap making.

Offering the creative satisfaction of bespoke design without the multi-day delays and caustic handling of raw chemicals, melt-and-pour bases have transformed home soap crafting. In particular, the technique of embedding colorful shapes, intricate geometric patterns, and vivid 3D objects has revolutionized what can be achieved on a kitchen counter.

However, beneath the deceptive simplicity of melting and pouring lies a distinct technical learning curve. Subtle variables—such as base selection, precise pouring temperatures, cooling intervals, and surface tension management—can mean the difference between a pristine, gallery-worthy bar of artisanal soap and a melted, bubbly disaster. This comprehensive guide details the expert methodologies required to embed shapes in melt-and-pour soap like a seasoned professional.

Chronology of Craft: Understanding the Melt-and-Pour Evolution
To appreciate the nuance of embedding shapes, one must first understand the timeline of how soap bases are formulated and manipulated.

- Phase One: Base Sourcing and Preparation (The Melt): The artisan selects a commercial melt-and-pour base, slices it into uniform cubes, and heats it gradually. Historically, crafters struggled with scorching and uneven heating until the adoption of low-wattage, short-interval microwave techniques or double-boiler systems.
- Phase Two: The Creation of Embeds: Before constructing a final bar, the interior shapes must be manufactured. Utilizing specialized silicone molds, makers cast small elements—ranging from stars and butterflies to botanical flowers—hours or days in advance.
- Phase Three: Strategic Layering and Thermal Control: The critical chronologic window occurs during assembly. Pouring base over pre-cast embeds requires strict adherence to temperature thresholds (typically between 130°F and 140°F) to prevent the structural collapse of the interior designs.
- Phase Four: Setting and Curing: The finished molds undergo a regulated cooling process, resting for several hours at room temperature (or receiving a brief chilling period) before being unmolded, sliced, and polished for use.
Supporting Data: Selecting the Correct Soap Base
The foundation of any successful embedded soap design rests on material selection. Melt-and-pour bases are generally divided into two distinct chemical categories, each reacting differently to heat, colorants, and structural integration.

1. White Soap Bases (Goat Milk, Shea Butter, Oatmeal)
White soap bases are opaque, soft, and formulated with skin-nourishing emollients like honey, colloidal oatmeal, or shea butter. Because they feature a lower melting point and a softer overall composition due to their high oil and butter content, they are rarely used for small, intricate embedded shapes. Instead, artisans utilize white bases as the rich, comforting outer envelope or contrasting background of a bar.

2. Clear Soap Bases (Glycerin-Rich)
Clear soap bases boast a high concentration of glycerin, a natural humectant derived from plant and animal lipids that draws moisture to the skin. Because clear glycerin soap contains fewer opaque butters, it handles thermal shifts differently: it retains heat longer, cools more slowly, and maintains structural rigidity far better than white bases. Furthermore, colorants suspended in clear glycerin bases appear strikingly vibrant, making this base the gold standard for interior embeds where visual depth is paramount.

Official Guidelines: Three Core Techniques for Expert Embedding
Mastery of melt-and-pour embedding relies on three foundational construction methods. By perfecting these approaches, makers can adapt to virtually any design concept.

Technique 1: Column Shapes in Rectangular Loaf Molds
This method produces a repeating, continuous design that runs through the entire length of a soap loaf.

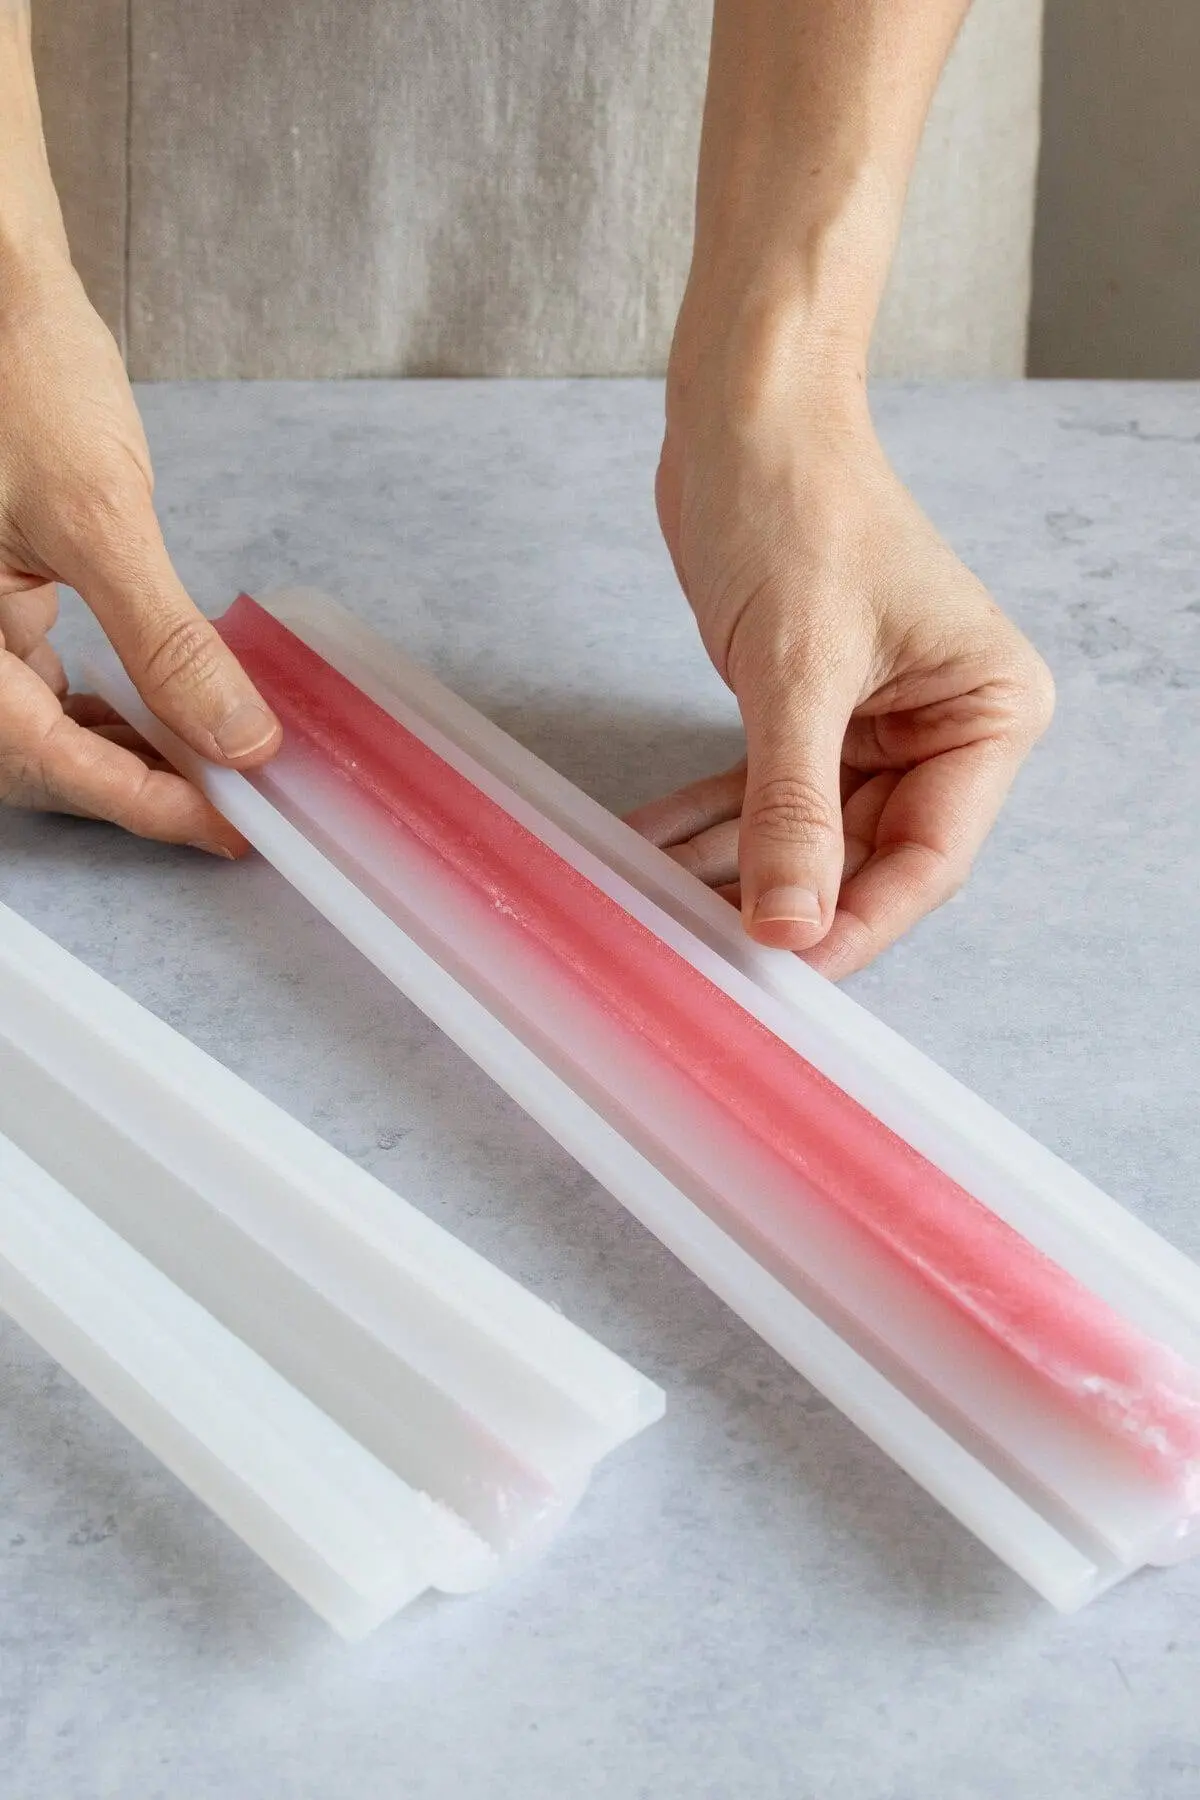
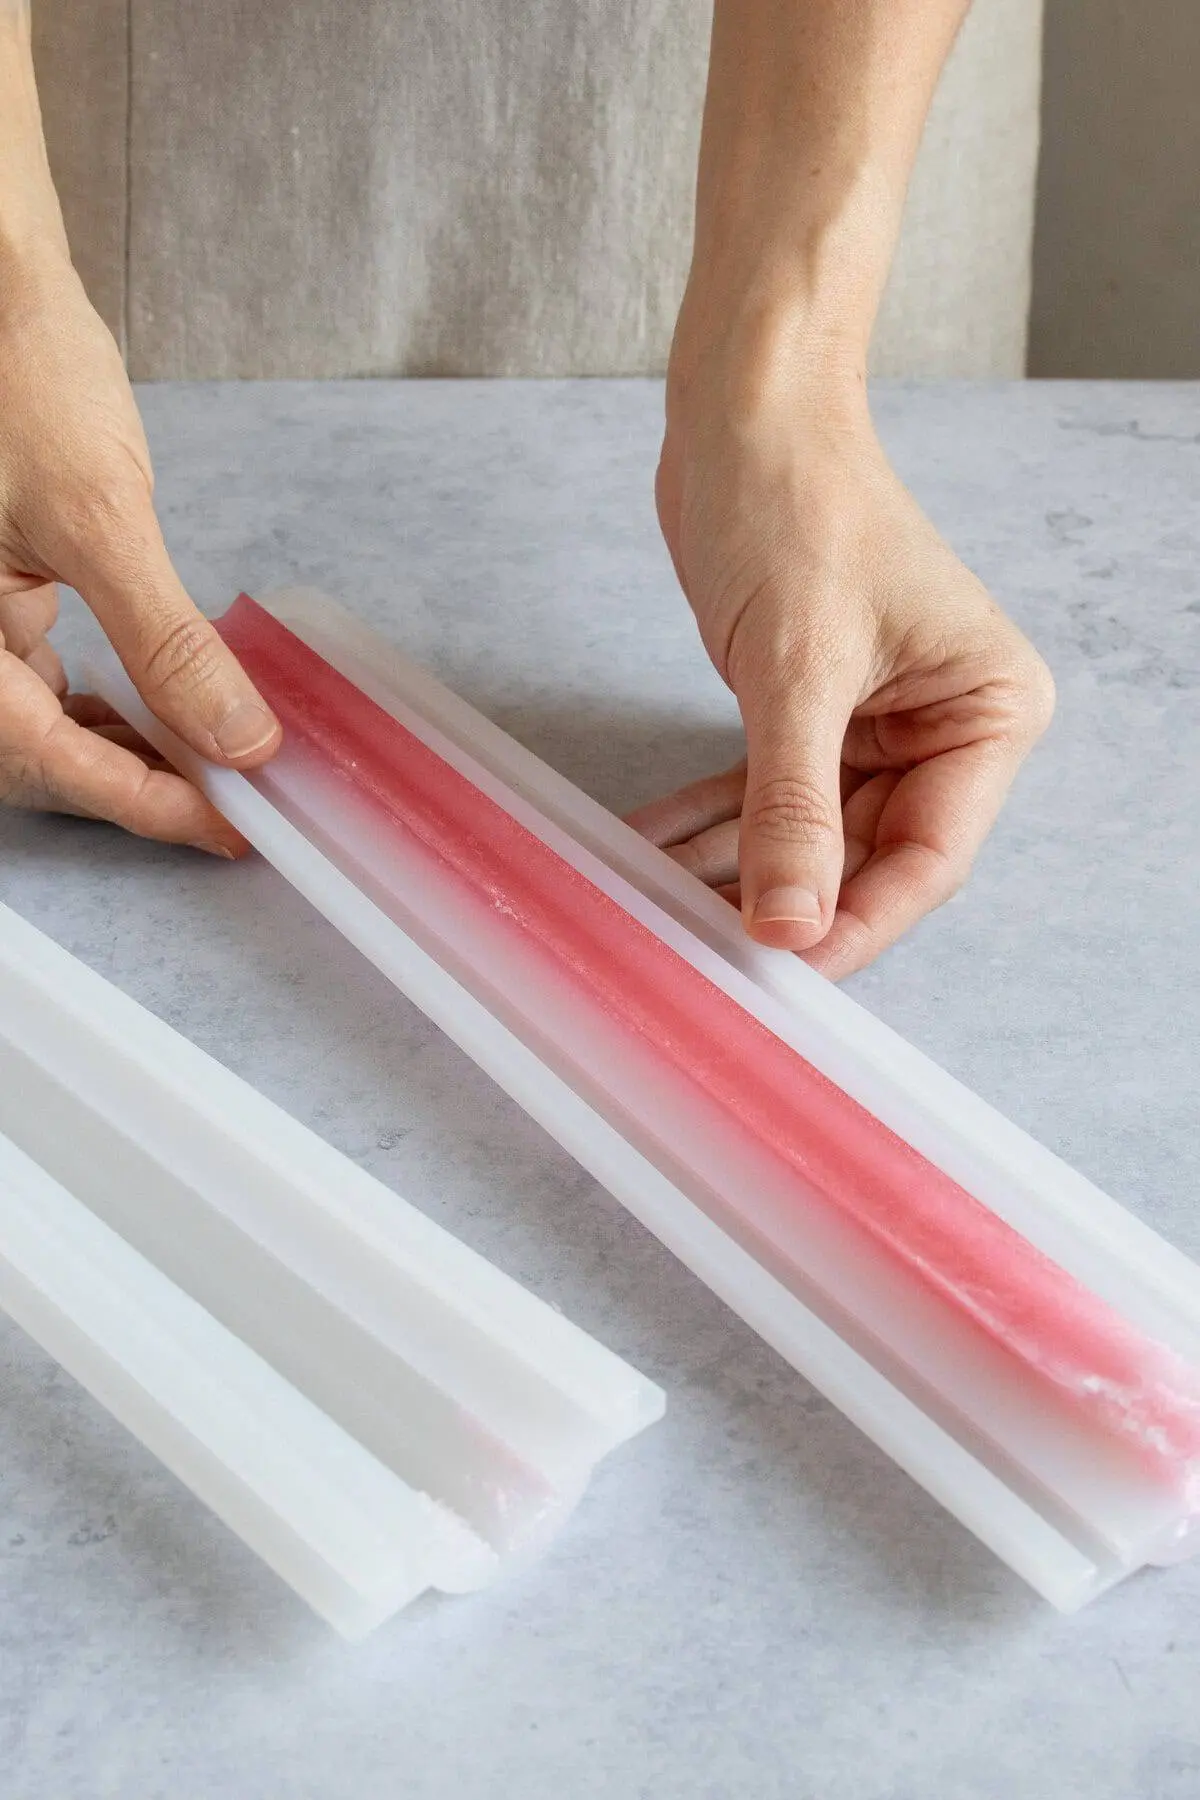
- Process: Flexible silicone column molds are snapped together to form a sealed cylinder. Liquid soap is poured down the center, allowed to cool, and peeled away to reveal a long, uniform shape.
- Assembly: This cylinder is suspended horizontally inside a larger rectangular loaf mold, and contrasting soap is poured around it. Once set, slicing the loaf reveals a striking, geometric pattern on every individual bar.
Technique 2: Embedding Flat Shapes in Single-Bar Molds
Ideal for intricate, colorful silhouettes (such as butterflies or geometric tokens), this technique relies on precision layering.

- Process: Using small silicone cake-decorating molds, thin, flat shapes are cast from colored soap base.
- Assembly: A single-bar mold cavity is filled halfway with clear glycerin soap, spritzed with rubbing alcohol, and allowed to form a semi-firm skin for approximately 20 minutes. The flat shape is placed on top, followed by a second pour of clear soap maintained strictly between 130°F and 140°F. This encases the design in the absolute center of the bar.
Technique 3: Sculptural 3D Shape Integration
For advanced artisans seeking high artistic impact, 3D elements—such as miniature roses or botanical sculptures—are integrated so that they physically project past the surface of the finished cleanser.

- Process: A 3D mold is cast using colored white soap base and allowed to cure. The piece is then bisected or positioned to protrude from the base.
- Assembly: A single-bar cavity is filled three-quarters full with a contrasting base color. Just before complete solidification, a thin capping layer of warm soap is added, and the 3D element is pressed firmly into the surface, creating a tactile, multi-textural masterpiece.
Implications: Troubleshooting and Professional Best Practices
Even experienced crafters encounter technical hurdles when working with melt-and-pour formulations. Addressing these challenges requires strict quality control measures.

Temperature Management
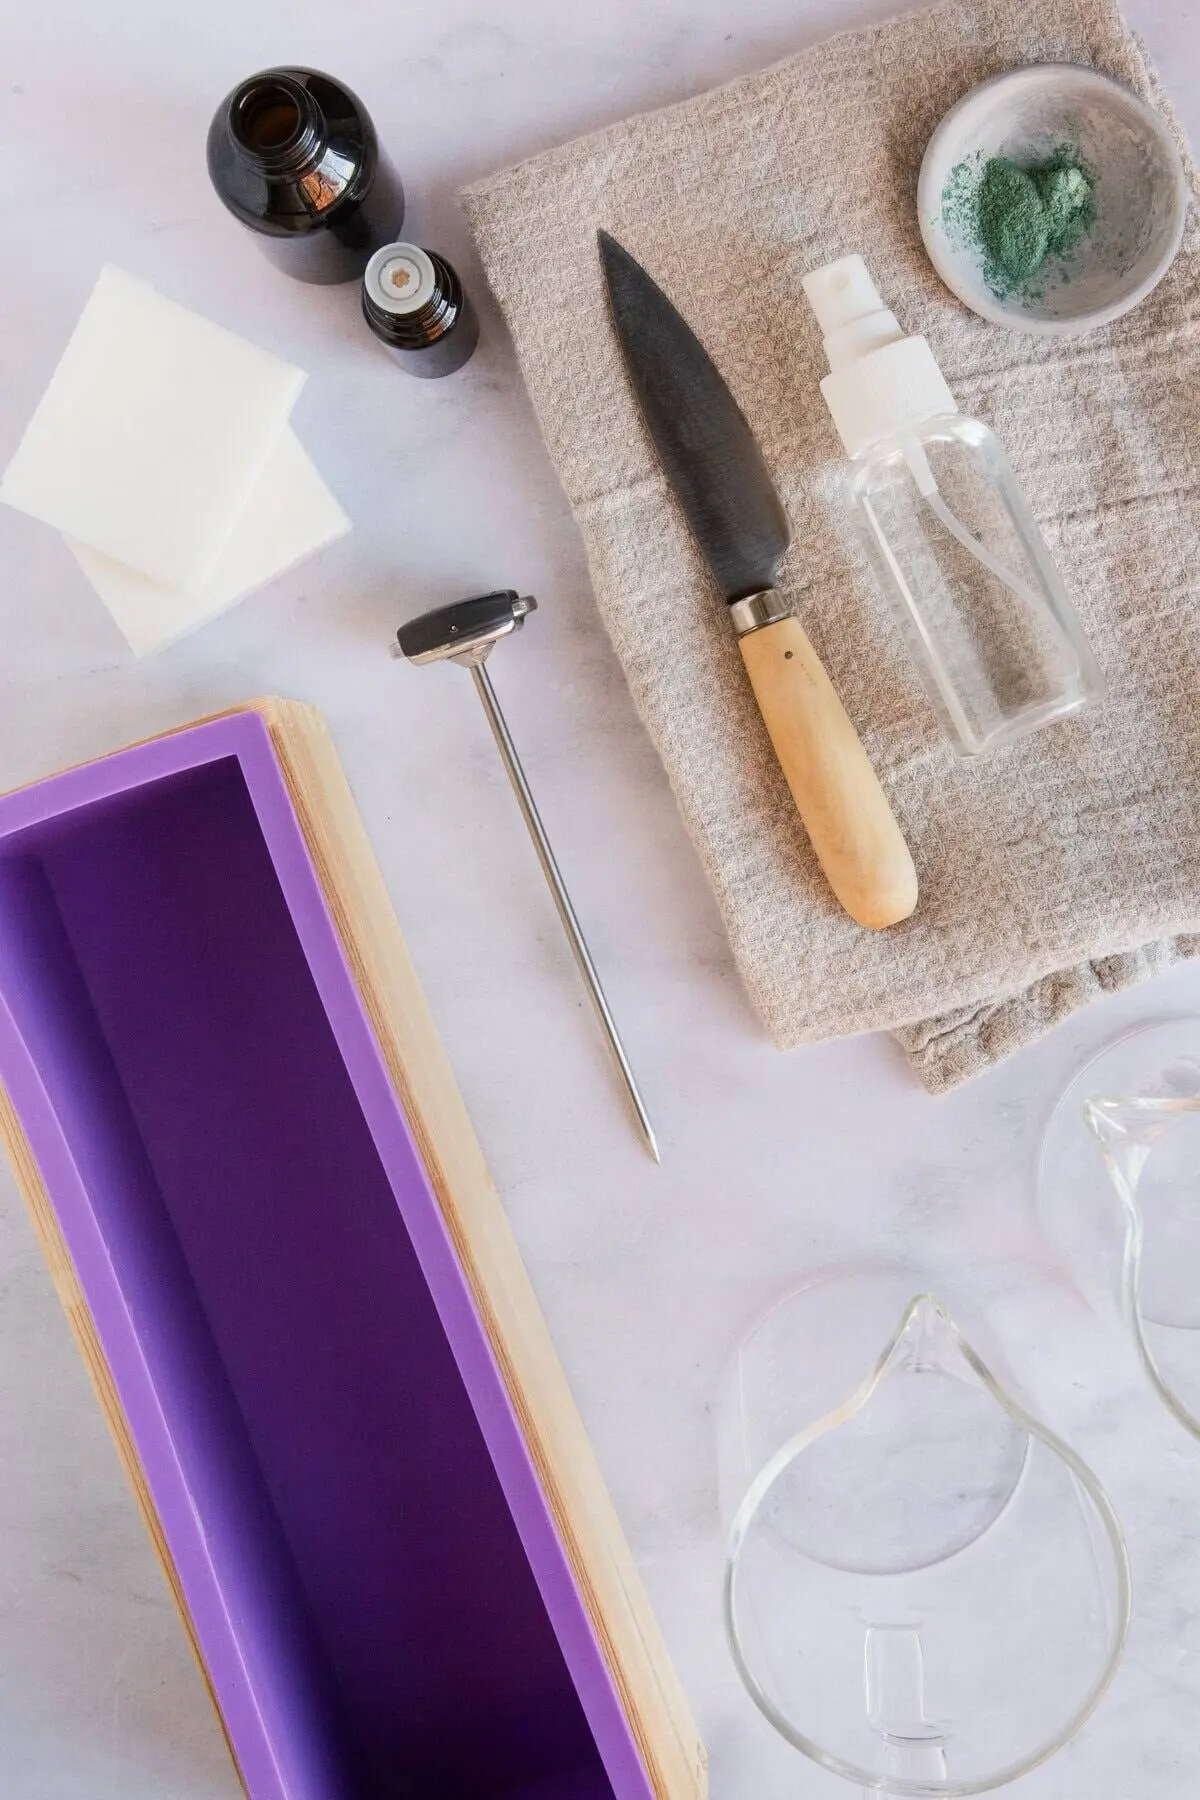
Temperature dictates success in soap embedding. Pouring soap hotter than 140°F risks melting your meticulously crafted embeds into an amorphous blur. Conversely, pouring below 125°F can cause premature solidification, creating unsightly clumps and incomplete mold fills. Always rely on a digital kitchen thermometer.

Combating Sinking and Floating
If an embed sinks to the bottom of a mold or floats to the top, the surrounding liquid base was either too hot or too thin. Experts recommend allowing the base layer to develop a sturdy surface film (test gently with a gloved finger) before introducing embeds. For delicate pieces, briefly chilling the embeds in a refrigerator beforehand prevents thermal shock.

Eradicating Bubbles and Cloudiness
Surface bubbles ruin the transparent illusion of glycerin soap. A generous spritz of rubbing alcohol (isopropyl alcohol, 91% or higher) sprayed onto molds and newly poured layers instantly eliminates surface air foam. Furthermore, avoiding microwave overheating—which scorches the base and introduces cloudiness—ensures crystal-clear results every time.

Conclusion
The transition from amateur hobbyist to expert melt-and-pour artisan hinges on patience, precise temperature control, and an understanding of chemical compatibility. By selecting the appropriate glycerin or butter bases, utilizing professional-grade molds, and applying strategic multi-pour layering techniques, creators can elevate simple cleansers into stunning, functional works of art.