








Introduction: The Renaissance of Creative Soap Making
For years, the artisanal bath and body community has experienced a profound shift toward accessible yet visually stunning crafting techniques. While traditional cold-process soap making—which involves handling sodium hydroxide (lye)—remains a staple for purists, it requires a significant time commitment, meticulous curing windows, and strict safety protocols.

Enter melt-and-pour soap crafting. Offering a cathartic, highly customizable, and vastly accelerated creative outlet, this method allows makers to produce professional-grade, intricately designed bars of soap in a fraction of the time. Among the most advanced yet approachable techniques within this medium is the art of embedding shapes: suspending vibrant geometric figures, botanical motifs, or whimsical silhouettes inside a crystal-clear or opaque soap base.

However, while the concept sounds deceptively simple—placing a small object inside a liquid medium—the reality involves a precise physics-and-chemistry balancing act. Factors such as base selection, pour temperature, cooling windows, and layer adhesion dictate whether a project succeeds or ends in a melted mess. This masterclass serves as the definitive guide to embedding shapes in melt-and-pour soap like a seasoned professional.

Chronology of the Craft: From Base Selection to Final Polish
Mastering the embedded soap technique requires an understanding of the chronological workflow. Skipping a step or rushing the cooling phase can compromise the structural integrity of the final bar.

Phase 1: Conceptualization and Shape Production (0–2 Hours)
The process begins long before the final bar is poured. Makers must first create the inner "embeds." This is achieved through three primary pathways:

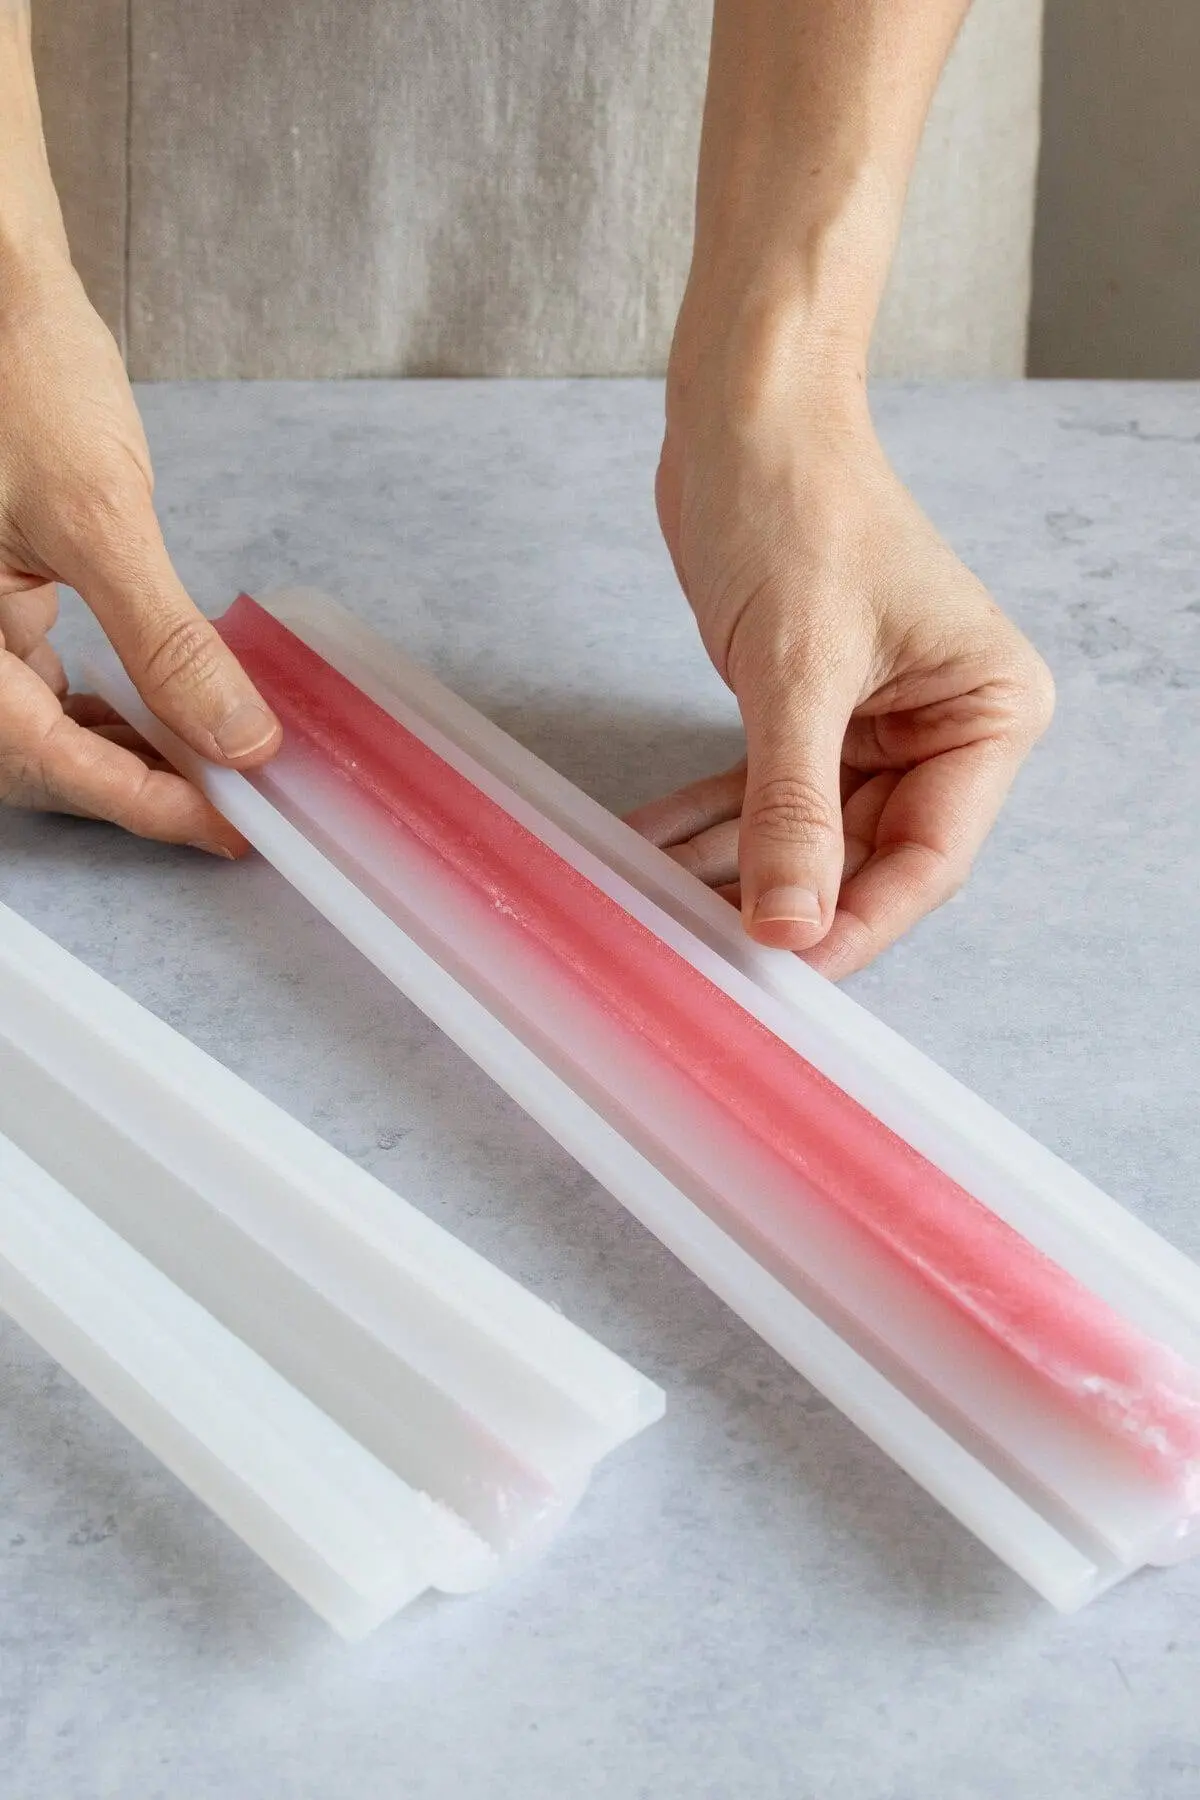
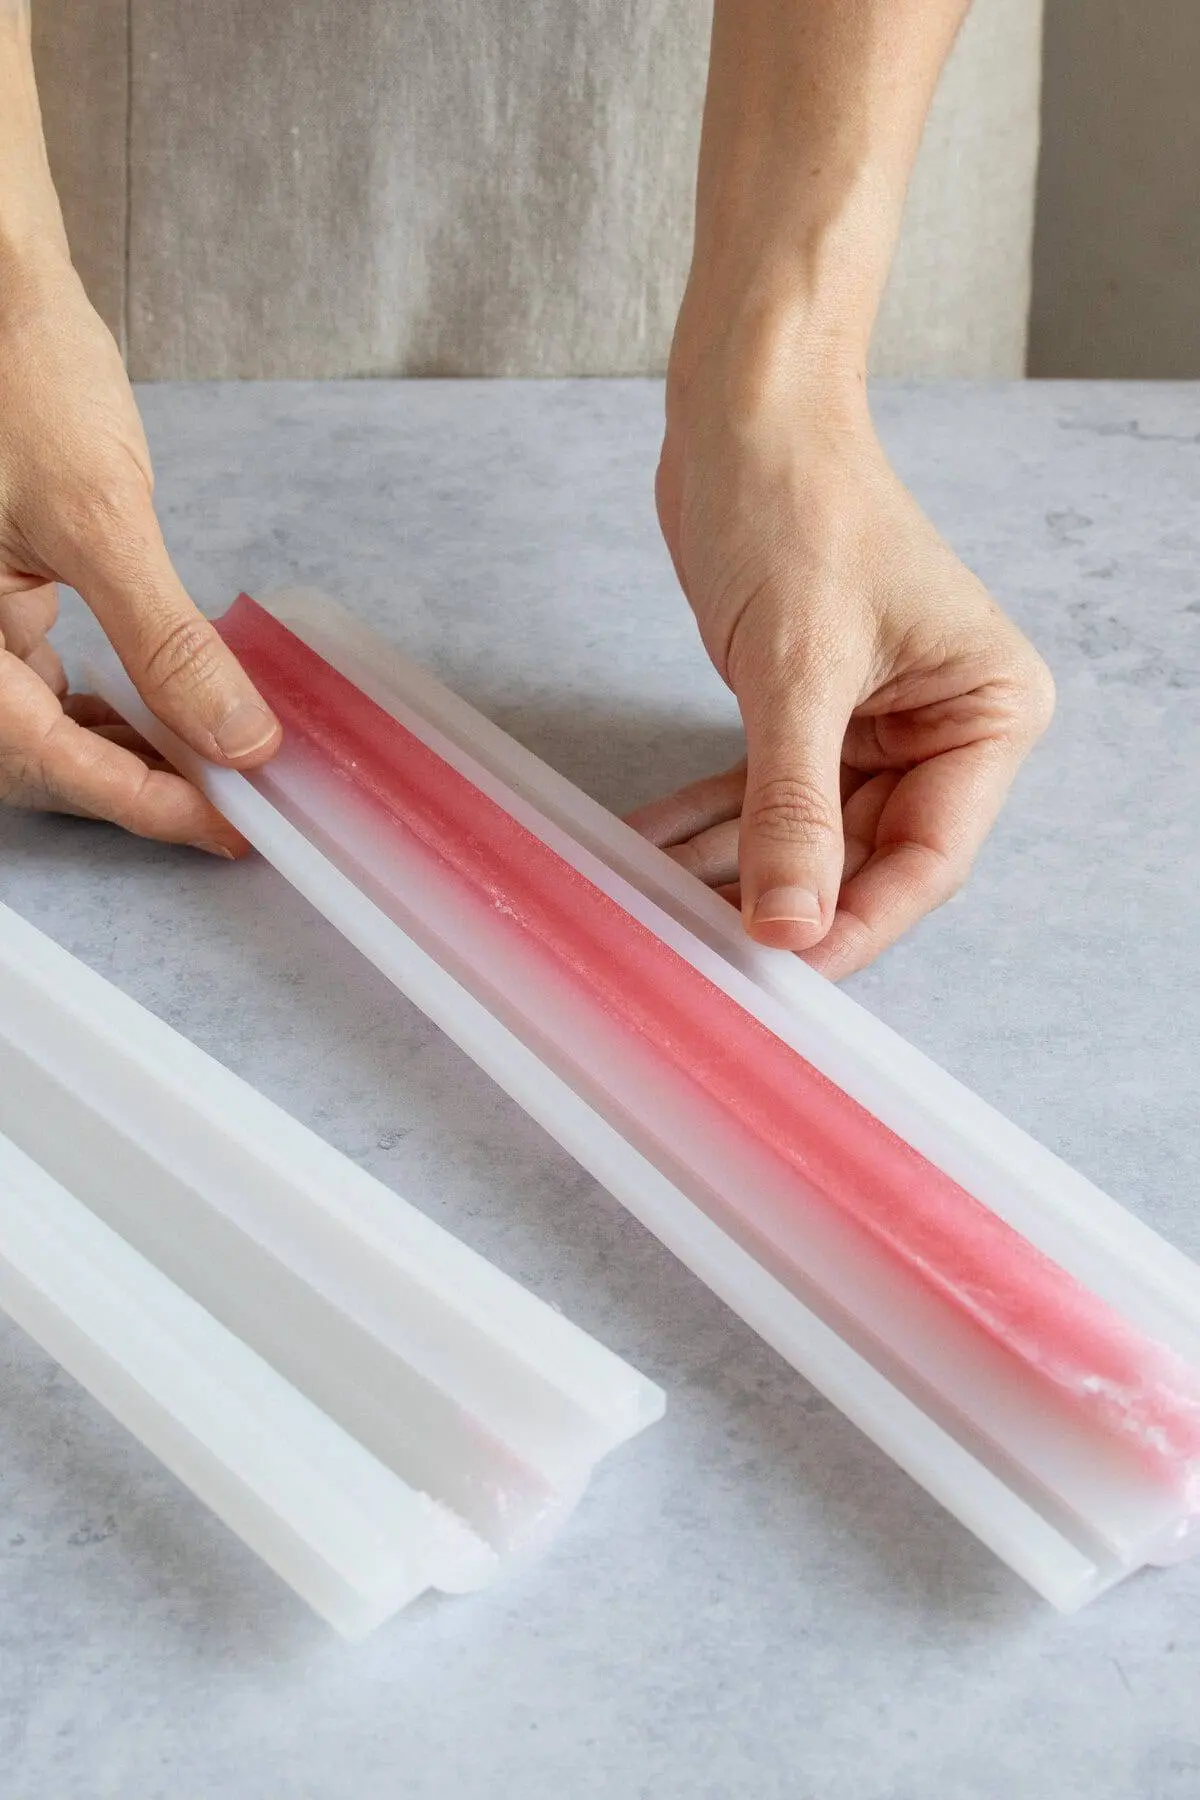
- Column Molds: Flexible silicone cylinders that snap together to create a continuous, long rod of soap. Once sliced, these rods provide a repeating pattern through the center of a loaf mold.
- Silicone Cake Decorating Molds: Used for flat or intricate individual motifs (such as butterflies or stars) designed to sit neatly within single-bar molds.
- 3D Sculptural Molds: Used for dimensional objects (such as roses or geometric animals) that will protrude from the surface of the final bar.
Phase 2: Base Preparation and First Pours (2–3 Hours)
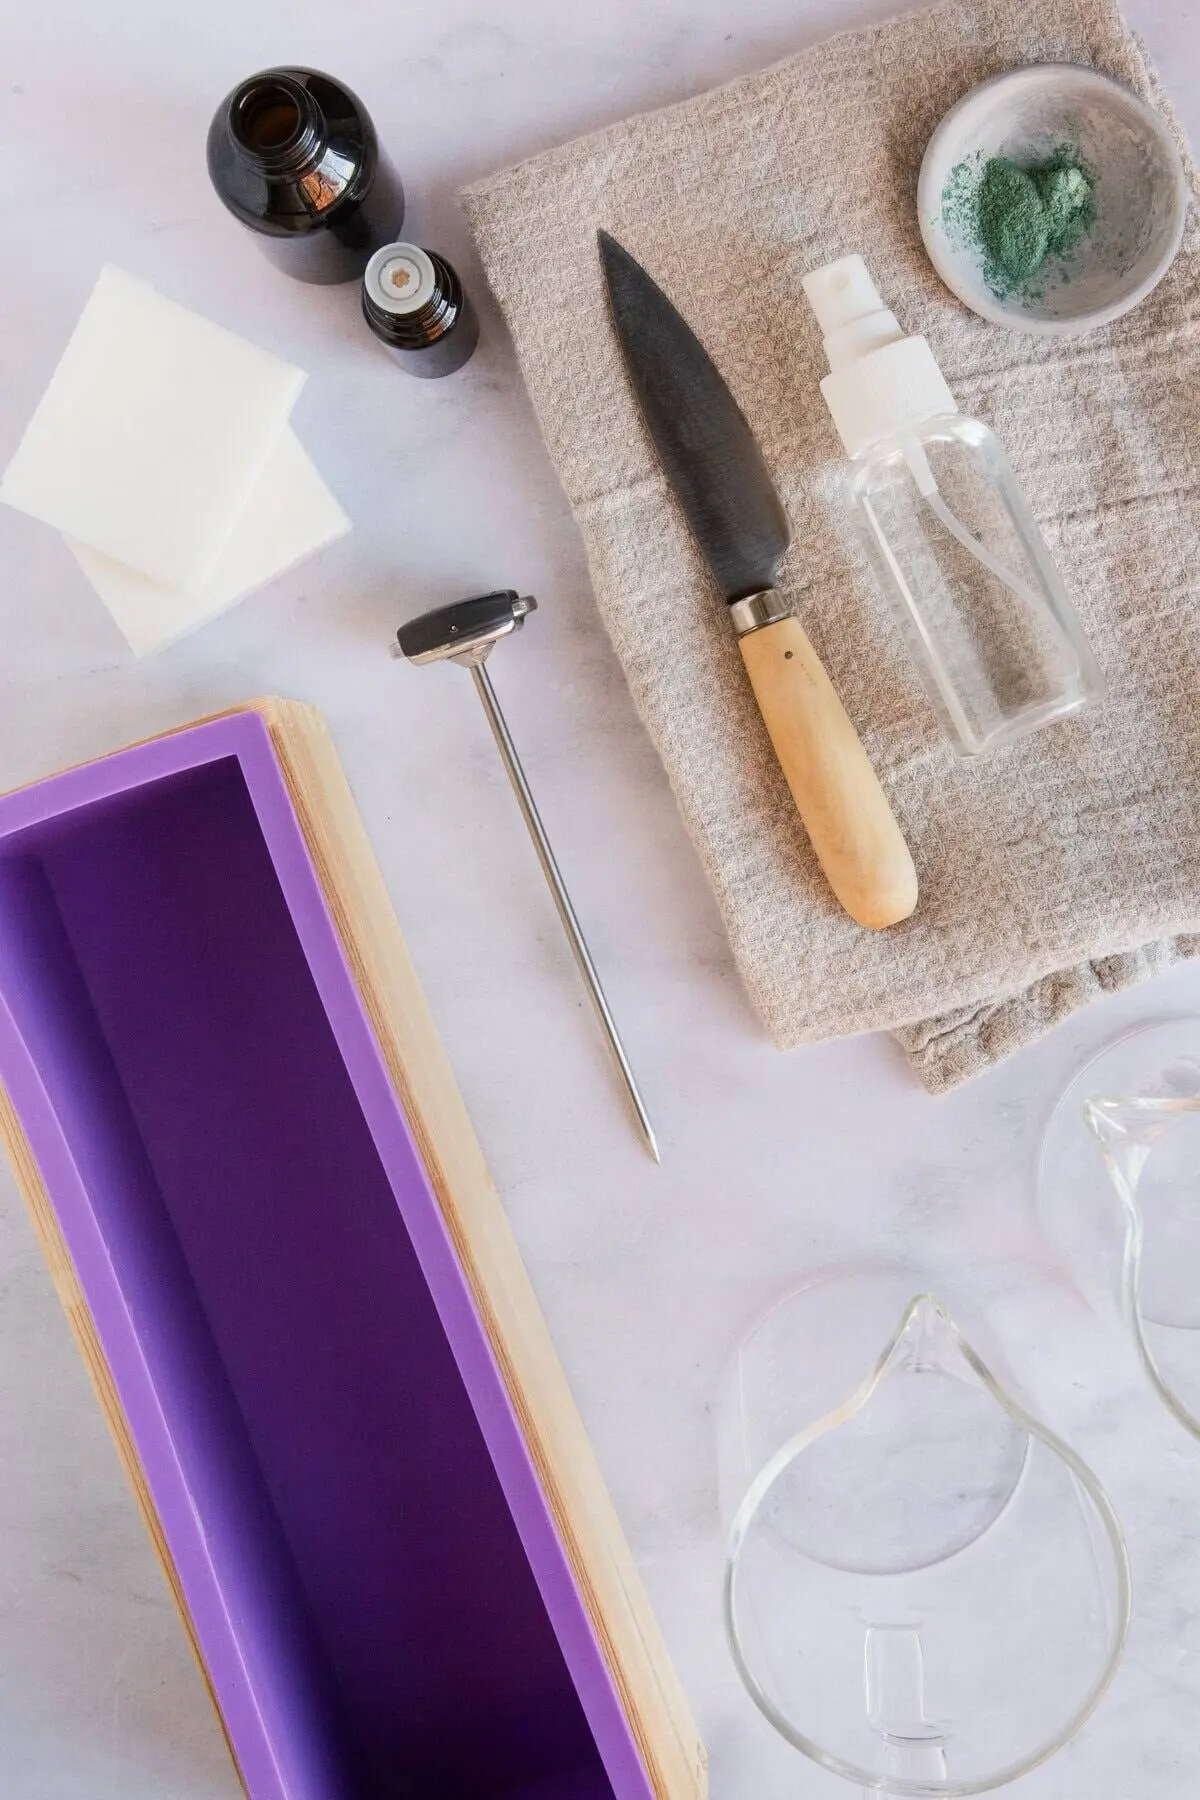
Once the embeds have fully set and cured (typically requiring anywhere from 30 minutes to two hours depending on volume), the maker prepares the primary soap base. The base is cubed and melted slowly in a microwave using short, controlled intervals to prevent scorching or moisture loss.

Phase 3: Thermal Management and Layer Assembly (3–3.5 Hours)
This is the most critical juncture in the chronology. The melted soap base must be monitored via a digital thermometer until it reaches the optimal thermal window—strictly between 130°F and 140°F. Pouring too hot melts the embeds; pouring too cool causes premature thickening and surface lumps. Rubbing alcohol is applied generously via a spray bottle between every layer to eliminate air bubbles and ensure chemical bonding.

Phase 4: Final Curing and Demolding (3.5+ Hours)
The completed soap is left undisturbed to set completely. While large loaf designs benefit from a 4-hour settling window, individual bars can often be demolded safely after resting at room temperature or spending a brief 30 minutes in a standard refrigerator (avoiding the freezer to prevent condensation).

Supporting Data: Understanding Soap Bases and Thermal Physics
To consistently achieve professional results, makers must understand the raw materials they are handling. Melt-and-pour bases are pre-saponified, meaning the lye-and-oil reaction has already taken place during industrial manufacturing.

White vs. Clear Soap Bases
| Base Type | Primary Characteristic | Typical Ingredients | Best Used For |
|---|---|---|---|
| White Base | Opaque, softer consistency, lower melting point | Goat milk, shea butter, oatmeal, honey | Outer layers, skin-nourishing barriers, opaque embeds |
| Clear Base | High glycerin concentration, firmer, holds heat longer | Plant/animal-derived glycerin | Suspending embeds, vibrant color displays, transparent designs |
The Critical Temperature Threshold
Laboratory testing and practical crafting data reveal that the melting point of standard melt-and-pour glycerin soap hovers around 135°F to 140°F. Because embedded shapes are made of the exact same material, introducing a secondary pour of liquid soap that exceeds 145°F will instantly compromise the structural borders of the embed, causing bleeding colors or total liquefaction. Maintaining a strict thermometer check guarantees sharp, defined lines within the final product.

Three Core Techniques for Embedding Shapes
1. The Column Method (Loaf Molds)
Ideal for batch production, this technique utilizes interlocking silicone column molds.

- The Process: Liquid soap is poured into a sealed vertical tube and allowed to harden into a long cylinder. This cylinder is placed horizontally along the bottom of a rectangular loaf mold.
- The Pour: A contrasting or complementary soap base is poured over and around the column.
- The Result: Once the large block is sliced into individual bars, every single slice reveals a striking, identical cross-sectional design through its core.
2. The Layered Cavity Method (Single-Bar Molds)
This method is favored for clean, highly detailed, floating designs like butterflies or geometric tokens.

- The Process: A single-bar mold cavity is filled halfway with clear soap base and allowed to form a sturdy skin (approx. 15–20 minutes).
- The Placement: The pre-made flat shape is positioned on top of this semi-set base.
- The Final Seal: A second layer of warm (130°F–140°F) clear base is poured gently over the shape to encase it entirely.
3. The Sculptural 3D Projection Method
For makers seeking an avant-garde, tactile aesthetic, 3D shapes offer unmatched visual depth.

- The Process: A dimensional object (such as a floral rose) is cast in a contrasting color and allowed to set.
- The Assembly: A single-bar mold is filled roughly three-quarters full with a base color. Just before a skin forms, the 3D shape is pressed firmly into the top, allowing the upper portion of the object to project out into open air.
Professional Insights: Industry Best Practices
Commercial soap designers emphasize several non-negotiable rules for defect-free production:

- Moisture Retention During Reheating: Repeatedly melting soap bases causes evaporation, thickening the mixture and trapping air. Makers should introduce ½ teaspoon of distilled water per pound of soap base when managing multiple reheat cycles.
- The Role of Isopropyl Alcohol: Rubbing alcohol is not merely a cleaning agent in soap crafting; it is a chemical bonding catalyst. Spritzing layers dissolves surface tension, eradicates micro-bubbles, and prevents the "separation layer" phenomenon where stacked pours peel apart during use.
- Preventing Floating Embeds: If an embed is too light, it will naturally buoy to the top of a liquid pour. Allowing the base layer to form a firm, tested skin before introduction—or lightly chilling embeds in a refrigerator prior to placement—eliminates unwanted shifting.
Troubleshooting Common Crafting Failures
| Issue | Root Cause | Corrective Action |
|---|---|---|
| Embeds Sinking/Shifting | Base layer was too hot or completely liquid upon placement. | Wait until the base layer forms a sturdy, dent-resistant skin before adding embeds. |
| Cloudy Clear Base | Overheating in the microwave, causing moisture loss and scorching. | Heat in 30-second bursts at medium power; stir thoroughly between intervals. |
| Inter-Layer Cracking | The bottom layer cooled entirely and formed a hard, dry barrier before the next pour. | Pour subsequent layers while the previous layer is still slightly warm and tacky; use a heavy alcohol spritz. |
Implications for Hobbyists and Small Businesses
The accessibility of advanced melt-and-pour techniques has transformed the landscape of artisanal bath and body manufacturing. For the casual hobbyist, mastering embedded shapes unlocks a limitless spectrum of seasonal gifts, holiday themes, and personalized aesthetics without the industrial hazards associated with traditional lye handling.

For micro-entrepreneurs and Etsy storefronts, the economic implications are equally significant. Melt-and-pour crafting reduces production bottlenecks, eliminates long curing weeks, and allows for rapid scalability. By elevating standard glycerin soap into sculptural, multi-dimensional works of functional art, creators can command higher price points in a competitive artisan marketplace, proving that efficiency and high-end design can coexist seamlessly in the modern crafting studio.