






NEW YORK — In the rapidly expanding $40 billion global artisanal bath and body market, DIY crafting has evolved far beyond a simple pandemic-era pastime. Today, home-based creators and boutique entrepreneurs alike are pushing the boundaries of aesthetics, turning functional hygiene items into gallery-worthy interior decor. Among the most sought-after techniques in this creative renaissance is the color-swirled melt-and-pour soap bar.
While visually striking and seemingly effortless upon slicing, achieving professional-grade, crisp, clean swirls requires navigating a delicate intersection of thermodynamics, polymer chemistry, and precise timing. Unlike its notoriously complex cousin—cold process soaping, which relies on raw lye and caustic oils—melt-and-pour offers a beginner-friendly entry point, but introduces its own unique set of physical constraints.
Industry experts and veteran formulators emphasize that understanding the unique thermal behavior of glycerin-based soap bases is the single most critical factor in moving from amateur blobs to stunning, magazine-worthy artisan creations.

1. The Chemistry of the Craft: Melt-and-Pour vs. Cold Process
To understand why swirling melt-and-pour soap requires a specialized playbook, one must first examine the fundamental differences between soap-making methodologies.
In traditional cold process soap-making, vegetable oils and animal fats are mixed with a sodium hydroxide (lye) solution. This triggers a chemical reaction called saponification, resulting in a gradual thickening of the mixture known as "trace." This pudding-like consistency provides a generous, forgiving window of time—often ranging from 30 minutes to over an hour—allowing artisans to manipulate the batter into intricate ribbons and waves.
Melt-and-pour soap, conversely, utilizes a pre-saponified base. The manufacturer has already completed the chemical saponification process, melted the resulting soap down, and poured it into blocks for resale.

"Melt-and-pour does not reach a traditional trace," explains master soap artisan Elena Vance. "It cools and sets exponentially faster. If you approach melt-and-pour with a cold process mindset, you will find yourself staring at a solid block of soap before you have even picked up your swirling tool. The window of opportunity is measured in minutes, not hours."
Because the soap base relies entirely on ambient cooling rather than an ongoing chemical reaction to set, temperature control is absolute.
2. Comprehensive Supply Checklist
Preparation is the bedrock of success in melt-and-pour artistry. Because the cooling window is so narrow, scrambling for equipment mid-process is a recipe for muddy, overworked soap. Artisans should organize their workstations thoroughly before applying any heat.

Essential Ingredients
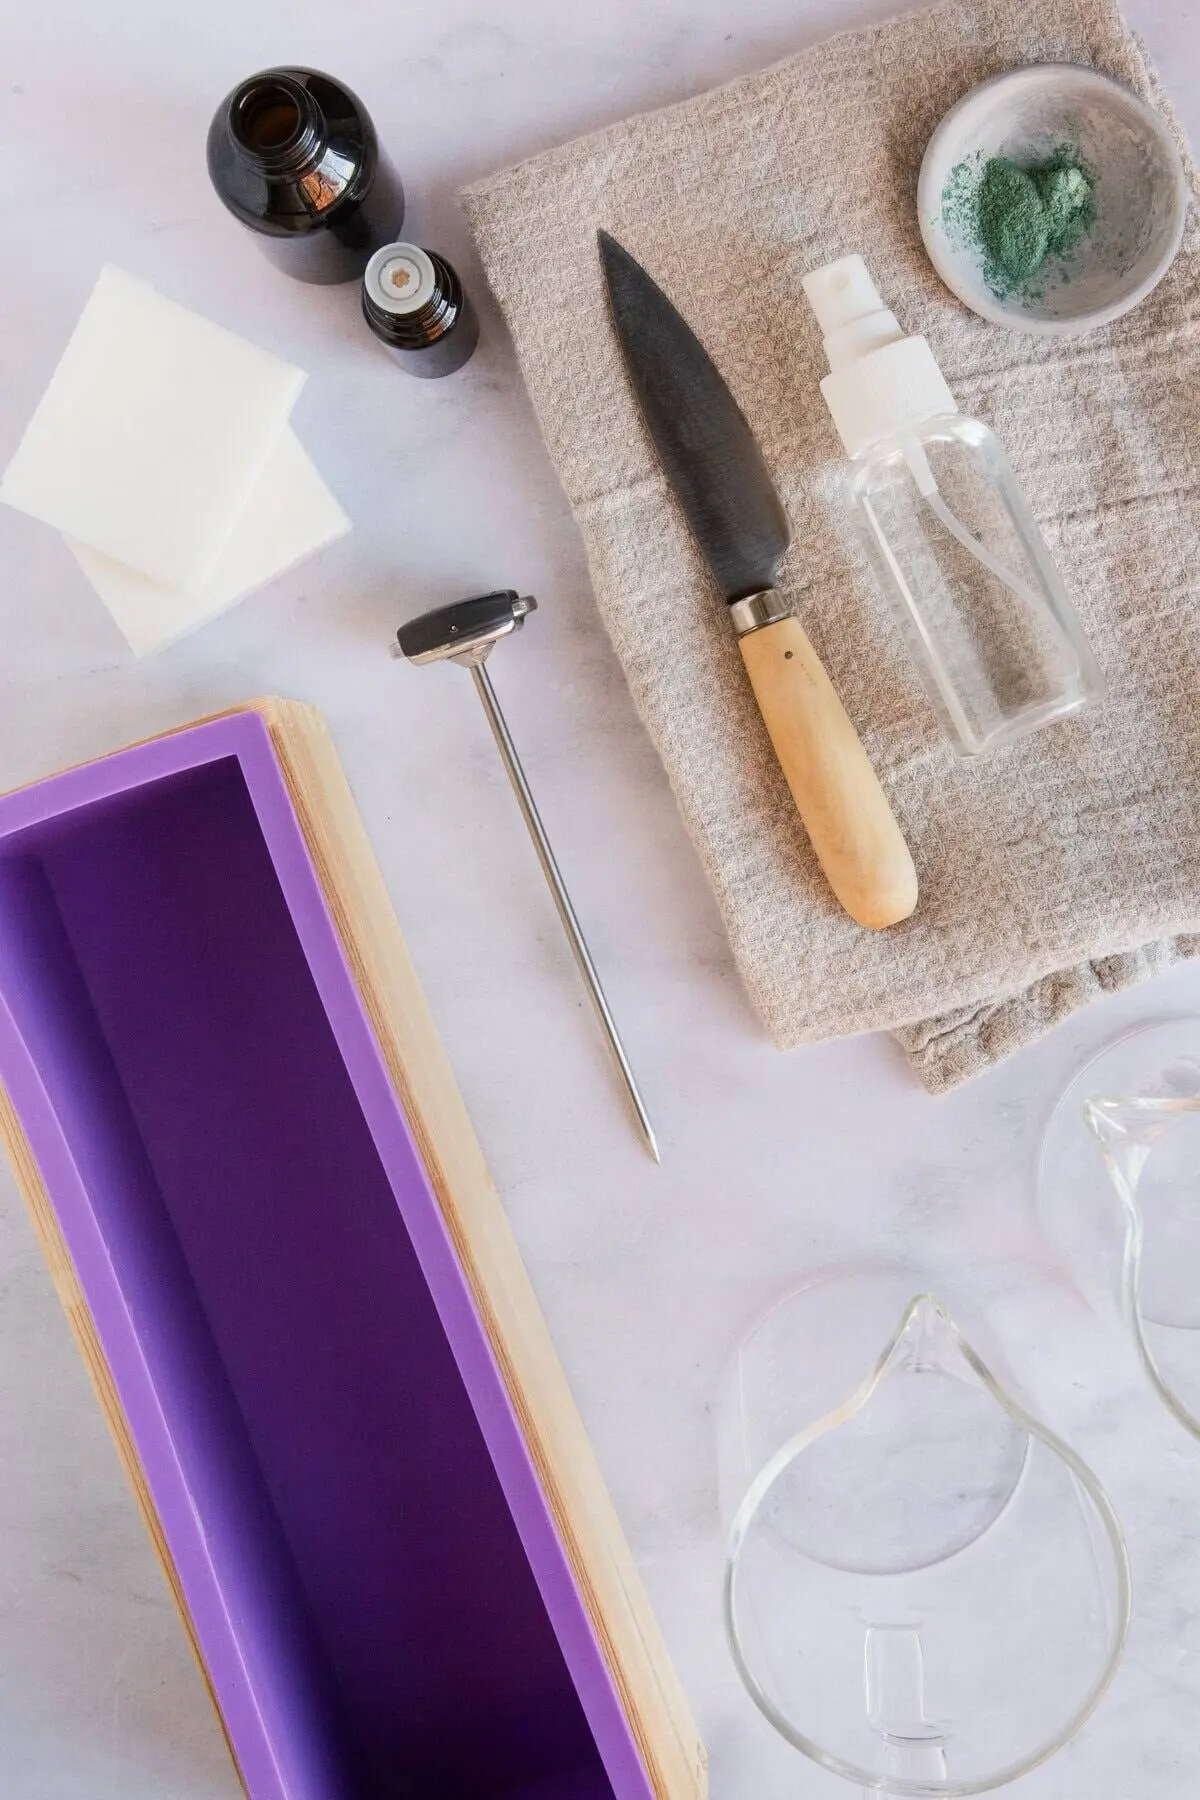
- Soap Base: A high-quality, uniform melt-and-pour base (such as clear glycerin or a white goat’s milk base). Consistency across all containers is mandatory.
- Colorants: Non-bleeding mica powders or color blocks specifically formulated for melt-and-pour soap. Avoid standard water-based food colorings, which will bleed and separate.
- Fragrance: Skin-safe essential oils or premium fragrance oils.
- Solvent: 99% isopropyl (rubbing) alcohol in a spray bottle.
Professional Tooling
- Cutting Equipment: A sharp kitchen knife or soap cutter for cubing the base.
- Melting Vessels: Multiple microwave-safe containers or a multi-pot double boiler setup (one for each color).
- Precision Instrument: A digital infrared or probe thermometer. Guesswork is the enemy of the swirl.
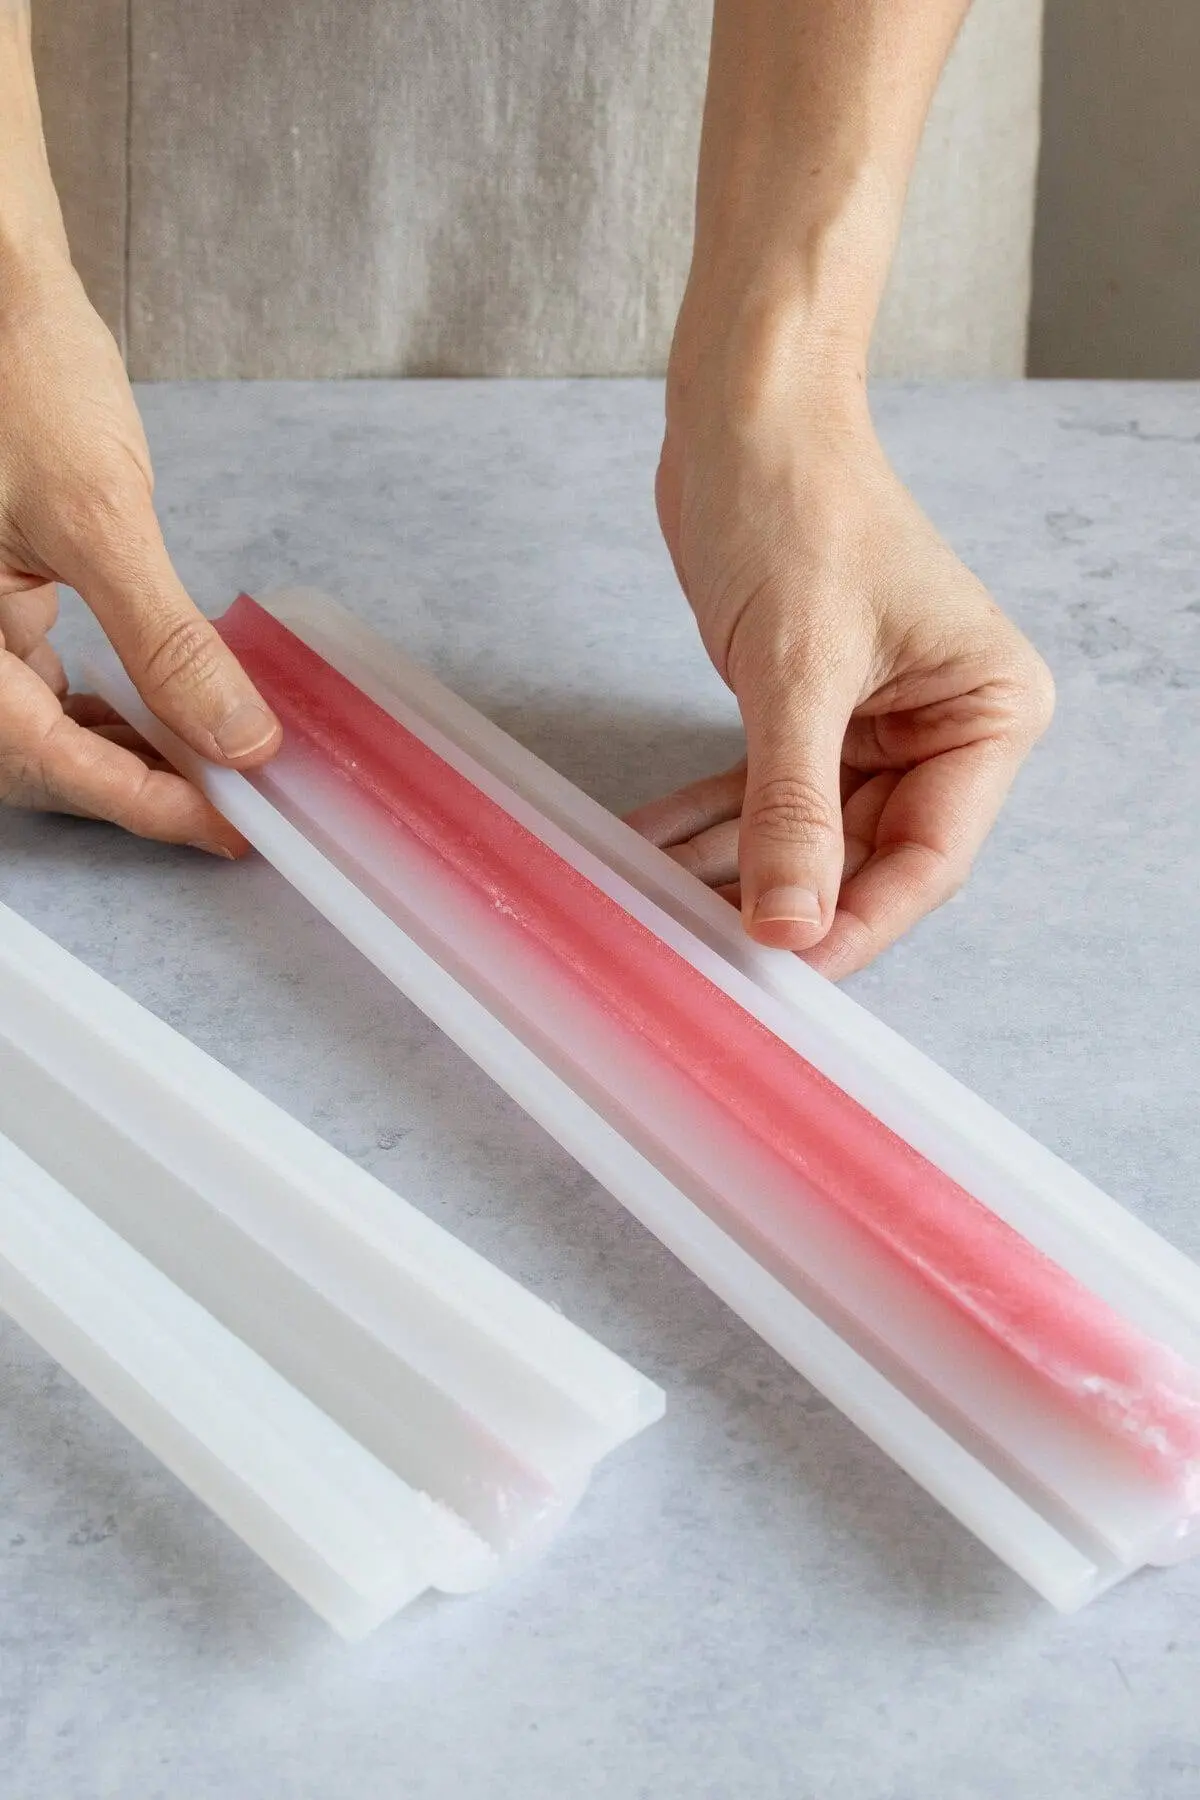
- Shaping Equipment: A silicone loaf mold or individual cavity molds.
- Swirling Utensils: Wooden bamboo skewers, metal coffee stirrers, or chopsticks.
- Safety Gear: Heat-resistant gloves and protective eyewear when handling hot liquids.
3. Chronological Step-by-Step Execution Protocol
Executing a flawless swirl requires strict adherence to a chronological workflow. Follow these five phases systematically to achieve professional results.
Phase 1: Prep and Melt
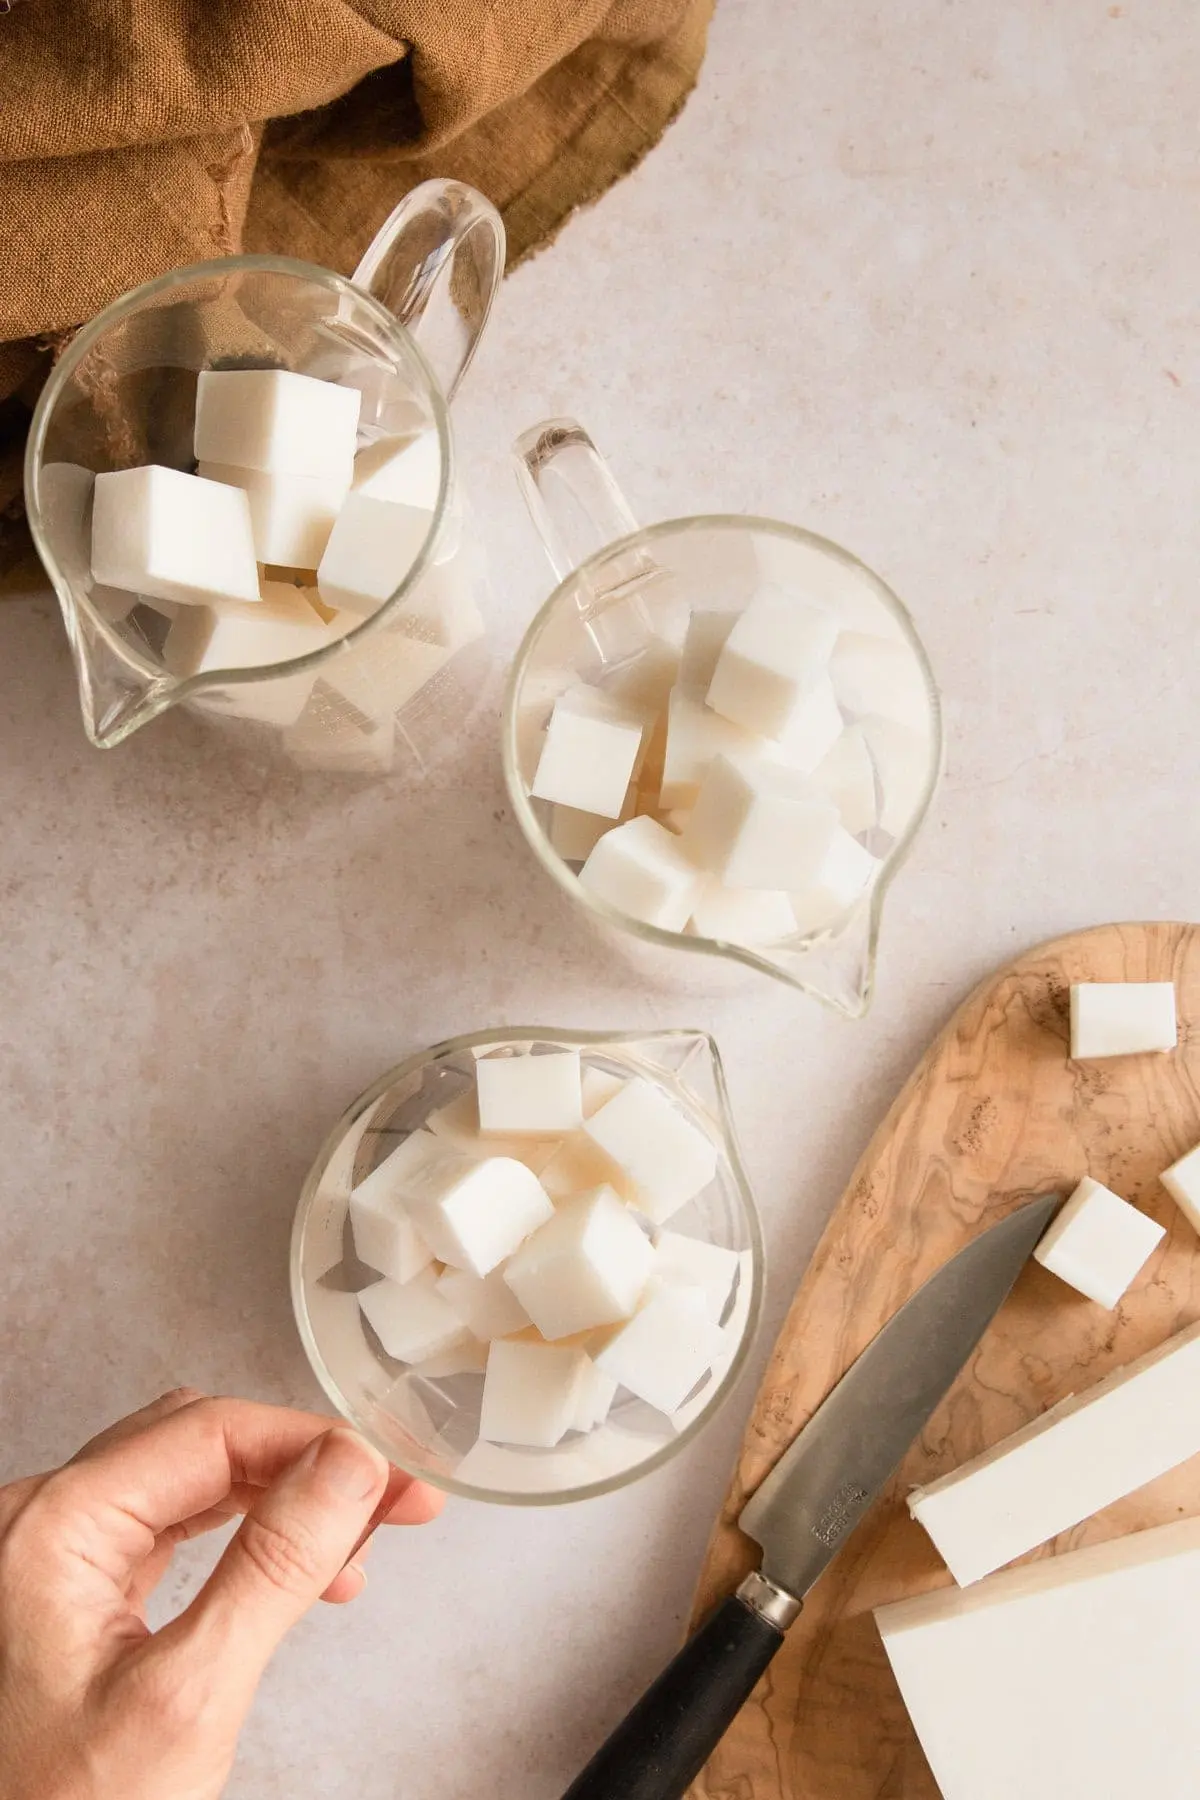
Begin by cutting your chosen soap base into small, uniform cubes. Uniformity ensures that the base melts evenly without scorching. Divide the cubes into separate microwave-safe containers corresponding to the number of colors you intend to feature.
Heat the containers in short, controlled bursts—ideally 30 seconds at a time in the microwave, stirring gently between intervals to release trapped heat—or utilize a gentle double boiler setup.

Phase 2: Incorporation of Color and Scent
Once the soap base has liquefied into a smooth, translucent or opaque fluid, introduce your mica powder and essential oils to each respective container. Stir thoroughly to ensure complete dispersion.
Professional Tip: If using mica powders, create a small slurry by mixing the powder with a few drops of rubbing alcohol before adding it to the melted base. This prevents stubborn clumps from forming in the soap.
Phase 3: The Critical Temperature Threshold
Temperature control dictates 90% of your final outcome. Allow your melted containers to cool down to the optimal swirling "sweet spot"—approximately 120°F (49°C).

- Too Hot (135°F+): The low viscosity causes the colors to bleed instantly into one another upon contact, resulting in an unappealing, muddy aesthetic.
- Too Cool (Sub-115°F): The soap begins premature surface solidification (skinning over), rendering it impossible to pull clean, elegant lines.
Utilize a digital thermometer to monitor this drop precisely. Do not rely on touch alone.
Phase 4: The Pour and the Swirl
When your colors reach 120°F, execute your pour using one of two primary methodologies:
- The Divided Technique: Utilizing physical dividers inside the mold to keep colors separated until the final moment. (Note: Industry testing reveals this method often results in minor leakage around silicone seals; free-form pouring remains the industry favorite).
- The Free-Form Method: Alternating colors from varying heights. High-velocity pours from an elevated position encourage deep integration and movement, while low-level pours keep the colors contained.
Executing the Swirl: Insert a skewer or chopstick into the soap. Do not stir. Stirring homogenizes the mixture and destroys the design. Instead, execute a light, gliding motion, dragging one color into another with a maximum of one to two deliberate passes. Over-swirling is the primary cause of washed-out, indistinct lines.

Phase 5: Surface Finishing and Curing
Immediately spritz the top surface of the freshly poured soap with 99% isopropyl alcohol. This breaks the surface tension, instantly eliminating unsightly air bubbles and creating a pristine finish.
Leave the mold completely undisturbed on a flat, vibration-free surface. Moving the mold prematurely can warp the settling lines and ruin the design. Allow the loaf to cure fully—ranging from several hours to overnight—before attempting to unmold and slice.
4. Supporting Data and Industry Insights
According to market research compiled by artisan craft associations, consumer preferences in handmade personal care products have shifted heavily toward visual storytelling.

| Metric / Indicator | Industry Standard / Finding | Impact on Final Product |
|---|---|---|
| Optimal Pour Temperature | 120°F (±2 degrees) | Prevents thermal color bleeding while maintaining fluid workability. |
| Swirl Pass Limit | 1 to 2 passes maximum | Preserves sharp definition; prevents muddy homogenization. |
| Alcohol Purity | 99% Isopropyl | Effectively eradicates surface bubbles without leaving water residue. |
| Base Consistency | Same brand/line exclusively | Prevents differential settling caused by varying density weights. |
Artisans who adhere to strict temperature protocols report a 75% reduction in failed batches, significantly lowering material waste and increasing the commercial viability of their home studios.
5. Official Responses and Expert Troubleshooting
Even experienced soap makers encounter technical anomalies. The Melt-and-Pour Formulators Guild has released official guidelines addressing the most frequent production hurdles:
- The Issue of Muddy Colors: Diagnosis: Pouring temperatures exceeded safety parameters. Remedy: Strictly enforce the 120°F rule using calibrated digital probes.
- Stratification (Sinking/Floating Layers): Diagnosis: Mixing incompatible bases (e.g., combining a heavy goat’s milk base with a light clear glycerin base). Remedy: Standardize all color pots to use the exact same base product and manufacturer line.
- Premature Solidification: Diagnosis: Ambient room temperatures are too low or cooling occurred too rapidly. Remedy: Keep pouring containers resting in a shallow, warm water bath or gently reheat in 15-second microwave increments if chunking begins.
- Post-Setting Bleed Lines: Diagnosis: Utilization of water-based or non-approved chemical dyes. Remedy: Transition exclusively to cosmetic-grade mica powders or synthetic pigments labeled specifically for melt-and-pour applications.
6. Implications for the Artisanal Economy
The democratization of soap-making through accessible techniques like melt-and-pour swirling has profound implications for the micro-entrepreneurial landscape. Platforms like Etsy and local weekend farmers’ markets have seen exponential growth in hyper-local, aesthetic-driven bath product vendors.

By mastering chemical control and advanced visual composition, independent creators can produce luxury-grade goods that rival commercial cosmetic houses at a fraction of the overhead cost. Furthermore, as consumers increasingly demand transparency, cruelty-free production, and sustainable sourcing, small-batch artisans positioned at the intersection of chemistry and artistry are uniquely poised to capture market share in the booming self-care economy.