







WASHINGTON — In the burgeoning artisanal wellness sector, hand-crafted personal care products continue to command consumer loyalty. Among the myriad DIY disciplines, soapmaking remains a staple of the maker movement. While traditional cold-process soapmaking often dominates online tutorials, a parallel technique—melt-and-pour soapmaking—has quietly evolved into a sophisticated craft.
Far from the simplistic, craft-store cliché it was once perceived to be, modern melt-and-pour crafting now incorporates precision temperature control, specialized colorants, and advanced kinetic pouring methods to achieve high-end aesthetic results. Central to this evolution is the color-swirl technique, a method that yields striking, gallery-worthy blocks of soap previously thought achievable only through traditional cold-process methods.

Main Facts: Mastering the Melt-and-Pour Medium
Unlike cold-process soap, which requires handling sodium hydroxide (lye) and waiting weeks for saponification and curing, melt-and-pour soap utilizes a pre-saponified base. Crafters simply melt the base, incorporate additives, and pour it into molds.
However, achieving intricate, crisp color swirls within a melt-and-pour framework introduces distinct physical and chemical challenges.

- The Speed Factor: Melt-and-pour soap cools and solidifies exponentially faster than cold-process batches.
- The Consistency Gap: It does not naturally reach "trace"—the thickened, pudding-like consistency that aids cold-process designers in keeping colors separated.
- The Thermal Window: Success hinges almost entirely on thermal management. Pouring too hot causes colors to bleed into a muddy, unified hue; pouring too cool results in premature solidification before a swirling tool can even be introduced.
According to seasoned formulators, mastering this craft requires treating the process with laboratory-grade precision, from digital thermometers to strictly controlled pouring heights.
Chronology: The Step-by-Step Production Process
For both novices and experienced artisans, achieving professional results requires adhering to a strict, time-sensitive workflow. Because the working window is narrow, preparation is paramount.

1. Preparation and Melting Phase
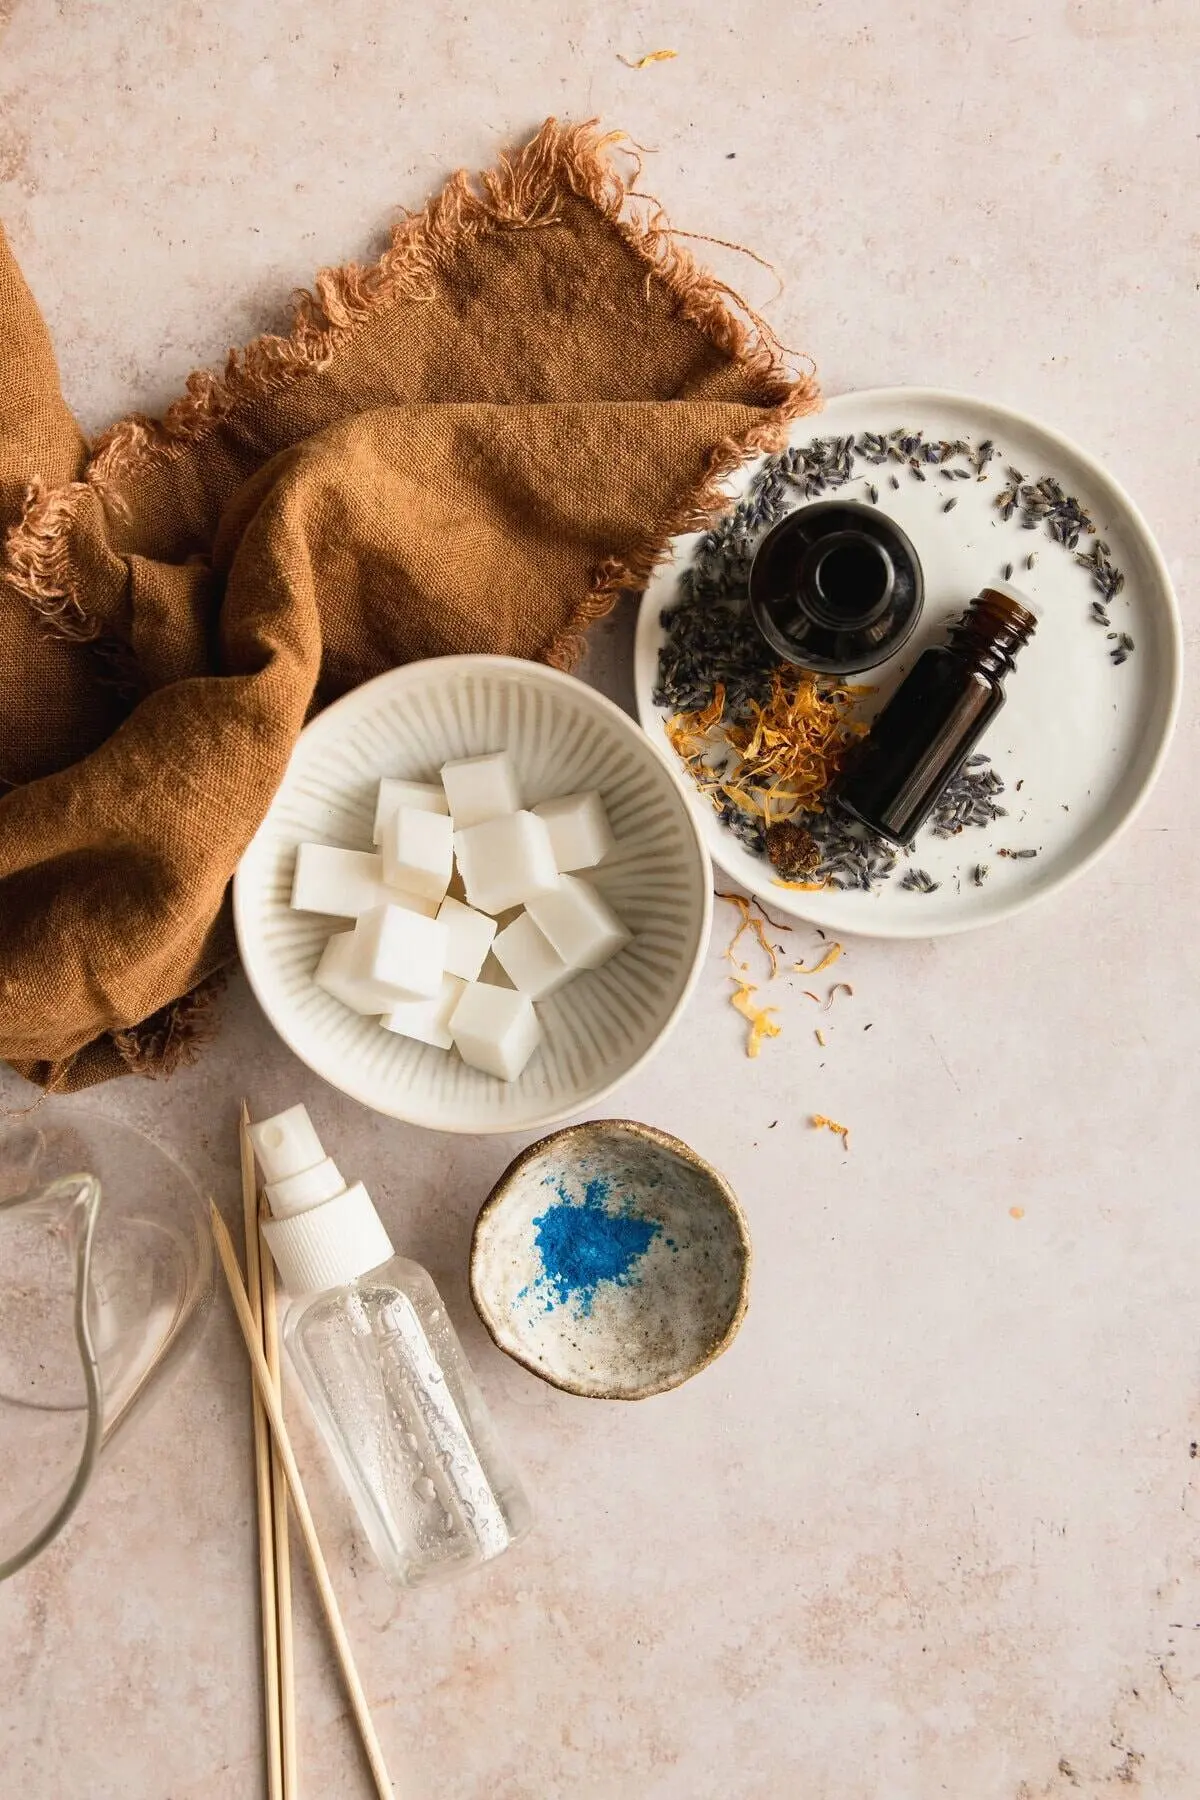
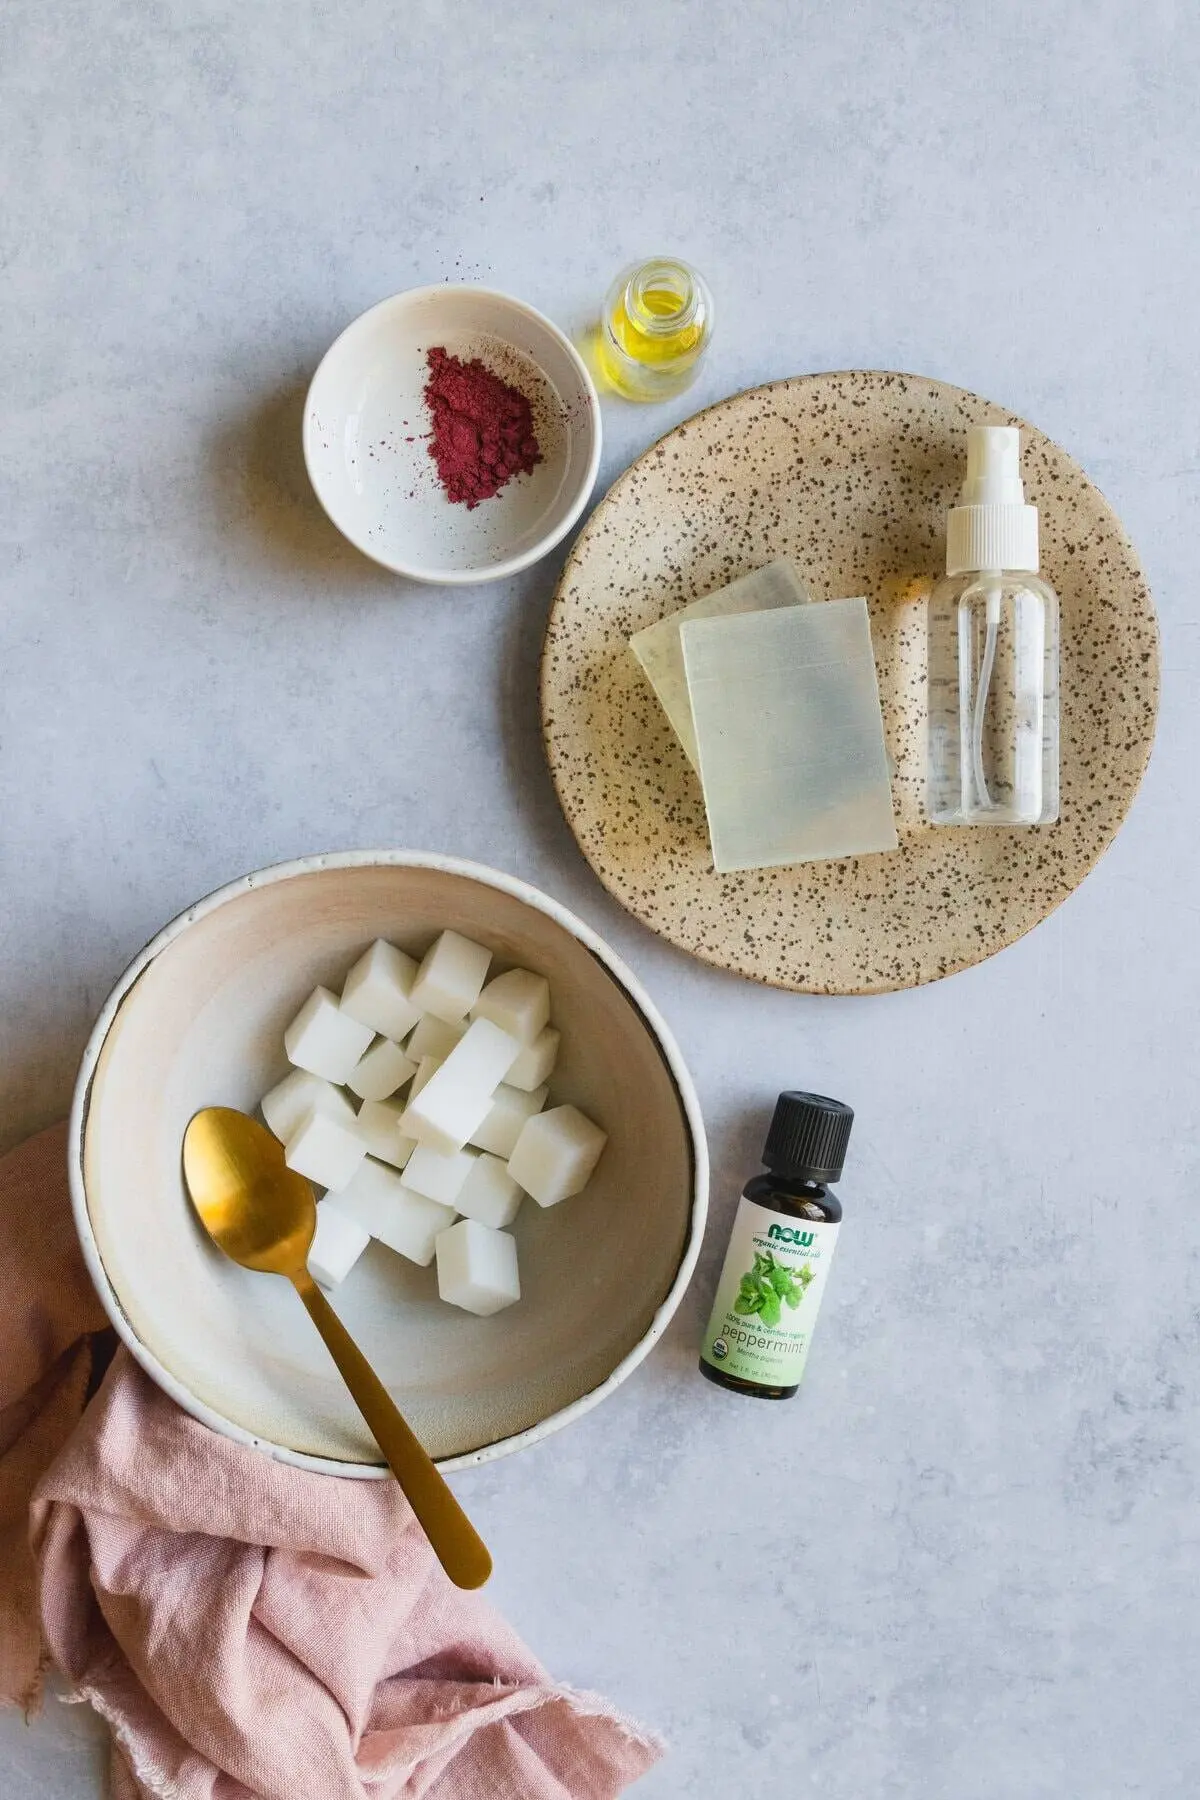
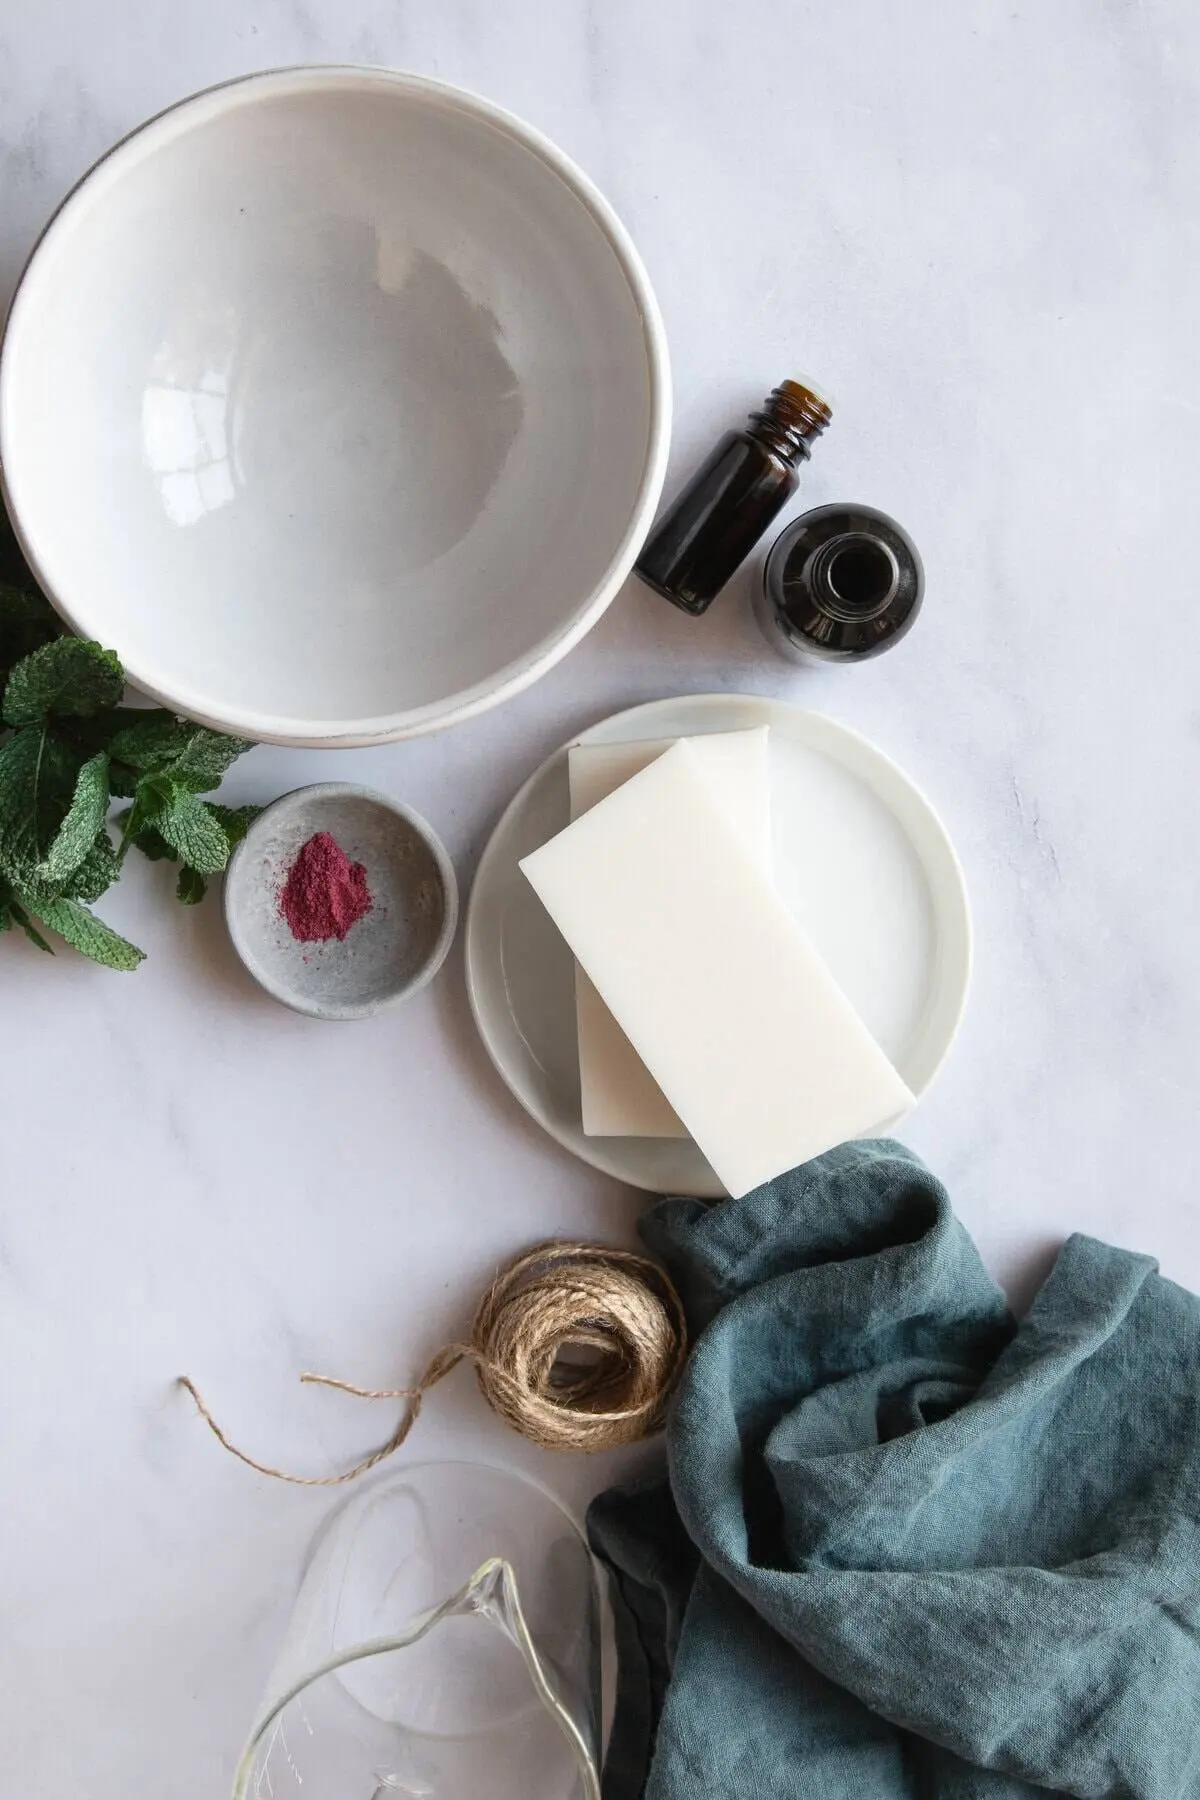
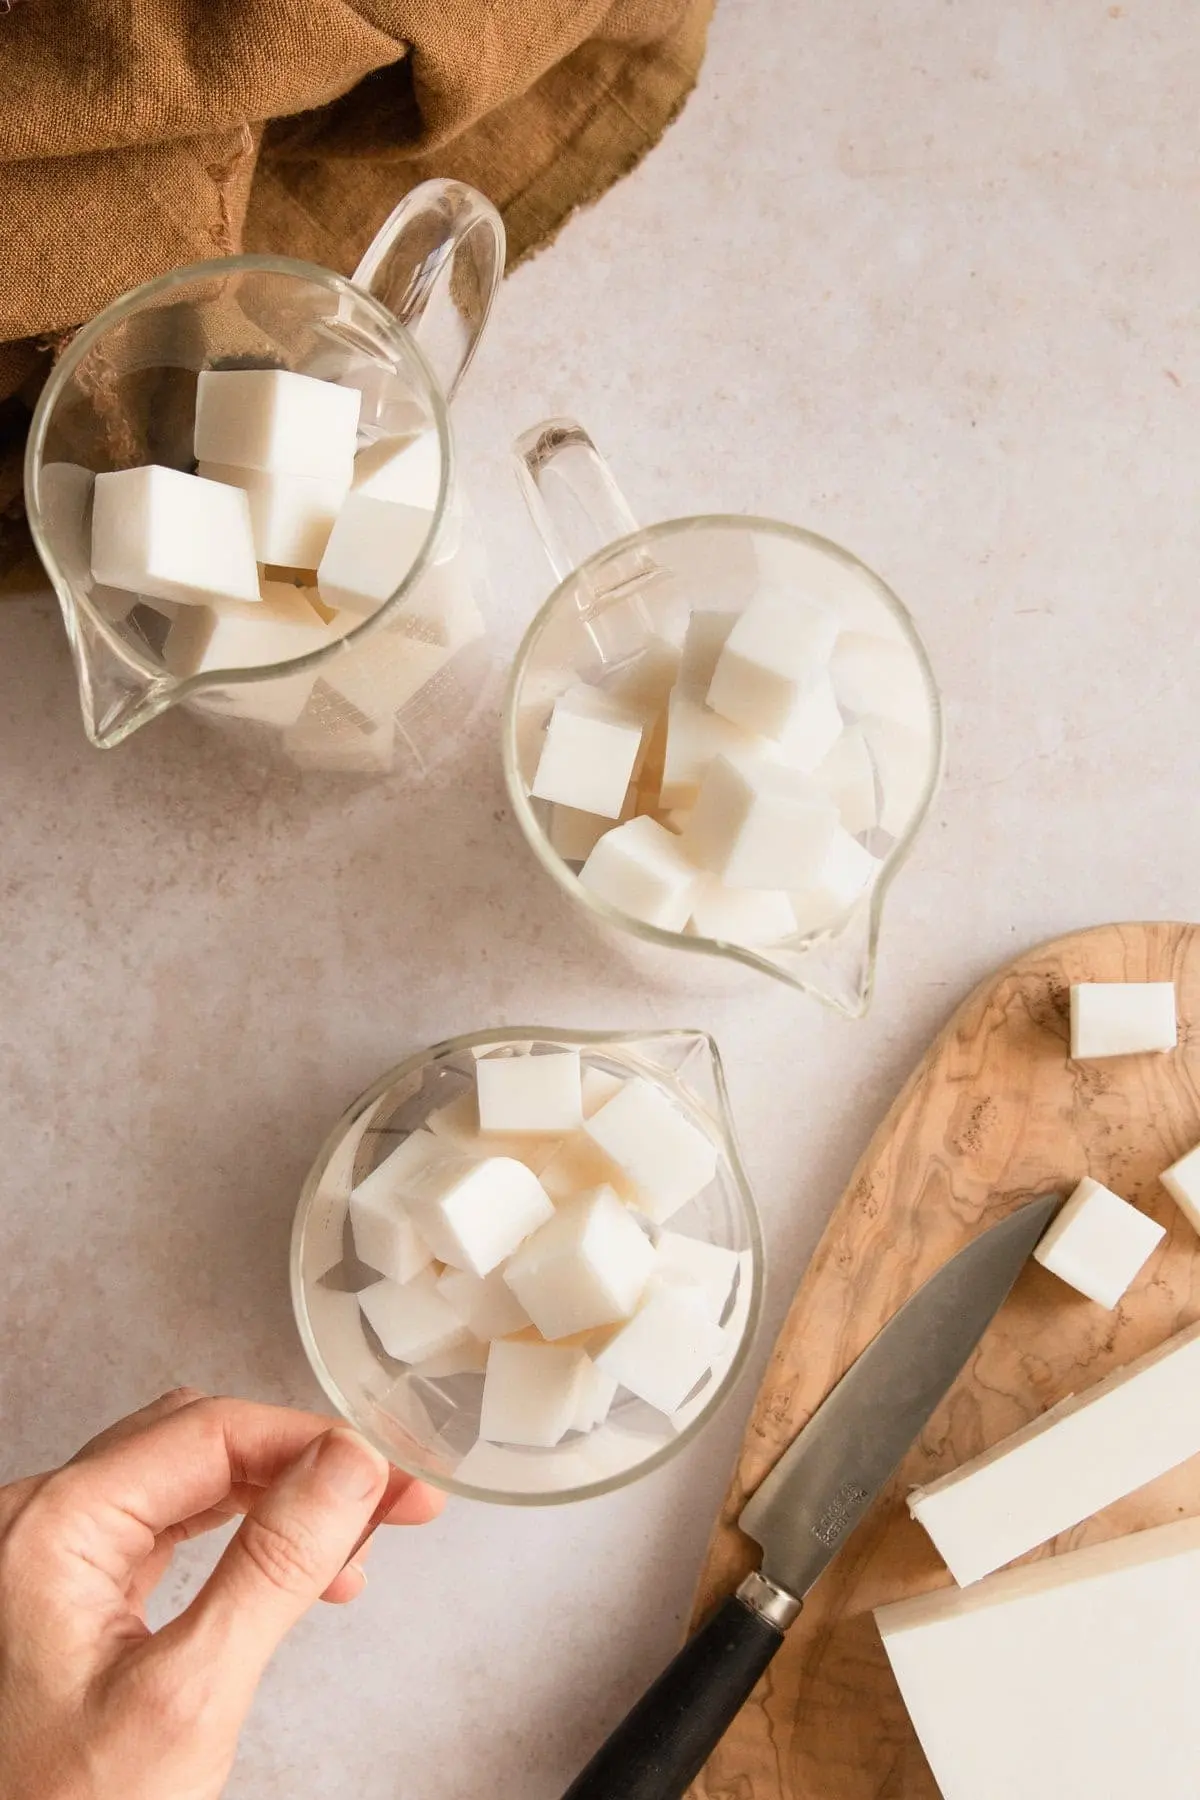
The process begins by reducing a solid block of melt-and-pour base into small, uniform cubes. Uniformity ensures that the material melts evenly without localized overheating.
- Divide the cubed base into separate, microwave-safe containers, allocating one vessel per intended color.
- Apply controlled heat using a microwave in short, 30-second intervals with frequent stirring, or utilize a traditional double boiler system.
2. Incorporation of Actives and Colorants
Once the base is completely liquefied, artisans introduce specialized colorants—typically non-bleeding mica powders—along with essential oils or skin-safe fragrance oils. Vigorous, thorough stirring ensures the pigment is evenly dispersed throughout the liquid base without creating excessive air bubbles.

3. Thermal Monitoring (The Sweet Spot)
Temperature control dictates the success or failure of the project. Formulators emphasize that guessing the temperature is the primary cause of failure.
- The ideal pouring temperature sits precisely at 120°F (approx. 49°C).
- At this threshold, the soap retains enough fluidity to accept a swirling tool while being cool enough to prevent the distinct pigment lines from dissolving into one another.
4. The Pouring Technique
Crafters generally choose between two primary pouring philosophies:

- Structured Dividers: Inserting physical barriers into the mold to keep colors separated initially. (Note: Field reports indicate that imperfect seals can cause leaks, leading many artisans to favor free-form techniques).
- Free-Form Layering: Pouring alternating colors into the mold from varying heights. High-velocity high pours generate deep internal movement, while low pours contain the liquid more predictably.
5. Kinetic Swirling
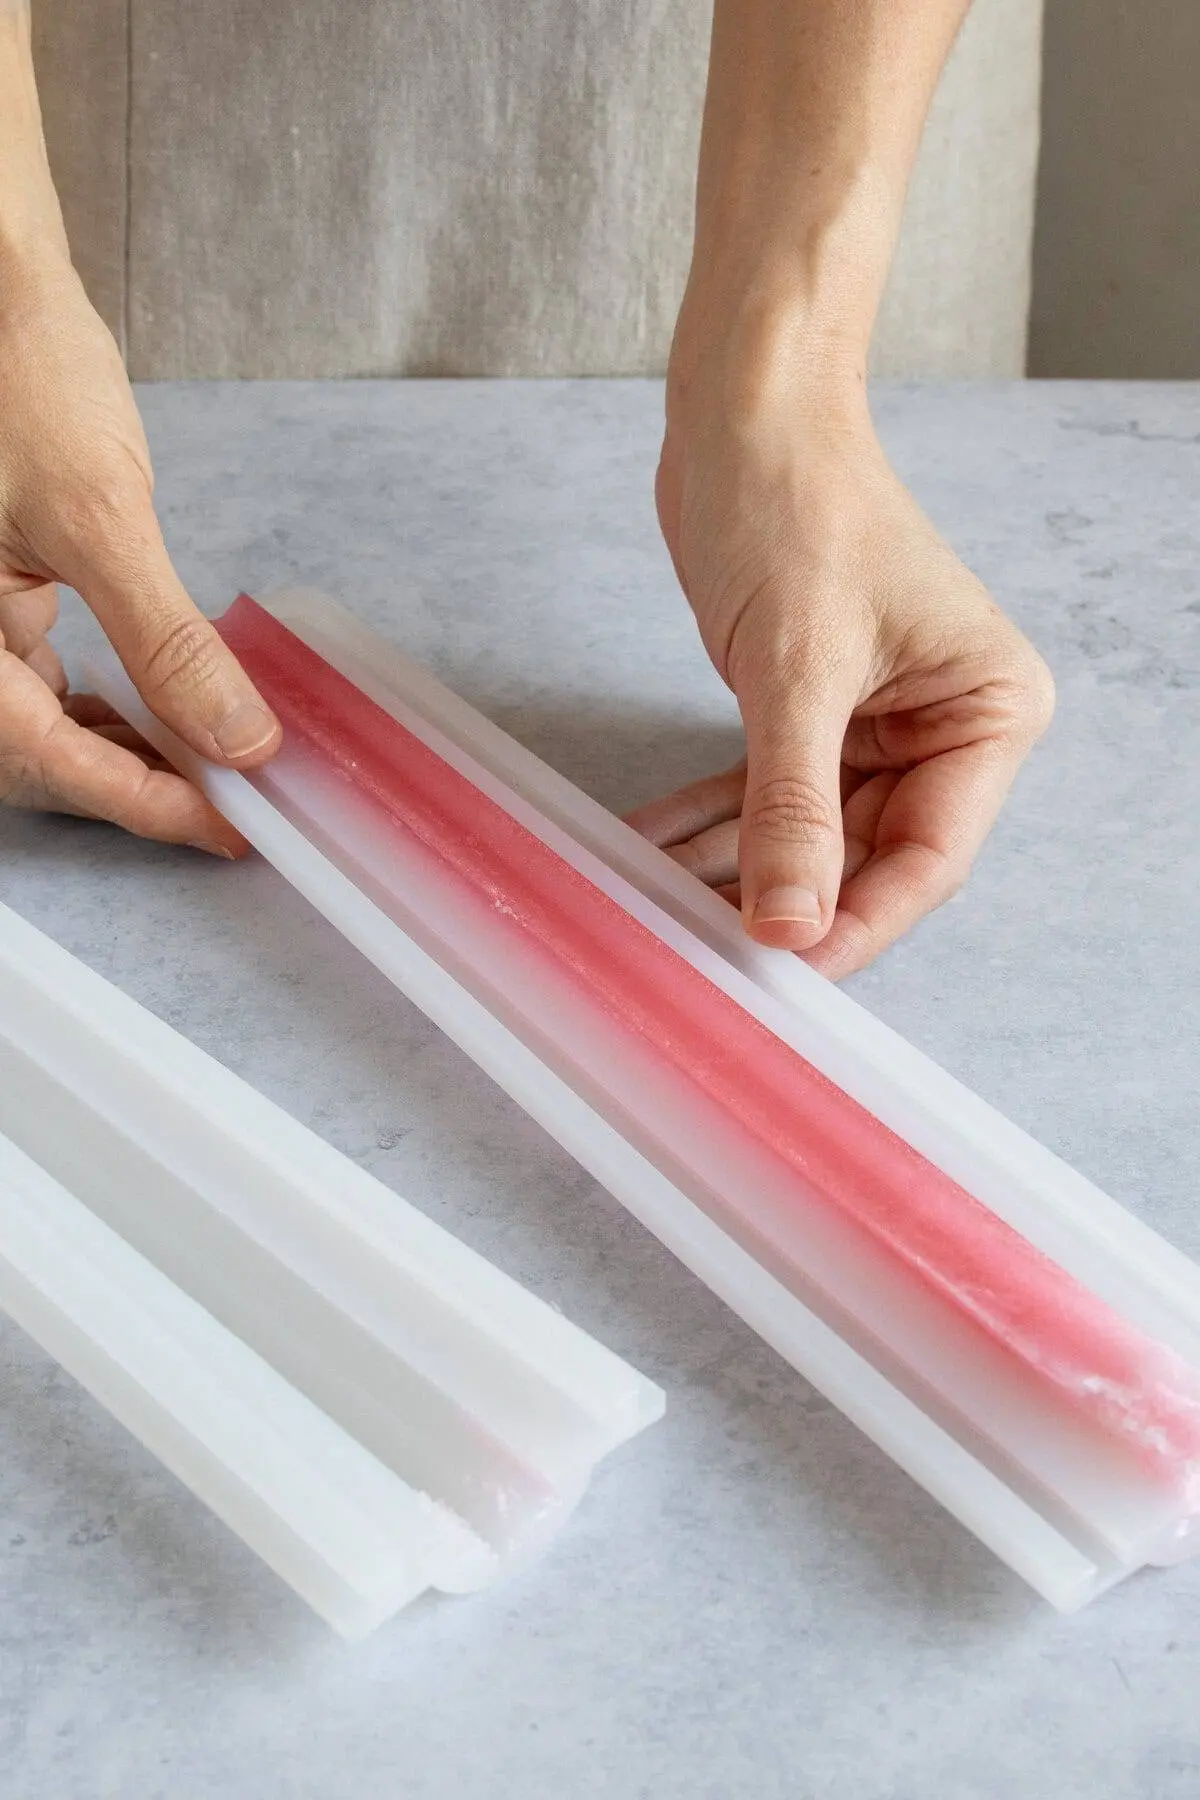
With the colors in the mold, the artisan introduces a skewer, chopstick, or specialized tool. The rule of thumb is subtraction over addition: the tool should glide smoothly through the medium just one to two times maximum. Over-working the design causes the distinct lines to fracture and blur.
6. Surface Finishing and Curing
Immediately following the swirl, the artisan applies a light mist of 99% isopropyl alcohol across the surface. This breaks the surface tension, instantly eliminating trapped air bubbles. The mold must then remain entirely stationary while the soap cools and hardens completely—a process that can take anywhere from a few hours to overnight.

Supporting Data: Variables That Impact the Final Cut
Artisanal chemistry relies heavily on material consistency. Industry data and crafter feedback highlight several critical variables that dictate the quality of the final product:
| Variable | Optimal Condition | Risk of Deviating |
|---|---|---|
| Pouring Temp | 120°F | >135°F causes muddy colors; <110°F causes premature setting. |
| Base Consistency | Same brand and type across all colors | Mixing densities (e.g., goat milk vs. clear glycerin) causes sinking or floating. |
| Swirl Passes | 1 to 2 gentle passes | Over-swirling muddies lines and destroys visual definition. |
| Alcohol Purity | 99% Isopropyl Alcohol | Lower concentrations (e.g., 70%) are less effective at breaking surface tension and popping bubbles. |
Additionally, final presentation often requires tactical adaptation. Experienced makers advise inspecting the cured soap loaf to identify where the most dynamic internal patterns formed, adjusting cut lines accordingly rather than relying on rigid, pre-measured measurements.

Troubleshooting Common Production Failures
Even with meticulous planning, environmental factors and human error can compromise a batch. Industry experts have cataloged standard remediation strategies for common pitfalls:
- Muddy or Blended Colors: Caused by pouring at too high a temperature. Remediation: Invest in an accurate digital infrared or probe thermometer to ensure the 120°F threshold is respected.
- Faint or Washed-Out Lines: The result of over-manipulation with the swirling tool. Remediation: Restrict the skewer to gentle, deliberate passes rather than continuous stirring.
- Stratification (Sinking/Rising Colors): Occurs when mixing bases with differing physical densities. Remediation: Strictly utilize identical soap bases and colorants sourced from the same manufacturer line.
- Premature Solidification: The soap thickens in the container before pouring. Remediation: Maintain containers in a warm water bath or gently reheat in the microwave in 15-second increments while stirring.
- Surface Bleeding Over Time: Pigments migrate post-production. Remediation: Transition exclusively to non-bleeding colorants, such as specialized micas or pre-formulated melt-and-pour color blocks.
Implications: The Growth of the At-Home Artisan Economy
The popularity of advanced melt-and-pour techniques points to a broader trend within the consumer goods landscape. As individuals seek creative outlets that blend chemistry, art, and self-care, the barriers to entry for sophisticated crafting continue to lower.

By de-risking the chemical processes traditionally associated with soapmaking—such as eliminating the handling of caustic lye—melt-and-pour methods empower a wider demographic of makers to experiment with design theory, color theory, and structural aesthetics. Furthermore, the economic implications are notable: small-batch artisans leveraging these precise techniques are increasingly able to scale local micro-businesses, supplying boutique storefronts and direct-to-consumer digital marketplaces with high-margin, visually arresting personal care goods.
As material science improves and specialized, non-bleeding colorants become more widely accessible, the ceiling for what can be achieved in a simple home kitchen continues to rise, proving that functional everyday objects can double as transient canvases of design.