






For enthusiasts of handmade bath and body products, the journey often begins with simplicity: a single-color, single-scent bar of melt-and-pour soap. While functional and satisfying, the basic bar eventually leaves artisans craving more complex visual and sensory expressions. Enter layering—a transformative technique that elevates unassuming craft projects into professional-grade, multi-dimensional works of art.
Whether an artisan seeks striking, geometric horizontal stripes or playful, avant-garde diagonal cuts, mastering the layered aesthetic requires no specialized industrial machinery or advanced chemical degrees. Instead, success hinges on an understanding of thermodynamic principles, precise timing, and a standard bottle of rubbing alcohol.

Main Facts: The Anatomy of Melt-and-Pour Layering
At its core, layering melt-and-pour soap involves sequentially pouring distinct colors, fragrances, or soap bases into a mold, allowing each stratum to partially solidify before introducing the next. Unlike traditional cold-process soapmaking, which relies on a saponification chemical reaction between fats and lye, melt-and-pour utilizes a pre-saponified base. This eliminates hazardous handling while offering creators total control over design placement.
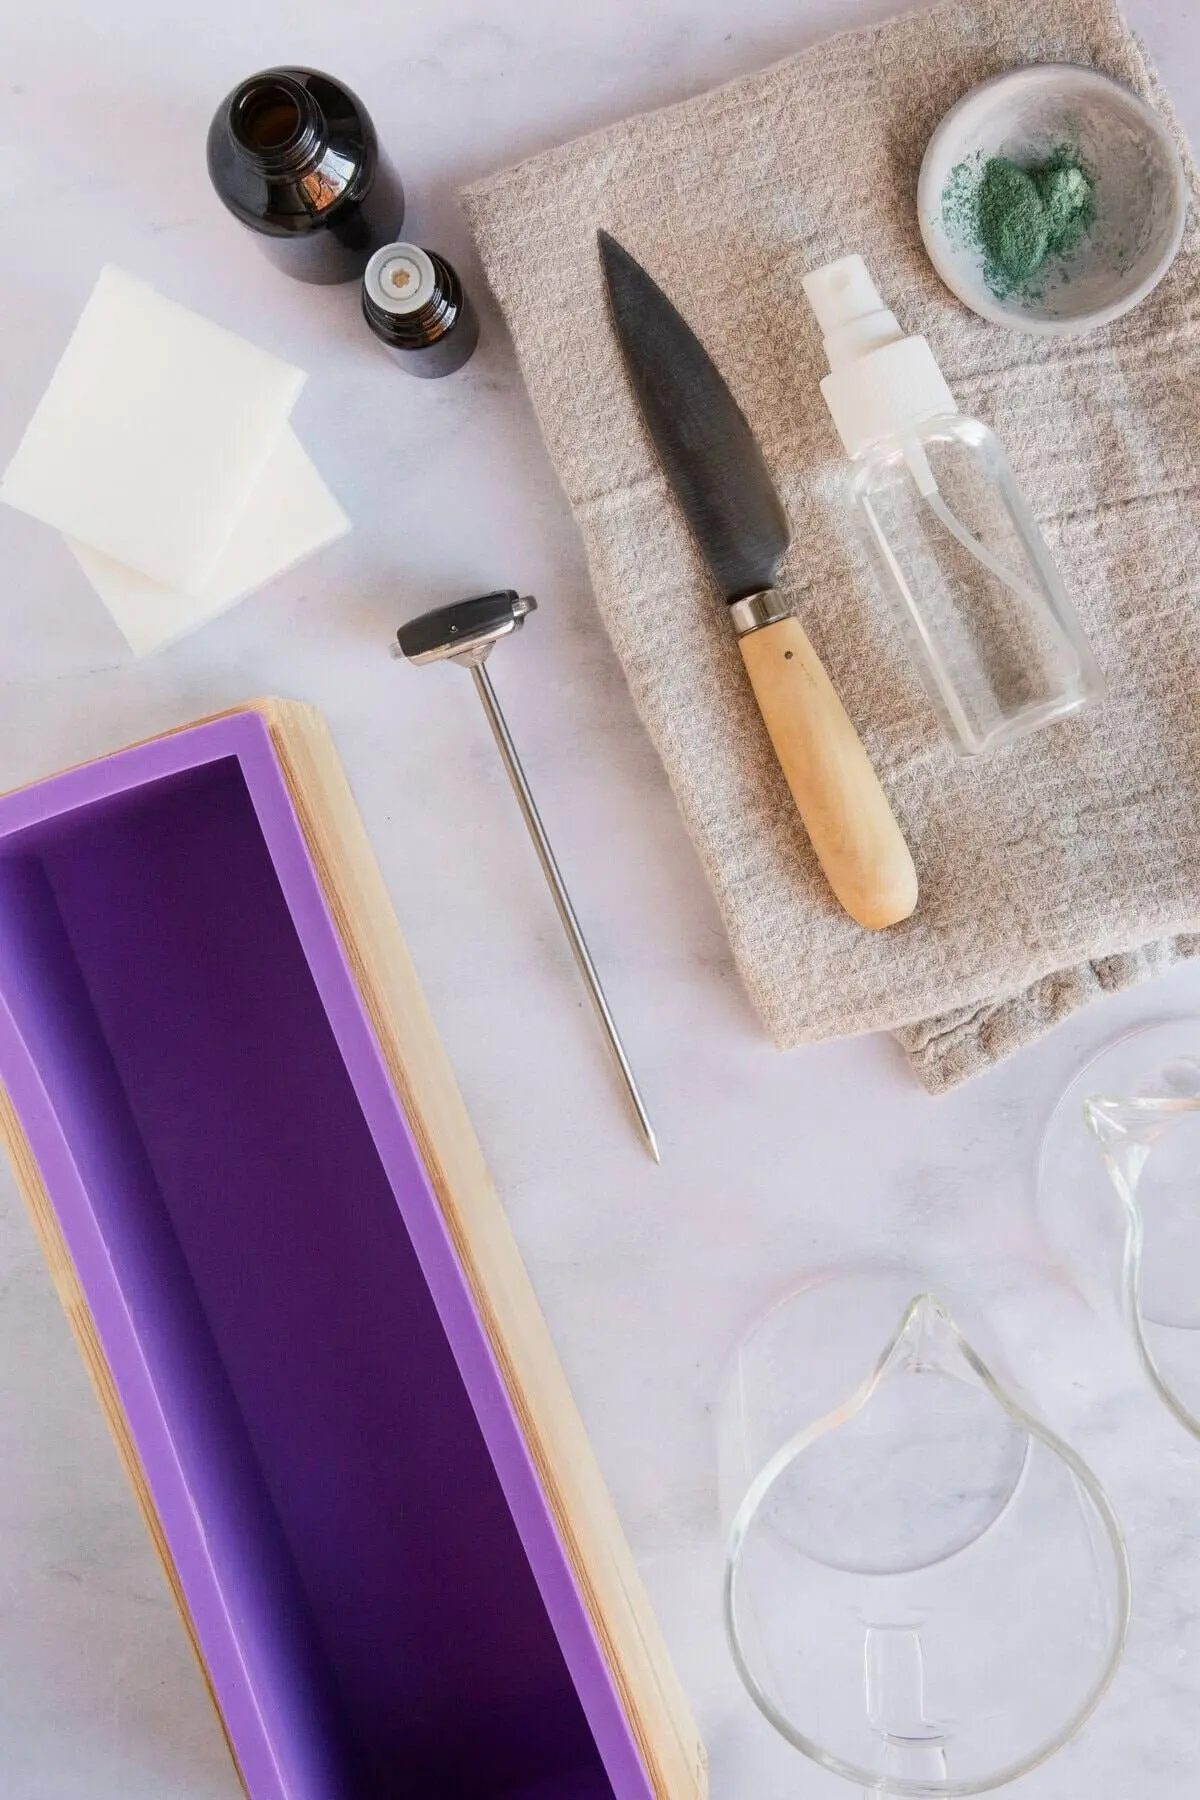
The foundational requirements for achieving flawless layers are deceptively simple:

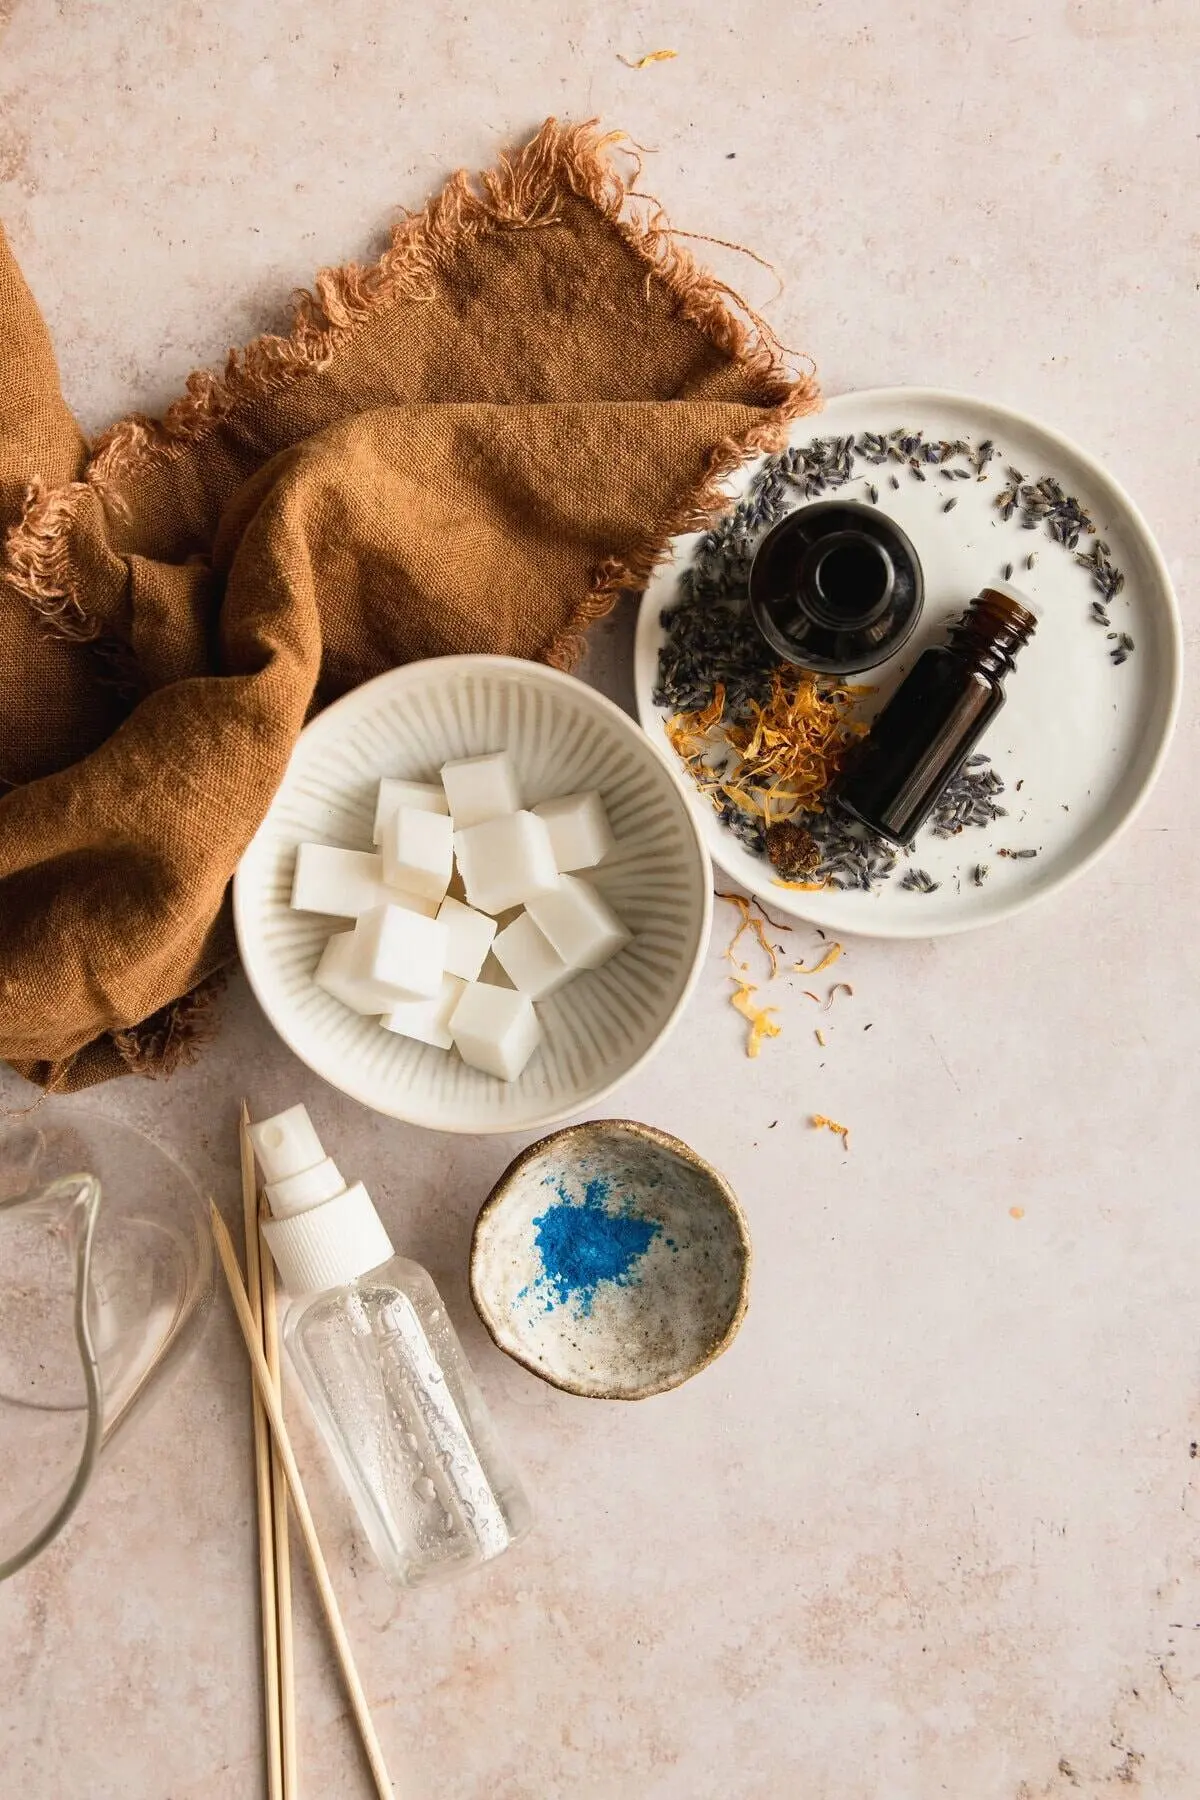
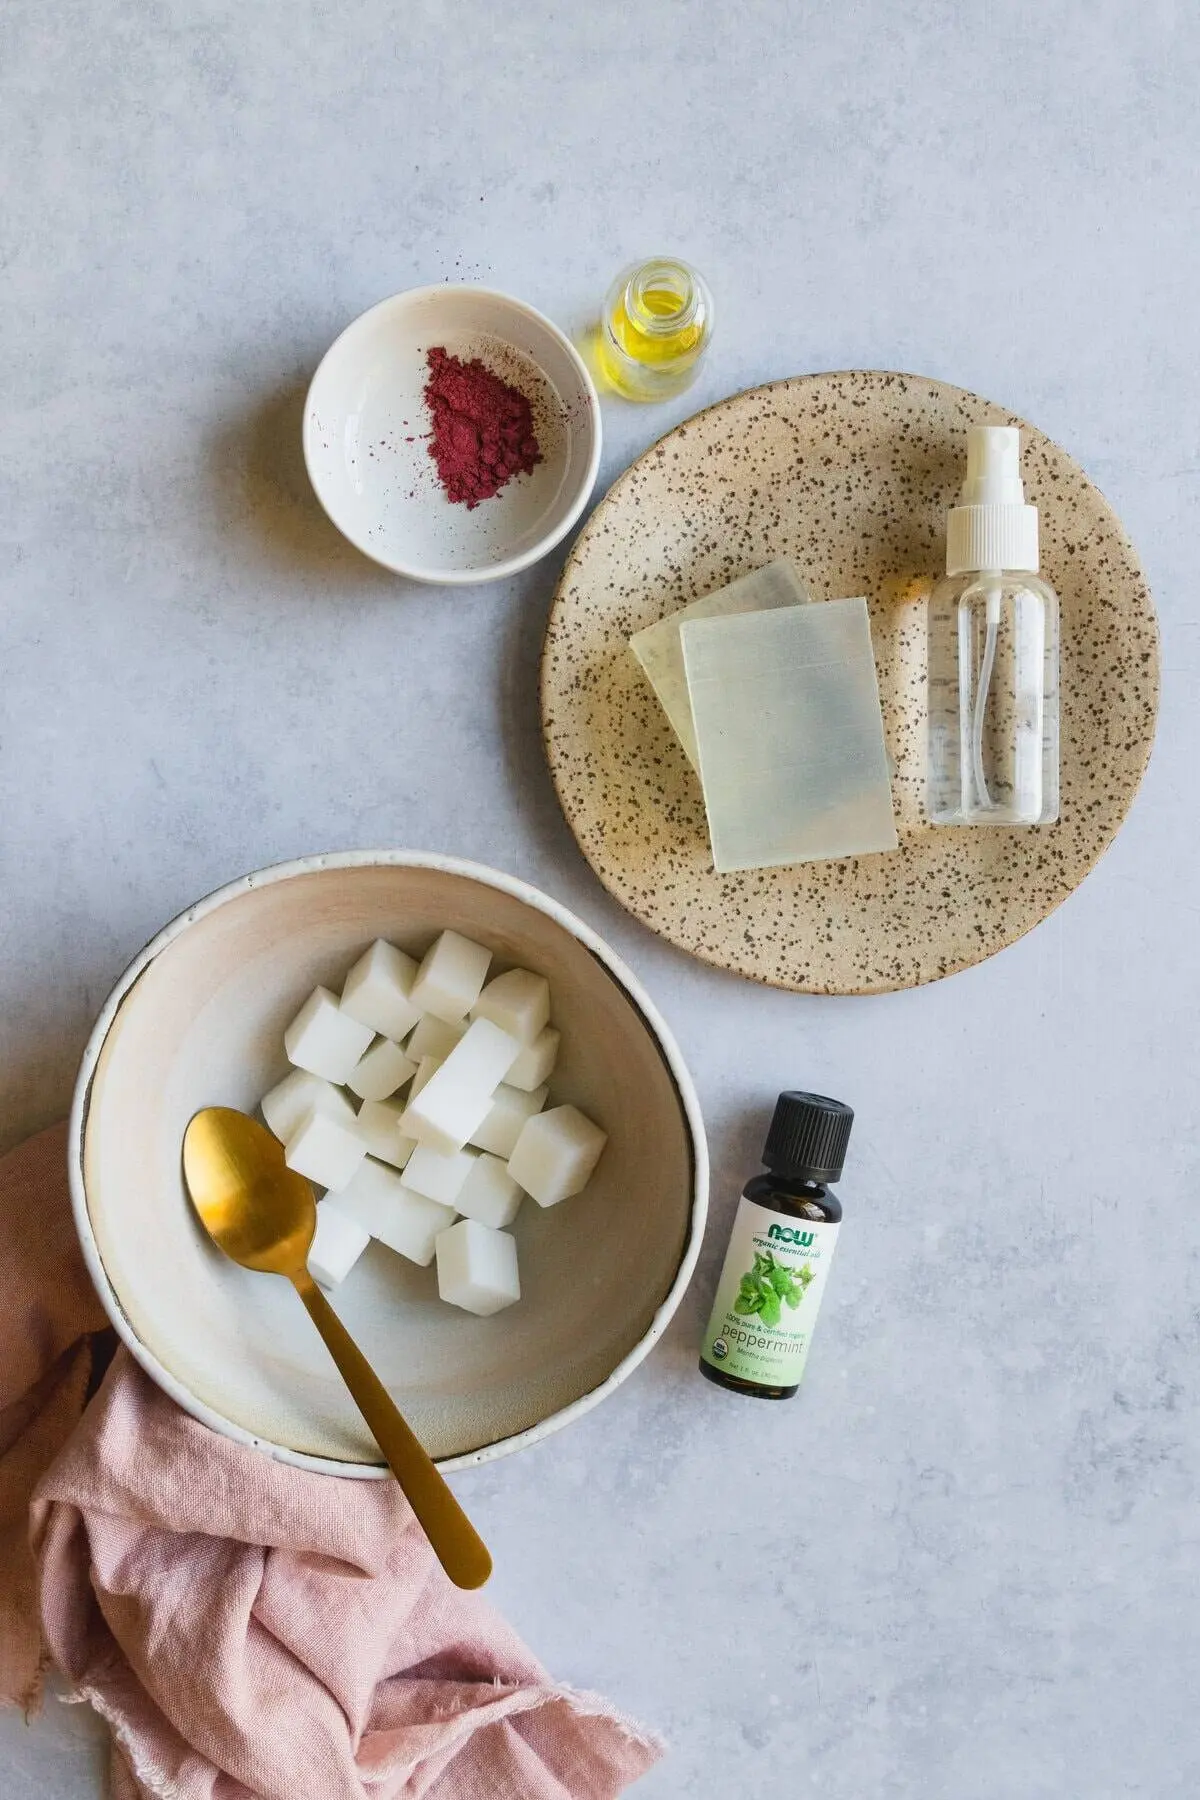
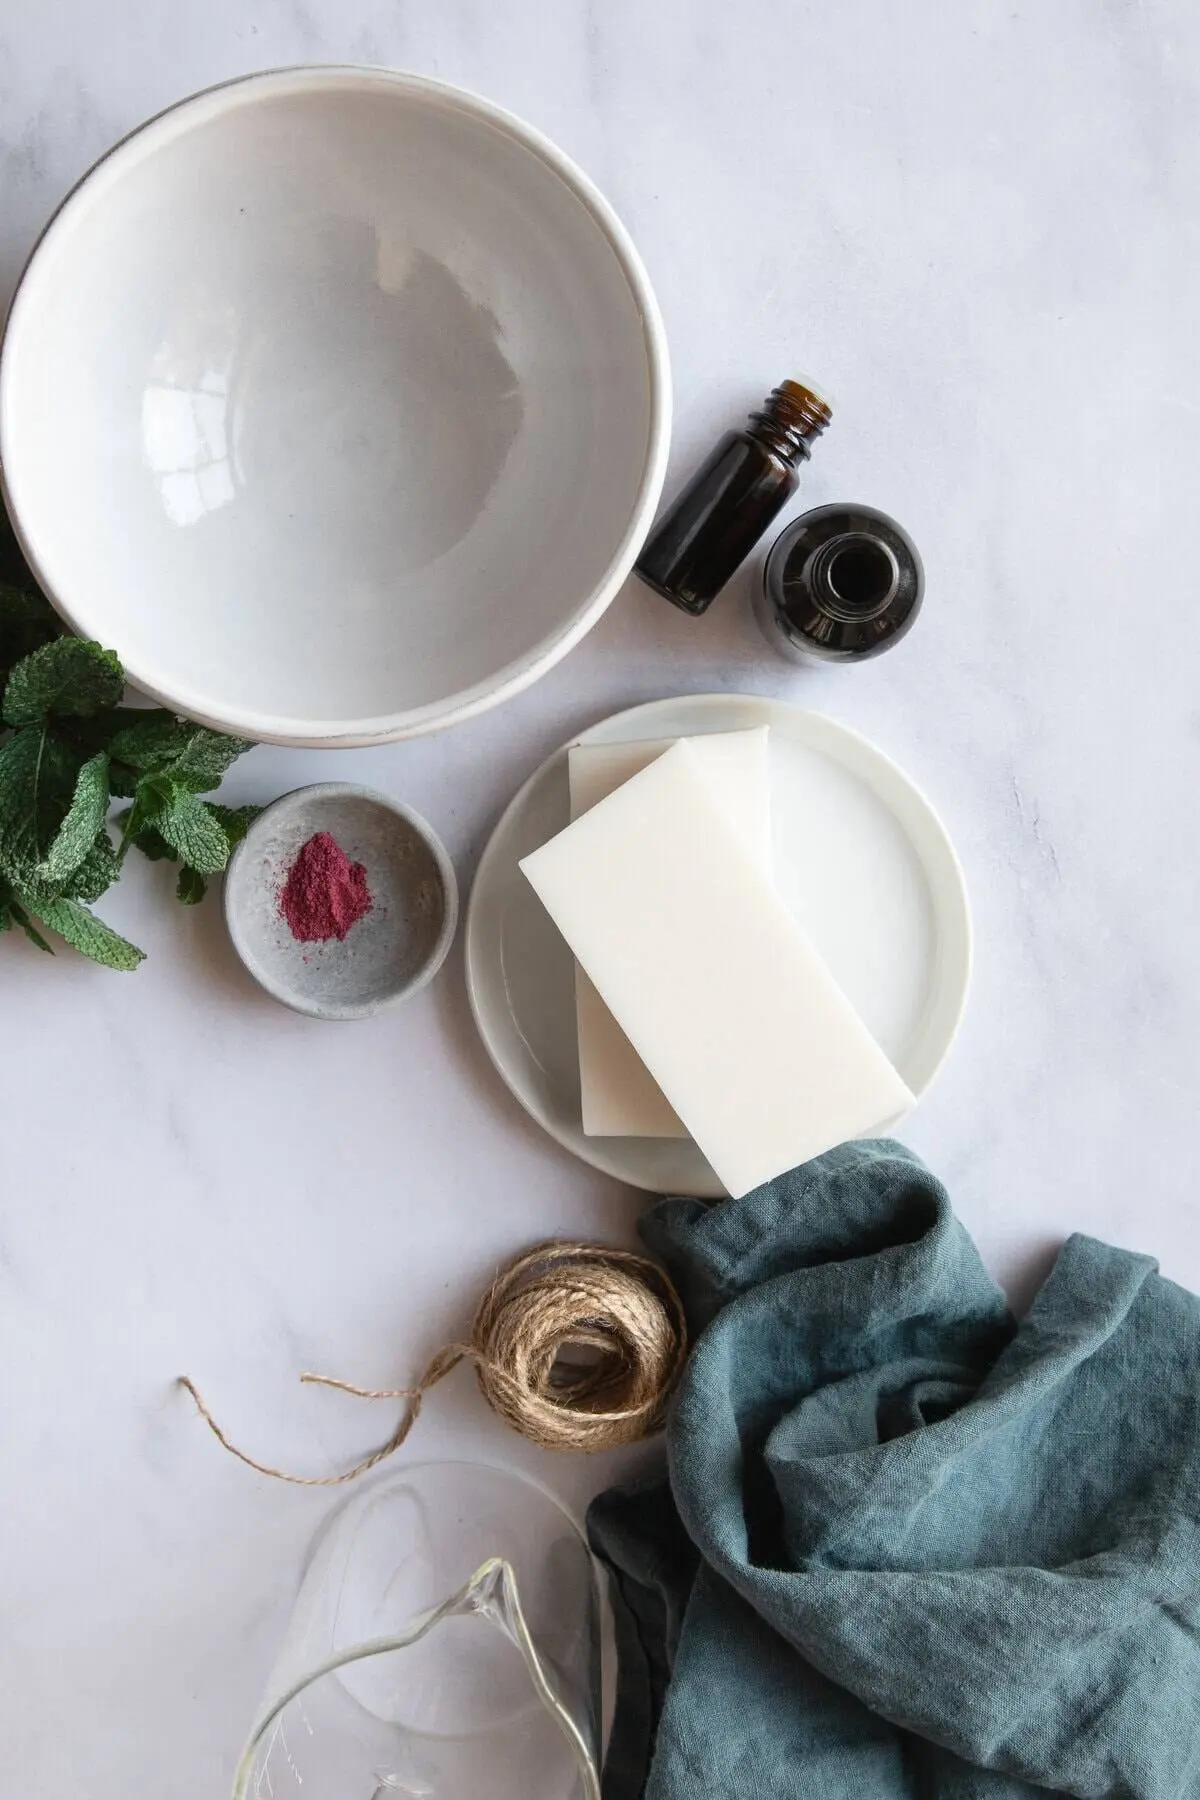
- The Soap Base: Alternating between clear (translucent) and white (opaque) bases creates high-contrast visual depth.
- Colorants: Liquid soap dyes deliver vibrant, saturated tones, whereas natural botanical powders like beetroot or spirulina yield earthy, subdued hues.
- Binding Agent: Standard isopropyl (rubbing) alcohol acts as the indispensable "glue" between layers and vaporizes surface bubbles.
- Thermal Management: The sweet-spot pouring temperature (typically around 140°F) prevents premature melting of underlying layers while ensuring strong structural adhesion.
Chronology: The Step-by-Step Execution Process
Achieving professional results demands a disciplined workflow. Below is the chronological blueprint for executing a successful multi-layered melt-and-pour project.
Phase 1: Preparation and Base Melting
Precision begins before heat is even applied. The melt-and-pour base must be segmented into uniform 1-inch cubes to guarantee even thermal distribution and prevent scorching.

- Melting: Place cubed bases into separate heat-safe, microwaveable containers (one for each color or layer). Heat in conservative 30-second intervals, stirring thoroughly between each burst until the soap is just liquefied. Overheating alters the viscosity and scorches the material.
- Color and Scent Integration: Gently incorporate liquid dyes and skin-safe essential oils or fragrance oils. Agitate the mixture minimally to avoid introducing air bubbles, which compromise structural clarity.
Phase 2: Pouring the Inaugural Layer
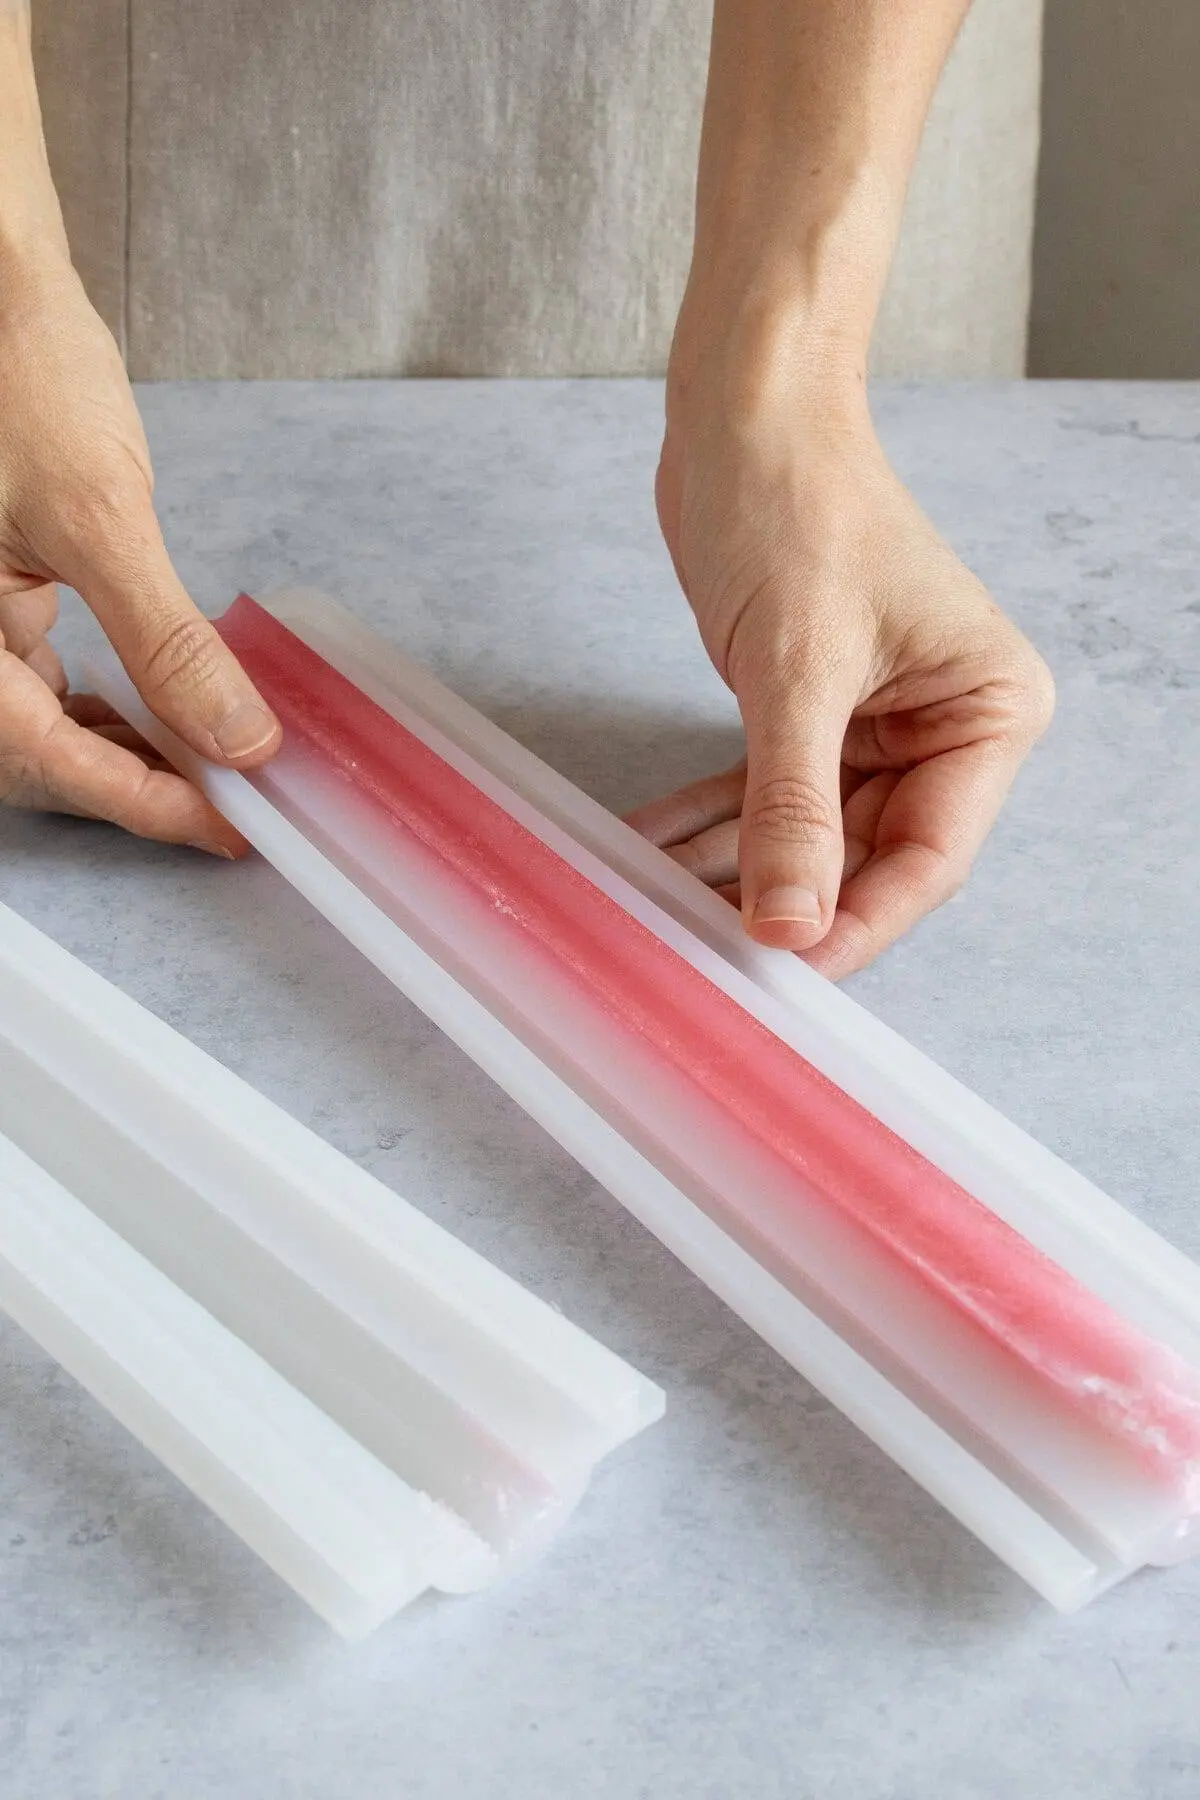
- Mold Positioning: For traditional horizontal stripes, keep the mold flat. To achieve dynamic diagonal lines, prop one side of the mold using a small ramekin or a folded kitchen towel.
- The First Pour: Introduce the initial layer into the mold. Because no prior substrate exists, temperature control is less critical for this step.
- Bubble Mitigation: Immediately spritz the surface with isopropyl alcohol to dissipate surface foam.
- The Curing Window: Allow the layer to rest undisturbed for approximately 10 to 15 minutes. The stratum is ready when a delicate "skin" forms, offering slight tactile resistance while remaining warm and soft underneath.
Phase 3: Secondary and Subsequent Pours
- Surface Activation: Generously mist the cooled surface with rubbing alcohol. This chemical step dissolves microscopic surface films to promote molecular bonding between the distinct pours.
- Temperature Verification: Allow the next batch of melted soap to cool to approximately 140°F. Pouring too hot causes structural breakthrough into the underlying layer, resulting in muddy color bleeding; pouring too cold causes structural delamination upon cutting.
- Gentle Application: Pour the liquid slowly, potentially over the back of a spoon to diffuse kinetic impact, followed by a final alcohol spritz.
Phase 4: Final Setting, Unmolding, and Slicing
- Leveling: If utilizing a tilted mold setup, carefully return the mold to a flat, level surface prior to executing the final top layer.
- Extended Solidification: Allow the completed loaf to cure undisturbed for several hours or overnight. Premature unmolding risks warping or shearing soft interior layers.
- Finishing: Unmold the solid loaf and use a straight-edged slicing tool to reveal the clean, geometric cross-section of the layers.
Supporting Data: The Physics of Thermal Adhesion
Artisans frequently encounter structural failures—most notably, layers splitting apart upon cutting. Empirical observation in home-craft studios points directly to temperature differentials and chemical adhesion failures.
- The 140°F Threshold: While some historical resources recommend pouring at 120°F to 130°F, operational data suggests 140°F serves as the optimal equilibrium. At this temperature, the incoming soap imparts sufficient localized thermal energy to lightly soften the surface of the cured layer, fusing the two strata without liquefying the boundary.
- The Alcohol Imperative: Isopropyl alcohol lowers surface tension, allowing the liquid soap to wet the solid layer uniformly. Without this chemical bridge, microscopic air barriers form between layers, leading to structural delamination.
- Volume Management: Weighing raw soap cubes prior to melting—dividing a total 40-ounce loaf requirement into four distinct 10-ounce portions—ensures mathematically uniform bar aesthetics.
Official Responses and Expert Insights
Industry professionals and veteran formulators emphasize that patience and environmental control dictate craft longevity. According to leading soap-craft educators, the most common pitfall is rushing the cooling phase.

"Temperature is the absolute dictator of melt-and-pour success," notes master soap artisan Elena Vance. "If you treat the process as a race, your layers will inevitably separate. You must respect the thermodynamic cooling curve of glycerin-based soaps. When in doubt, let the physics work for you: keep your alcohol spray bottle within arm’s reach at all times, and never compromise on the inter-layer misting step."
Furthermore, safety boards continually remind independent creators to verify that all fragrance oils and botanical additives are strictly rated skin-safe, particularly when gifts or commercial retail distribution are intended.

Implications: The Shift Toward Handcrafted Personalization
The growing popularity of advanced melt-and-pour techniques reflects a broader consumer shift toward artisan-crafted, transparent, and aesthetically curated personal care items. As commercial mass-market soaps face scrutiny for synthetic detergent reliance and monotonous industrial manufacturing, DIY bath products empower consumers to curate exact ingredient profiles, allergen-free formulations, and bespoke visual designs.
For small-business entrepreneurs, mastering techniques like diagonal layering and clear-versus-opaque contrasting lowers the barrier to entry for boutique soap lines. It demonstrates that professional-grade visual appeal can be achieved with minimal capital equipment, transforming kitchen-table hobbies into sustainable, creative micro-enterprises.

Frequently Asked Questions (FAQ)
Can I mix different types of melt-and-pour bases?
Yes. You can seamlessly layer clear, white, or specialized bases such as shea butter, goat’s milk, honey, or aloe vera. However, you must never combine melt-and-pour bases with raw cold-process soap formulations due to fundamental chemical incompatibilities.
Do I have to color every single layer?
No. Alternating between vividly colored strata and uncolored clear or white layers creates a sophisticated, minimalist aesthetic. Alternatively, utilizing graduated shades of a single color family achieves an eye-catching ombre transition.

How thick should each individual layer be?
Layer thickness is entirely a design choice. Thin layers offer an intricate, delicate appearance, whereas thicker layers provide bold graphic impact. Most artisans target thicknesses between one-quarter and one-half inch to optimize cooling intervals and maintain structural integrity.
Can I embed objects between layers?
Absolutely. Melt-and-pour layering provides an ideal environment for embedding small soap shapes, exfoliants, or dried botanicals. Always ensure embedded materials are completely skin-safe and stable in moisture-rich environments to prevent discoloration or decay.

Do layered melt-and-pour soaps require a curing period?
Unlike cold-process soaps, which require weeks of air-curing for water evaporation and saponification completion, melt-and-pour soaps require no curing time. Once fully cooled and solidified—typically after several hours or overnight—they can be cut and used immediately.