







By the Home Arts & Craft Desk
Published: November 2025

Executive Summary: The Renaissance of Artisan Soap Making
For years, handmade soap making has been dominated by the complex, time-consuming chemistry of cold process methods—a craft requiring precise lye calculations, days of insulation, and weeks of curing time. However, a quiet revolution has been taking place in domestic craft spaces: the elevation of melt and pour soap bases into high art.

No longer dismissed as a simplistic craft for beginners, melt and pour soaping has evolved into a sophisticated medium for creating stunning, gallery-worthy designs. At the forefront of this trend is the technique of shape embedding. By suspending intricate geometric designs, botanical forms, or playful iconography inside a translucent or opaque bar, artisans can achieve breathtaking visual complexity without the multi-day timelines of traditional methods.

Despite its accessibility, professional-grade embedding carries a distinct learning curve. Variables such as pour temperature, base selection, and layer timing dictate the difference between a pristine, professional finish and a compromised bar prone to melting embeds, trapped air bubbles, or structural fractures. This comprehensive guide details the mechanics, methodologies, and pro tips required to master shape embedding in melt and pour soaps.

Chronology and Evolution of the Craft
The modern practice of melt and pour crafting has its roots in commercial soap base manufacturing, which simplified the saponification process by pre-reacting fats with alkali. Over the past decade, crafters have systematically pushed the boundaries of these pre-made bases.

- Phase 1: The Basics (Early 2010s). Crafters primarily focused on simple monochromatic blocks, occasionally adding liquid colorants or dried botanicals that often turned brown and degraded over time.
- Phase 2: The Rise of Embeds (Mid-to-Late 2010s). Innovators began repurposing silicone baking and candy molds to create secondary soap elements, recognizing that distinct shapes could be suspended in contrasting clear bases.
- Phase 3: Sculptural and 3D Artistry (Present Day). Today, advanced crafters utilize specialized column molds, multi-stage pouring timelines, and precise temperature monitoring to build complex, multi-dimensional scenes—such as blooming botanicals and floating iconography—that rival commercial luxury bath products.
Supporting Data: Understanding Your Soap Bases
Success in soap embedding begins long before the microwave is turned on; it relies entirely on understanding the chemical properties of your raw materials. Melt and pour bases are generally divided into two distinct categories, each serving a specific structural purpose.

1. White Soap Bases (Goat Milk, Shea Butter, Oatmeal)
- Characteristics: Opaque, soft, and rich in skin-nourishing additives like honey, shea butter, or colloidal oatmeal.
- Melting Point: Typically lower due to the inclusion of natural butters and fats.
- Primary Application: Best utilized for the outer casing of a soap bar or for creating the initial, opaque shapes that will later be embedded. Due to its softness, it is rarely used as the primary suspending medium for delicate floating designs.
2. Clear Soap Bases (Glycerin-Heavy)
- Characteristics: Highly transparent, firm, and densely concentrated with glycerin—a powerful humectant drawn from plant and animal fats.
- Melting Point: Higher than white bases, meaning it retains heat longer, cools more slowly, and holds structural integrity under pressure.
- Primary Application: The gold standard for embedded designs. Clear glycerin bases make colors appear remarkably vibrant and allow embedded shapes to be viewed from multiple angles.
Equipment and Mold Selection
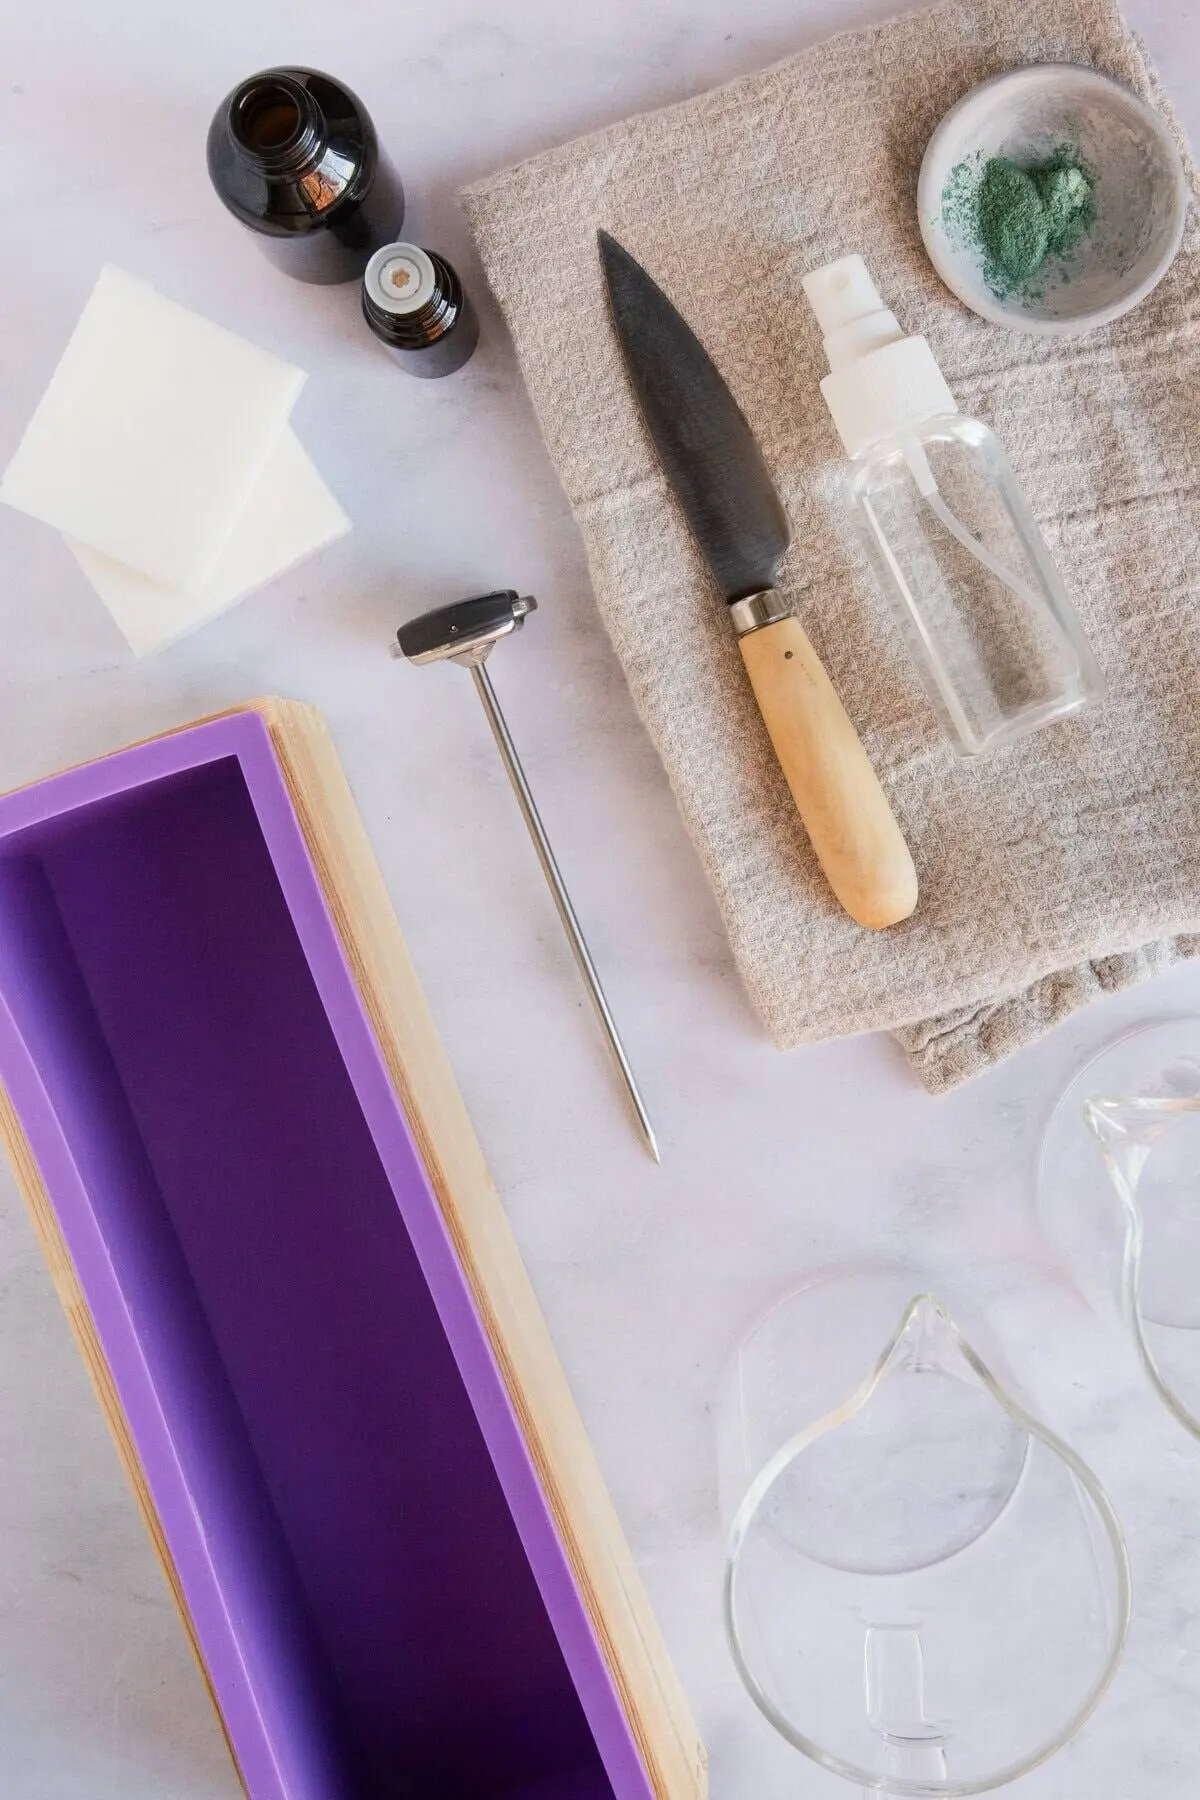
The tools you choose directly dictate the complexity of your final product. Molds generally fall into two categories for the initial shape creation and two categories for the final bar assembly.

For Creating Embeds:
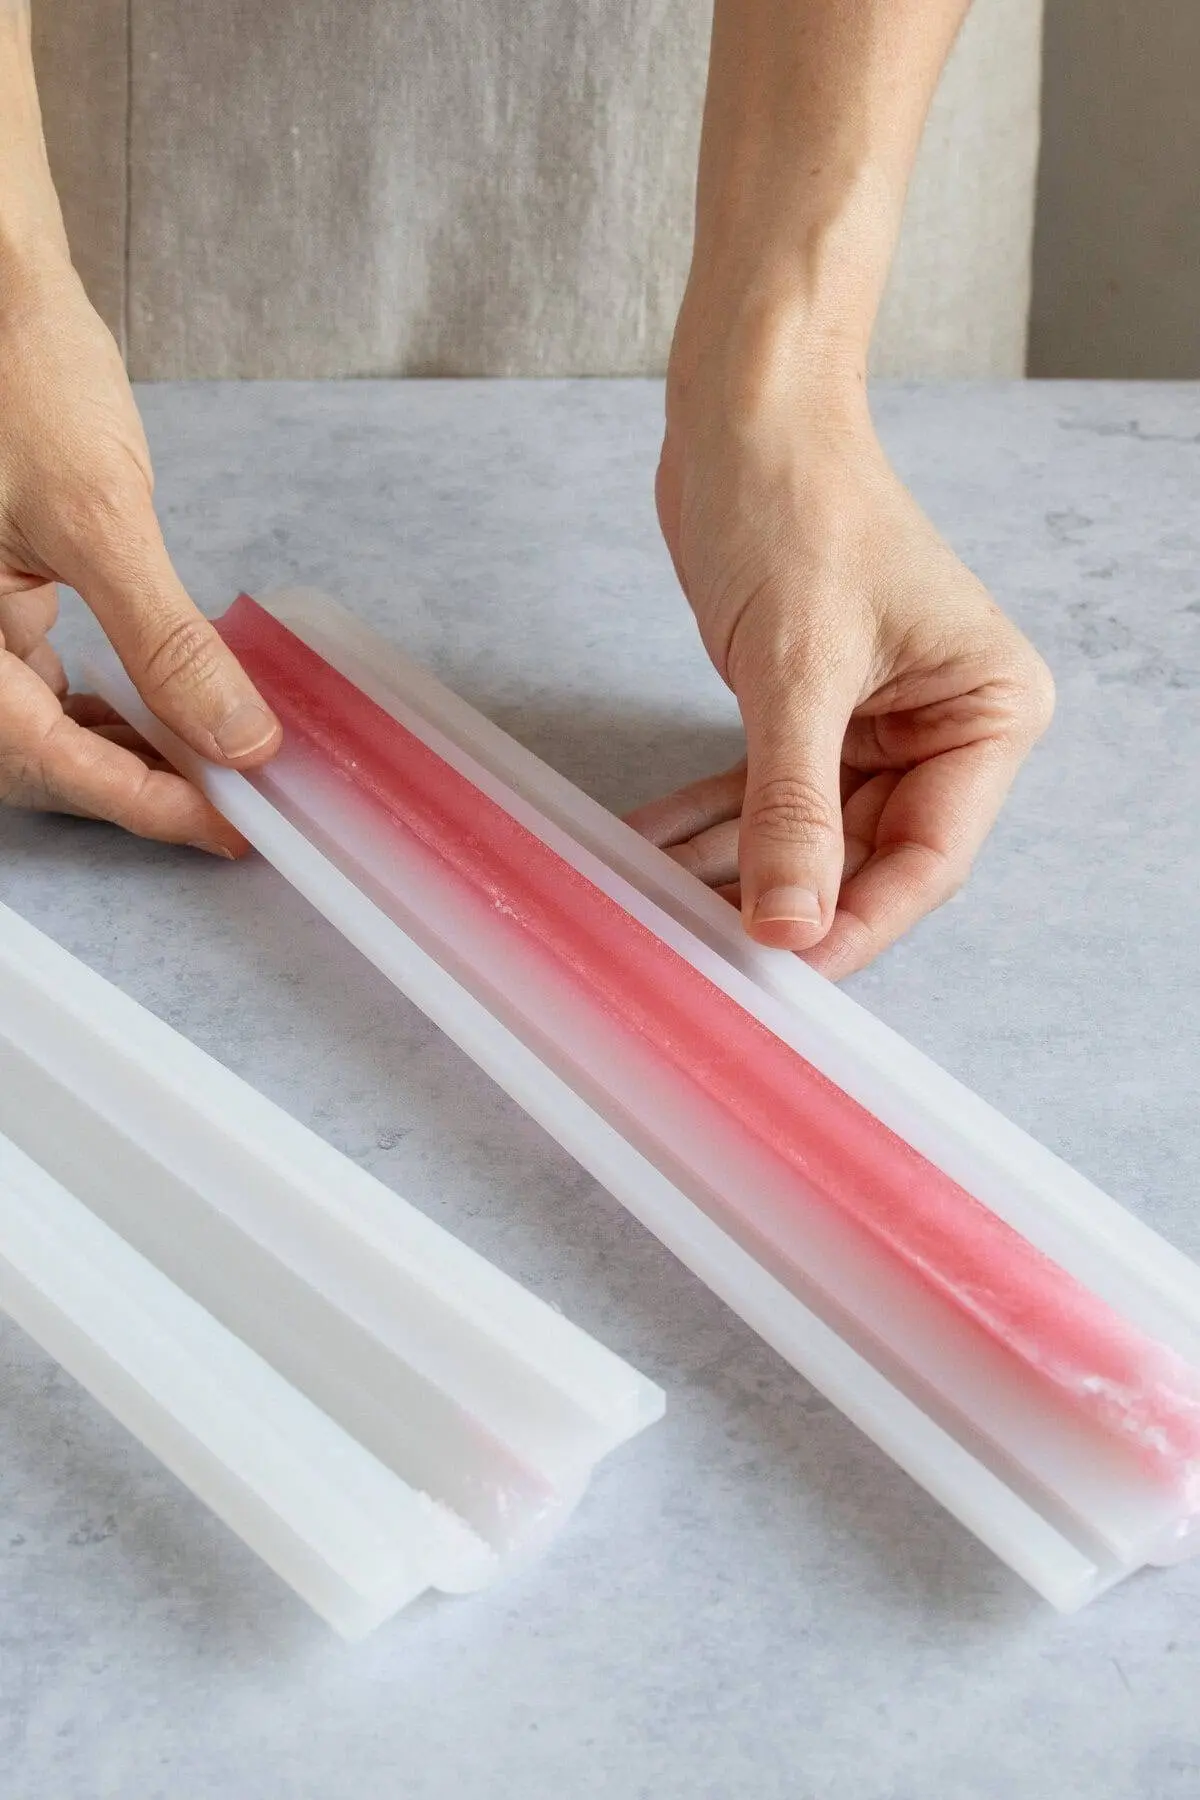
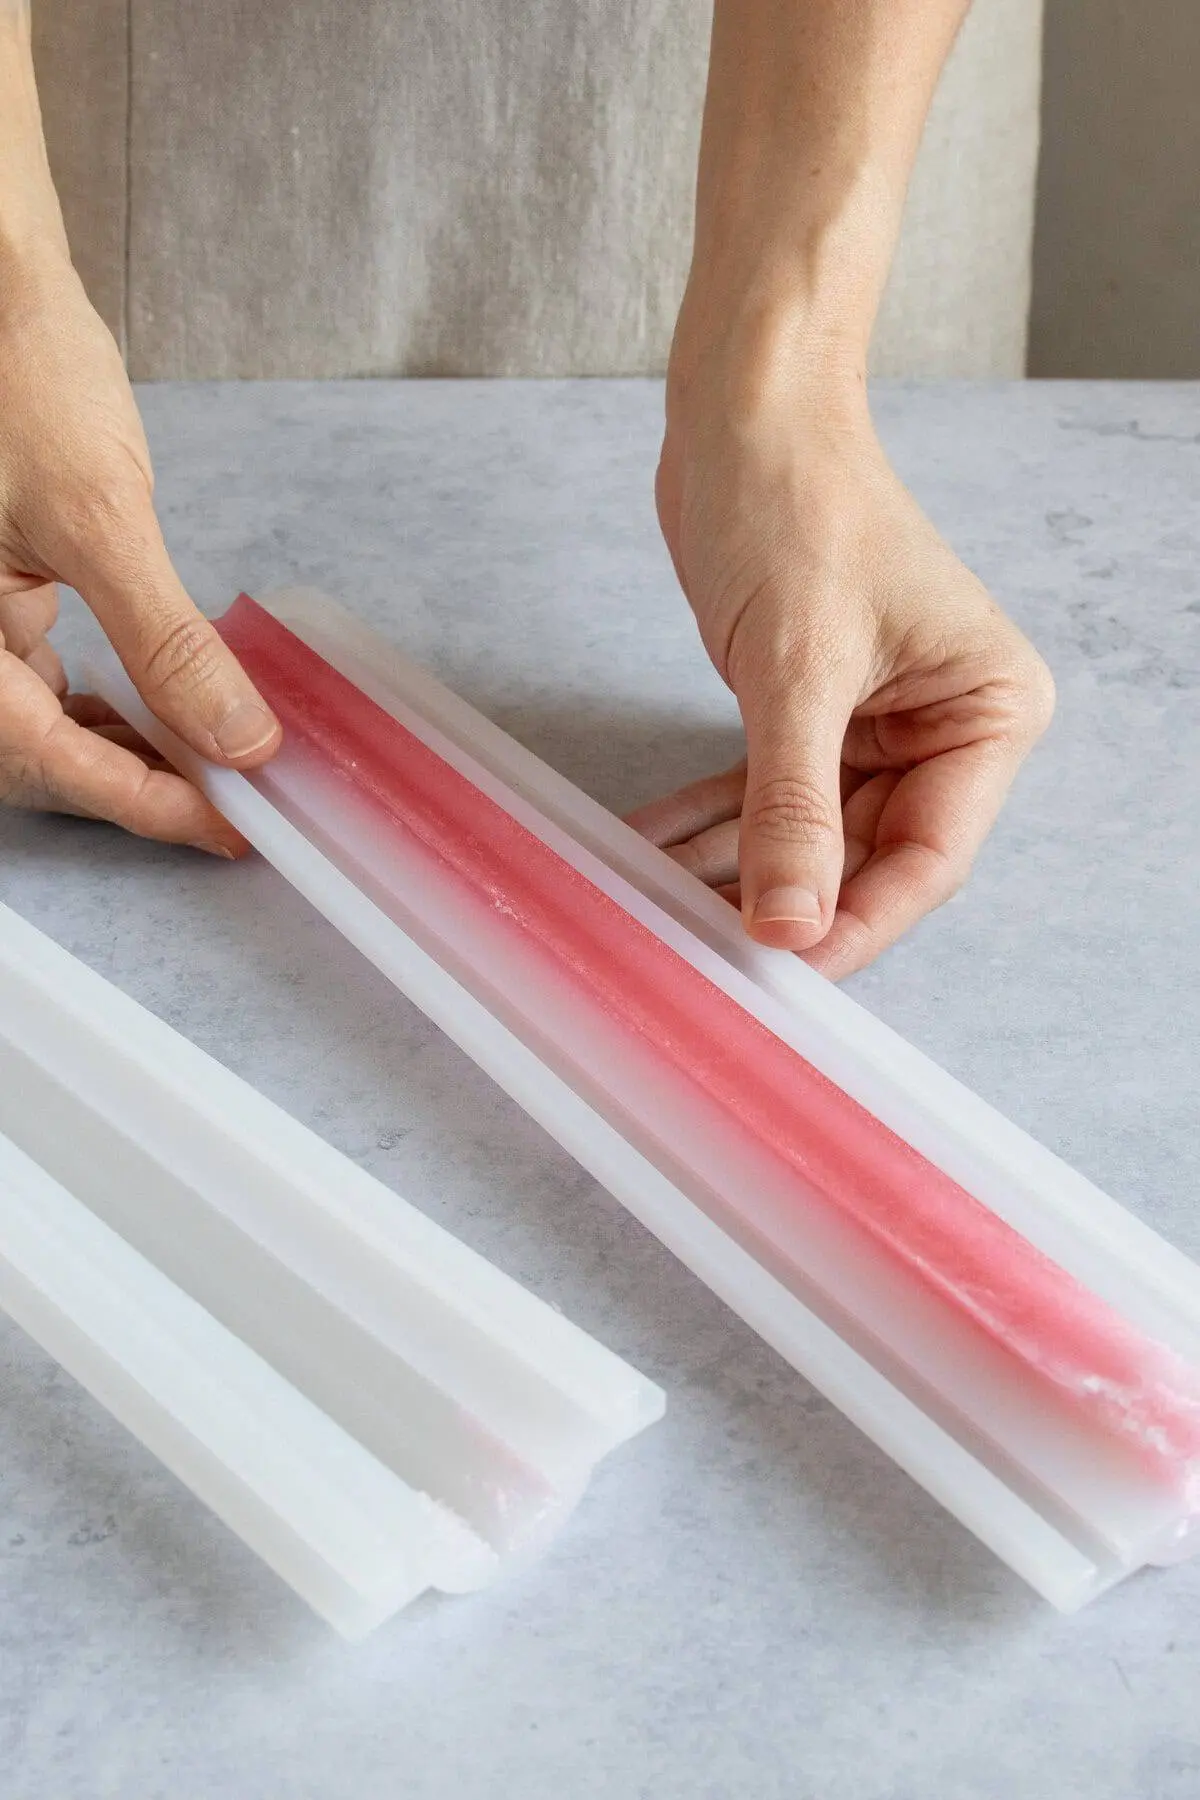
- Column Molds: Flexible silicone tubes with interlocking seals designed to create long, continuous cylindrical shapes. These are essential for repeating internal patterns.
- Silicone Cake Decorating Molds: Ideal for producing thin, flat, or highly detailed motifs (such as butterflies, stars, or geometric flourishes) meant to be layered into single bars.
For Pouring Final Soaps:
- Rectangular Loaf Molds: Large block molds that hold multiple bars’ worth of material. These are paired with column molds or hand-cut elements to yield sliced bars with centered internal designs.
- Single-Bar Molds: Individual cavities that eliminate the need for post-pour cutting. These are standard for creating 3D, protruding embeds.
Three Professional Techniques for Embedding Shapes
Mastering these three core methodologies provides the foundational skill set required to execute virtually any advanced soap design.

Method 1: The Column Shape in a Rectangular Loaf
This technique produces a striking, continuous pattern running through the center of every sliced bar.

- Step 1: Prepare your chosen shape using a flexible silicone column mold and let it set completely.
- Step 2: Position the long, set soap column horizontally along the base of a rectangular loaf mold.
- Step 3: Pour your contrasting liquid soap base around and over the column, ensuring the base is cooled to an optimal 140°F to prevent melting the interior shape.
- Step 4: Once fully hardened, slice the loaf transversely to reveal the repeating design.
Method 2: Layered Embedding in Single-Bar Molds
This method creates a suspended, floating effect ideal for flat, colorful motifs.

- Step 1: Cast your flat shapes (e.g., butterflies or florals) using a white or colored base in a small mold.
- Step 2: Pour a clear soap base into a single-bar mold cavity until it is roughly halfway full.
- Step 3: Mist the surface with rubbing alcohol, allow it to form a light skin (about 20 minutes), and arrange 2–3 shapes atop the semi-set layer.
- Step 4: Check that your top pour of clear soap is precisely between 130°F and 140°F before gently pouring it over the embeds to encase them fully.
Method 3: Sculptural 3D Protrusions
For an artistic, tactile finish where elements extend beyond the surface of the soap:

- Step 1: Cast a 3D shape (such as a rose) in a contrasting color and allow it to set for an hour. Cut the base in half if necessary to create a flat anchoring surface.
- Step 2: Pour a scented, colored base into a single-bar mold until it is three-quarters full.
- Step 3: Allow a firm skin to form (10–15 minutes), mist with alcohol, and press the 3D shape partially into the surface so that the upper portion remains exposed.
Official Recommendations and Pro Tips
Achieving professional results requires strict adherence to environmental and thermal controls in your workspace.

- Temperature Regulation: The single greatest point of failure is incorrect pouring temperature. While popular literature often suggests 125°F, experienced artisans advocate for a strict window of 130°F to 140°F. Anything hotter will melt your internal embeds; anything cooler will result in premature thickening and poor mold fill.
- Mitigating Overheating: Always melt soap bases in short, controlled bursts within a microwave. Overheating scorches the glycerin, strips moisture, and introduces stubborn micro-bubbles.
- The Power of Rubbing Alcohol: Keep a spray bottle of 91% isopropyl alcohol nearby. Misting your layers before and after pouring eliminates surface bubbles and acts as a chemical "glue" to fuse separate soap layers together.
- Rehydration Protocol: If your soap base requires multiple rounds of melting and thickens undesirably, restore its moisture balance by stirring in ½ teaspoon of distilled water per pound of soap base.
Troubleshooting Common Craft Failures
| Issue | Root Cause | Professional Solution |
|---|---|---|
| Embeds Sinking or Melting | Soap base is poured too hot or too thin. | Let the base cool closer to 130°F; ensure the previous layer has formed a sturdy skin before adding weight. |
| Cloudy Clear Layers | Overheating the glycerin base in the microwave. | Heat in shorter intervals, stirring frequently to distribute thermal energy evenly. |
| Layer Separation/Cracks | Allowing the base layer to cool too much before the next pour. | Pour subsequent layers while the bottom layer is still slightly warm and firm (not cold). Mist with alcohol between pours. |
Implications and Future Outlook
The commercial and artisanal implications of advanced melt and pour crafting are significant. As consumers increasingly prioritize personalized, chemical-conscious, and aesthetically elevated self-care products, the market for boutique soap-making supplies continues to expand. By democratizing techniques once reserved for industrial producers—such as multi-tier phase pouring and precise thermal stratification—crafters can produce commercial-grade cosmetics from home.

Whether undertaken as a creative outlet, a sustainable gifting practice, or a burgeoning micro-business, mastering the art of shape embedding transforms a simple cleansing bar into a miniature canvas of functional design.