








Introduction: The Evolution of Handcrafted Soap
For artisans and home crafters alike, the journey into soap making often begins with simplicity. A block of clear or opaque melt-and-pour base, a dash of fragrance, a drop of color, and a standard mold are the familiar stepping stones of the beginner. However, once crafters master the foundational stages, a natural creative ambition takes over. Single-color, uniform bars, while functional and pleasant, frequently leave creators searching for ways to add visual depth, artistic flair, and professional polish to their work.
Enter the technique of layering.
Whether an artisan is aiming for striking, bold geometric stripes or soft, dynamic diagonal cuts, layering transforms basic melt-and-pour bars into sophisticated, boutique-quality creations. Crucially, this advanced aesthetic does not require industrial machinery, complex chemical formulations, or years of specialized training. Instead, successful layering relies on three accessible elements: patience, a spray bottle of standard rubbing alcohol, and a firm grasp of thermodynamic principles governing how liquid soap interfaces with cooling layers.

This comprehensive guide breaks down the science, supplies, methodologies, and troubleshooting techniques required to achieve flawless, professional-grade layered soaps every single time.
Why Create Layers in Melt-and-Pour Soap?
At its core, layering is a straightforward process: the soap maker pours different colors, textures, or soap bases into a mold in sequential stages, allowing each tier to cool to a specific threshold before introducing the next. Despite its mechanical simplicity, this technique unlocks a vast spectrum of design possibilities.
Crafters can experiment with high-contrast horizontal stripes, dynamic diagonal cuts achieved by tilting the mold, or intricate combinations of clear and opaque bases that catch the light and create an illusion of three-dimensional depth.

However, achieving clean, distinct lines is not without its challenges. The secret to success lies entirely in controlling temperature and timing. Pouring a subsequent layer while it is too hot will inadvertently melt the structural integrity of the tier beneath it. Conversely, waiting too long between pours causes the surfaces to seal independently, preventing proper chemical bonding and resulting in bars that fracture along the seams during slicing.
By mastering the delicate balance between thermal management and timing, crafters can elevate simple craft projects into premium, artisanal goods.
Essential Supplies and Equipment
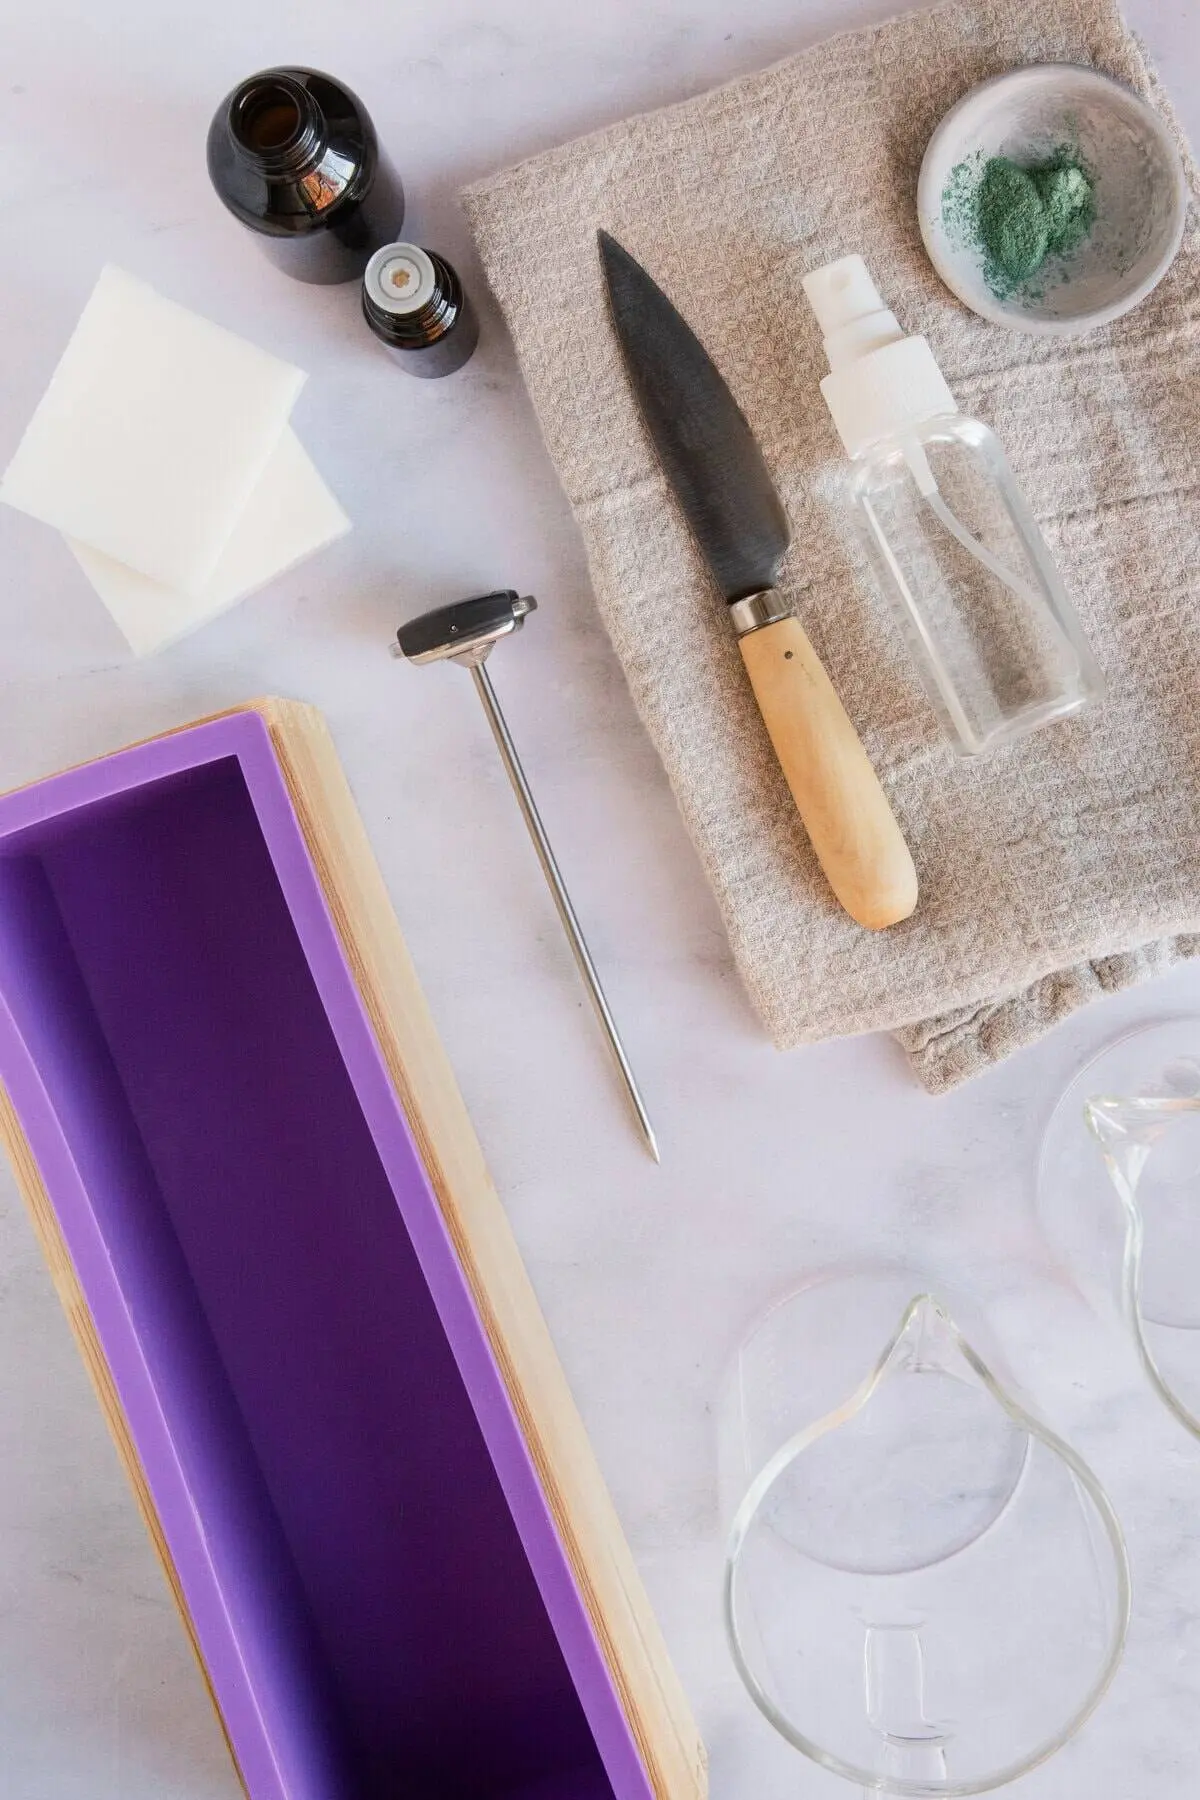
Before beginning a multi-layered soap project, proper preparation of materials is critical. Unlike cold process soap making, which requires handling hazardous lye, melt-and-pour projects prioritize precision in color theory, fragrance safety, and thermal control.

Core Supplies
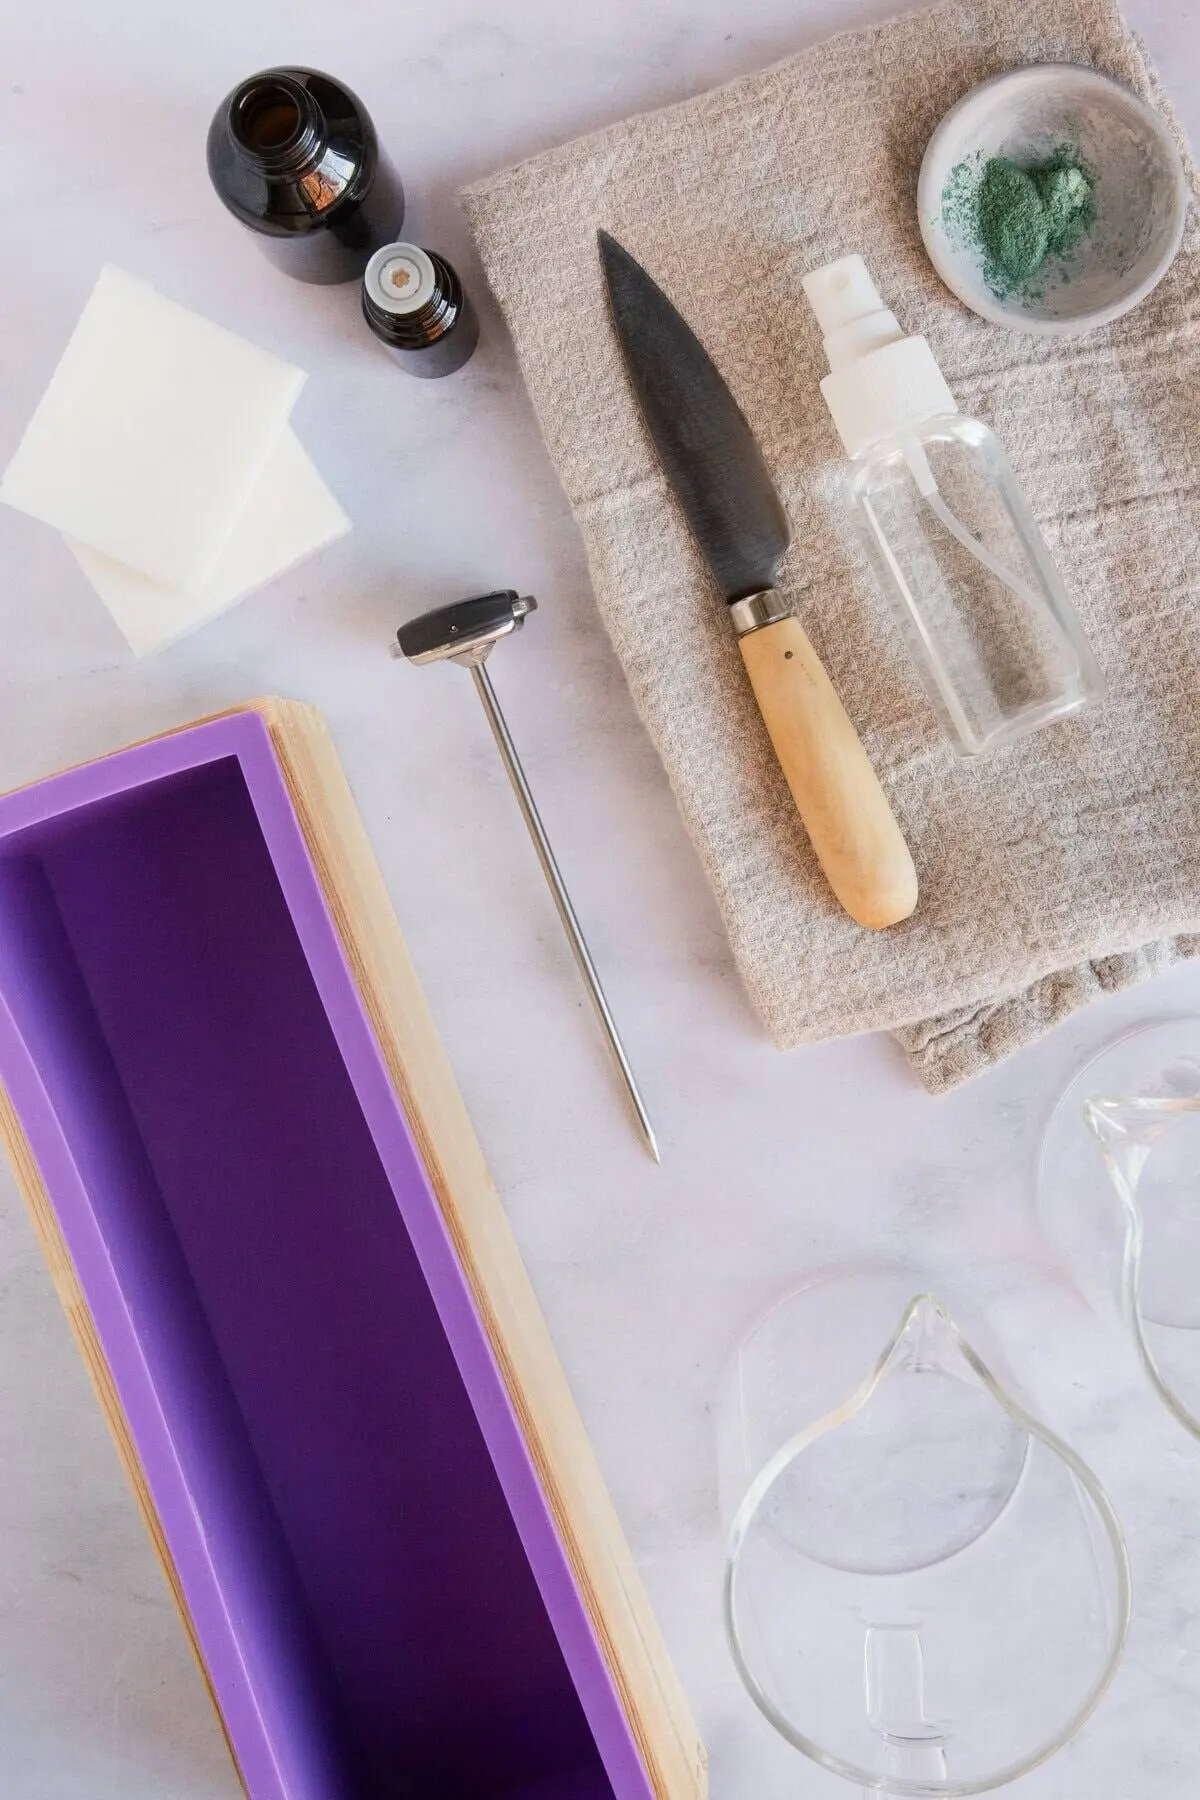
- Soap Bases: A combination of clear and white bases provides the ultimate foundation. Clear bases yield a translucent, glass-like finish, while white bases deliver opacity and make pigments appear vibrant. Alternating between the two adds striking visual contrast.
- Colorants: Liquid soap dyes offer saturated, bold hues, whereas natural alternatives like beetroot powder or spirulina yield soft, earthy tones.
- Fragrances: Artisans can use a uniform scent throughout the entire bar or customize individual layers for a complex sensory profile. All additives must be strictly skin-safe, particularly if the soaps are intended for gifting or retail.
- Rubbing Alcohol (Isopropyl Alcohol): Housed in a fine-mist spray bottle, rubbing alcohol acts as the functional "glue" that bonds layers together while instantly dissipating surface air bubbles. A consistent, fine mist is indispensable.
Equipment
- Molds: Silicone loaf molds are preferred by makers who plan to slice continuous bars to showcase internal strata. Alternatively, individual cavity molds create pre-shaped bars with distinct top-to-bottom layers.
- Melting Containers: Heat-safe glass measuring cups (approximately 16-ounce capacity) equipped with precision pour spouts allow for clean, controlled transfers. Maintaining one container per color streamlines the workflow.
- Thermometers: A standard kitchen thermometer or digital instant-read thermometer ensures the soap is poured at the precise temperature threshold required for optimal bonding without melting prior layers.
Chronology: Step-by-Step Execution of Layered Soap
To achieve professional results, crafters must follow a disciplined, sequential process. The following chronological workflow outlines the creation of a multi-layered melt-and-pour project.
Step 1: Preparation of the Soap Base
Begin by slicing the solid melt-and-pour block into uniform 1-inch cubes. This ensures even melting, prevents localized scorching, and reduces processing time. Distribute the cubes into separate heat-safe containers corresponding to each planned layer.
Heat the base in short, controlled 30-second bursts in a microwave, stirring thoroughly between intervals. The objective is to melt the soap just until liquefied; overheating causes scorching or thickens the mixture, making it difficult to pour cleanly.

Step 2: Incorporation of Color and Fragrance
Once liquefied, gently stir in the designated colorant and fragrance. Gentle stirring is essential; aggressive agitation introduces air bubbles, which compromise the clarity and structural integrity of the finished layers. Maintain consistent stirring speeds to keep the mixture smooth.
Step 3: Pouring the Inaugural Layer
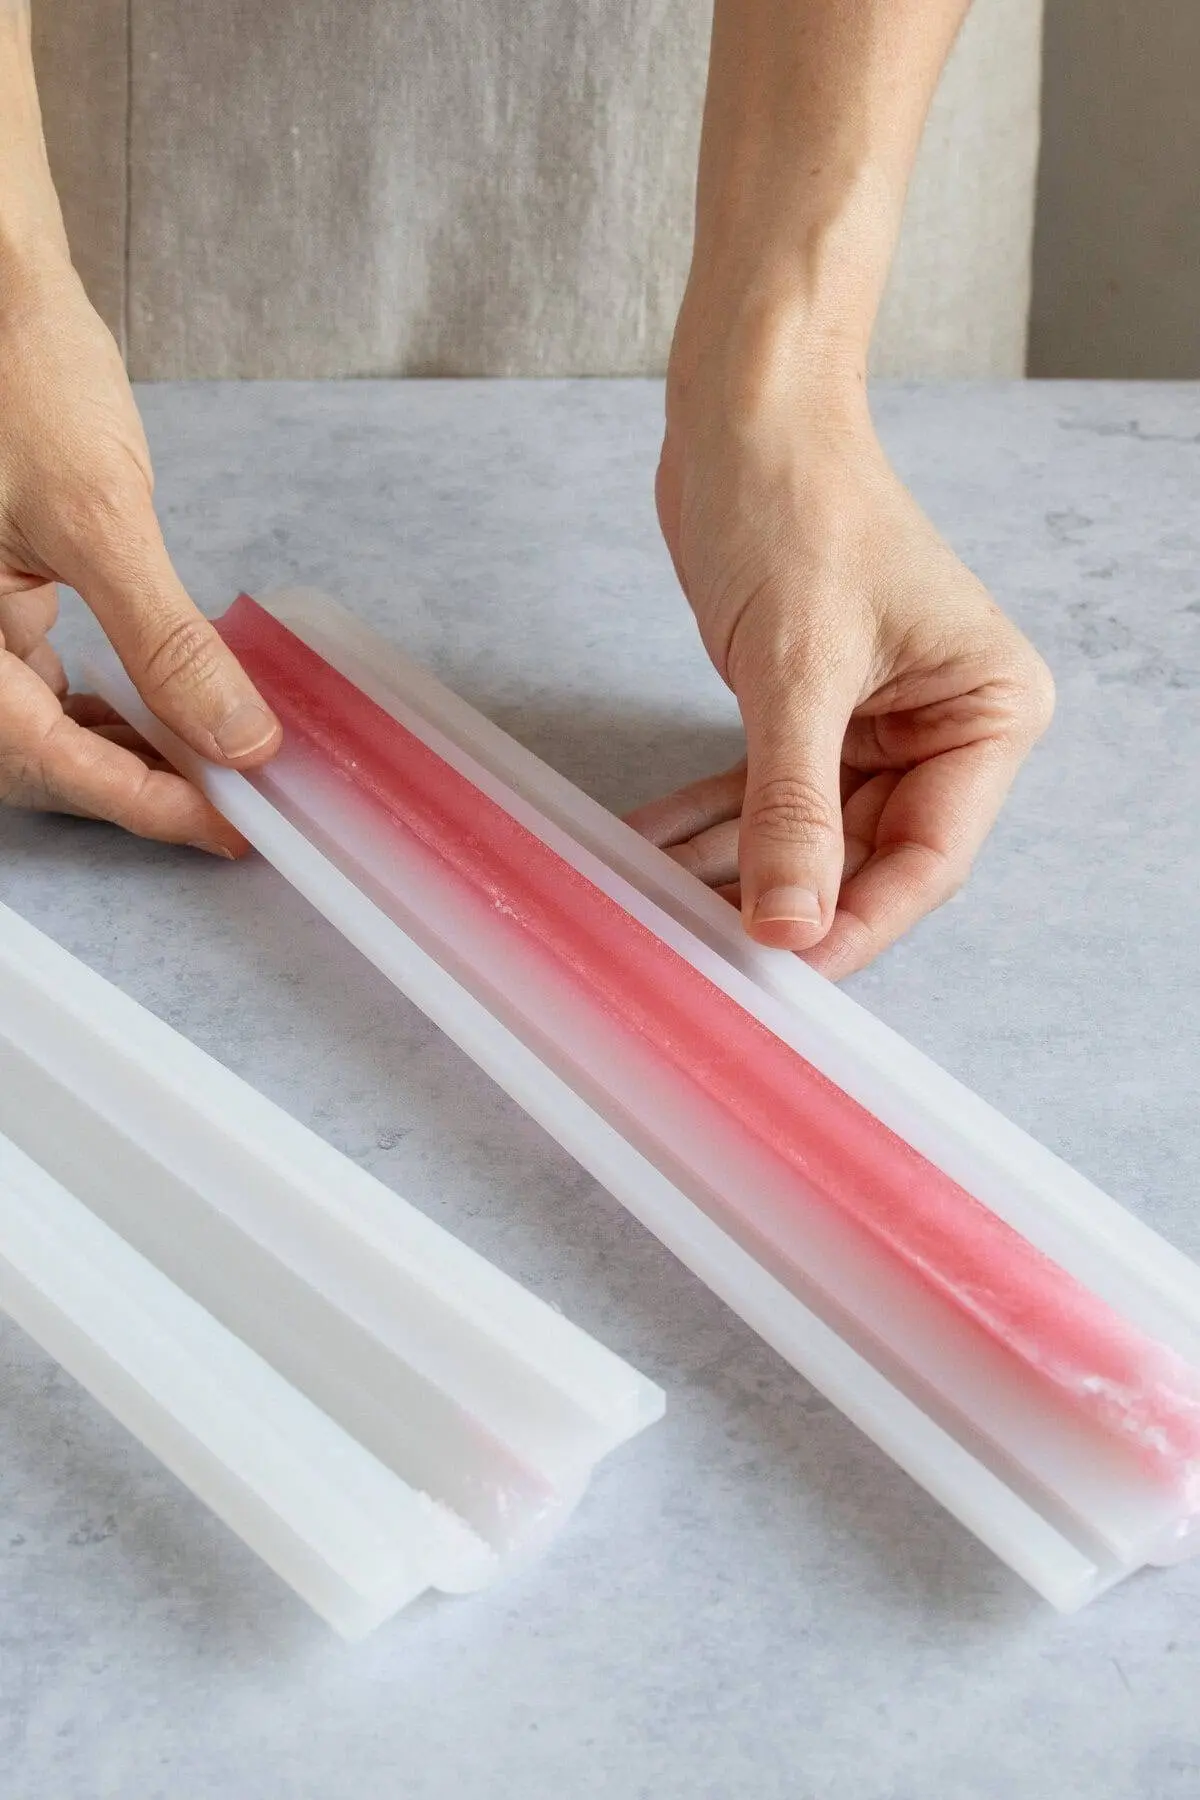
To create diagonal or slanted lines, prop one end of the silicone mold upward using a small ramekin or a folded kitchen towel. Pour the first colored base into the lowest point of the mold. Because there is no underlying layer to compromise, the initial temperature is flexible.
Immediately mist the surface lightly with rubbing alcohol to eliminate surface bubbles, then allow the layer to rest. The tier is ready for the subsequent pour when a delicate film—or "skin"—forms across the top. It should feel slightly warm and pliable to the touch, neither completely liquid underneath nor fully rigid. This typically requires 10 to 15 minutes.

Step 4: Pouring Subsequent Layers
Before introducing the next tier, mist the cooled surface generously with rubbing alcohol. This step is non-negotiable; the alcohol activates the surface interface to ensure a seamless bond.
Monitor the temperature of the newly melted soap, allowing it to cool to approximately 140°F (60°C) before pouring. Pour slowly along the interior edge of the mold to prevent turbulence, followed by a final misting of alcohol to clear any newly formed bubbles.
Step 5: Repetition and Final Curing
Continue alternating layers until the mold reaches capacity, maintaining the routine of alcohol misting before and after every pour. If the mold was elevated to create diagonal lines, carefully lower it to a flat, level surface prior to pouring the final top layer.

Allow the complete loaf to rest undisturbed for several hours or overnight. Resist the temptation to unmold prematurely, as soft interior layers can warp or separate under pressure. Once fully set, unmold the loaf and slice it into individual bars.
Supporting Data and Technical Parameters
Achieving consistent results in multi-layered soap crafting depends heavily on strict adherence to specific physical parameters:
- The Pouring Sweet Spot: 140°F is universally recognized as the optimal thermal threshold for secondary and subsequent pours. At this temperature, the liquid is cool enough to avoid dissolving the solid layer beneath it, yet warm enough to thermally soften the surface interface and create a durable, permanent bond.
- Cooling Intervals: Average ambient room temperature (68°F–72°F) dictates a 10-to-15-minute wait time between standard quarter-inch layers. Thicker pours or high-humidity environments may require extended intervals.
- Alcohol Concentration: 91% isopropyl alcohol is recommended over 70% formulations. The higher alcohol concentration evaporates more rapidly, leaving less residual moisture trapped between layers while providing superior bubble dissipation.
Troubleshooting Common Issues
Even experienced crafters occasionally encounter complications during the layering process. Understanding the root causes of these issues allows for immediate correction:

| Issue | Primary Cause | Preventive Solution |
|---|---|---|
| Layers Separating After Cutting | Missing alcohol application or pouring onto a completely cold, rigid surface. | Always mist with 91% isopropyl alcohol between layers; ensure the base tier is still warm and slightly soft. If it has cooled completely, raise the pour temperature of the next layer to 150°F–160°F to re-melt the interface. |
| Colors Bleeding Together | The poured soap was excessively hot, melting through the structural barrier of the lower tier. | Use a digital thermometer to confirm the pouring temperature is at or near 140°F. Allow the melted base to cool slightly before pouring. |
| Uneven or Slanted Strata | The workspace or mold was unlevel, or the soap cooled subject to localized drafts. | Verify that the work surface is level using a bubble tool. Cure the mold away from active heating vents, windows, or direct sunlight. |
| Trapped Air Pockets | Insufficient alcohol spray or pouring the liquid soap too rapidly, creating mechanical turbulence. | Be generous with the alcohol mister before and after every pour. Pour slowly over the back of a spoon or down the interior wall of the mold to maintain laminar flow. |
Implications and Industry Outlook
The growing popularity of advanced melt-and-pour techniques reflects a broader shift within the artisan personal care market. As consumers increasingly prioritize customization, aesthetic appeal, and transparency in ingredients, home-based soap making has evolved from a simple domestic hobby into a micro-entrepreneurial pursuit.
Techniques like multi-layered and diagonal-pour designs enable independent makers to produce professional-grade items that rival commercial retail standards without requiring industrial manufacturing infrastructure. By mastering the fundamentals of thermal control, chemical bonding, and visual composition, crafters can continuously expand the boundaries of personal creativity, establishing a sustainable niche in the burgeoning handmade economy.