





WASHINGTON — In an era defined by hyper-digital connectivity and constant screen fatigue, a growing demographic of consumers is trading digital stimulation for tangible craftsmanship. From sourdough baking to botanical fabric dyeing, hands-on domestic arts are experiencing a massive cultural renaissance. Among these tactile hobbies, artisanal soap making has emerged as a frontrunner, offering enthusiasts a meditative, creative escape that yields practical, long-lasting household goods.

At the center of this movement is a surging interest in "dupe" culture—specifically, home crafters recreating high-end, cult-favorite cosmetics at a fraction of retail cost. The latest viral project capturing the attention of the DIY community is a stunning, pink-hued peppermint soap designed to mimic Lush’s iconic holiday bestseller, "Snow Fairy."

Blending skin-loving emollients, festive aromatherapy, and intricate layering techniques, this project bridges the gap between accessible beginner crafting and professional-grade bath and body formulation.

The Mindfulness Movement: Why Soap Making is Booming
Over the past several years, lifestyle trends have sharply pivoted toward the slow-living movement. As consumers spend increasingly large portions of their leisure time indoors and online, the desire to produce physical objects from raw materials has skyrocketed.

Soap making, in particular, has cemented its place at the top of the modern domestic hobbyist’s list. Unlike perishable baked goods or delicate crafts, handmade soap boasts an extended shelf life, allowing makers to enjoy the fruits of their labor for months. Furthermore, the repetitive, rhythmic nature of measuring, melting, and pouring induces a neurological state akin to meditation.

"There’s something to be said for slowing down and spending an afternoon making something out of nothing," notes the creator behind the viral Lush copycat project. "Soap making is one of those activities where you start to do it on autopilot, letting you get into a blissful flow state."

While traditional cold-process soap making—which involves handling raw sodium hydroxide (lye)—can intimidate beginners, the melt-and-pour method has democratized the craft. By utilizing pre-saponified soap bases, crafters can bypass safety hazards while retaining complete control over custom colors, nourishing additives, and bespoke fragrance profiles.

Anatomy of a Dupe: Recreating the Snow Fairy Experience
Lush’s seasonal "Snow Fairy" line has achieved legendary status in the beauty world, prized for its sweet, nostalgic bubblegum scent and vibrant magenta aesthetic. Capturing that magic outside of a commercial laboratory requires a careful balance of aesthetics, chemistry, and formulation.

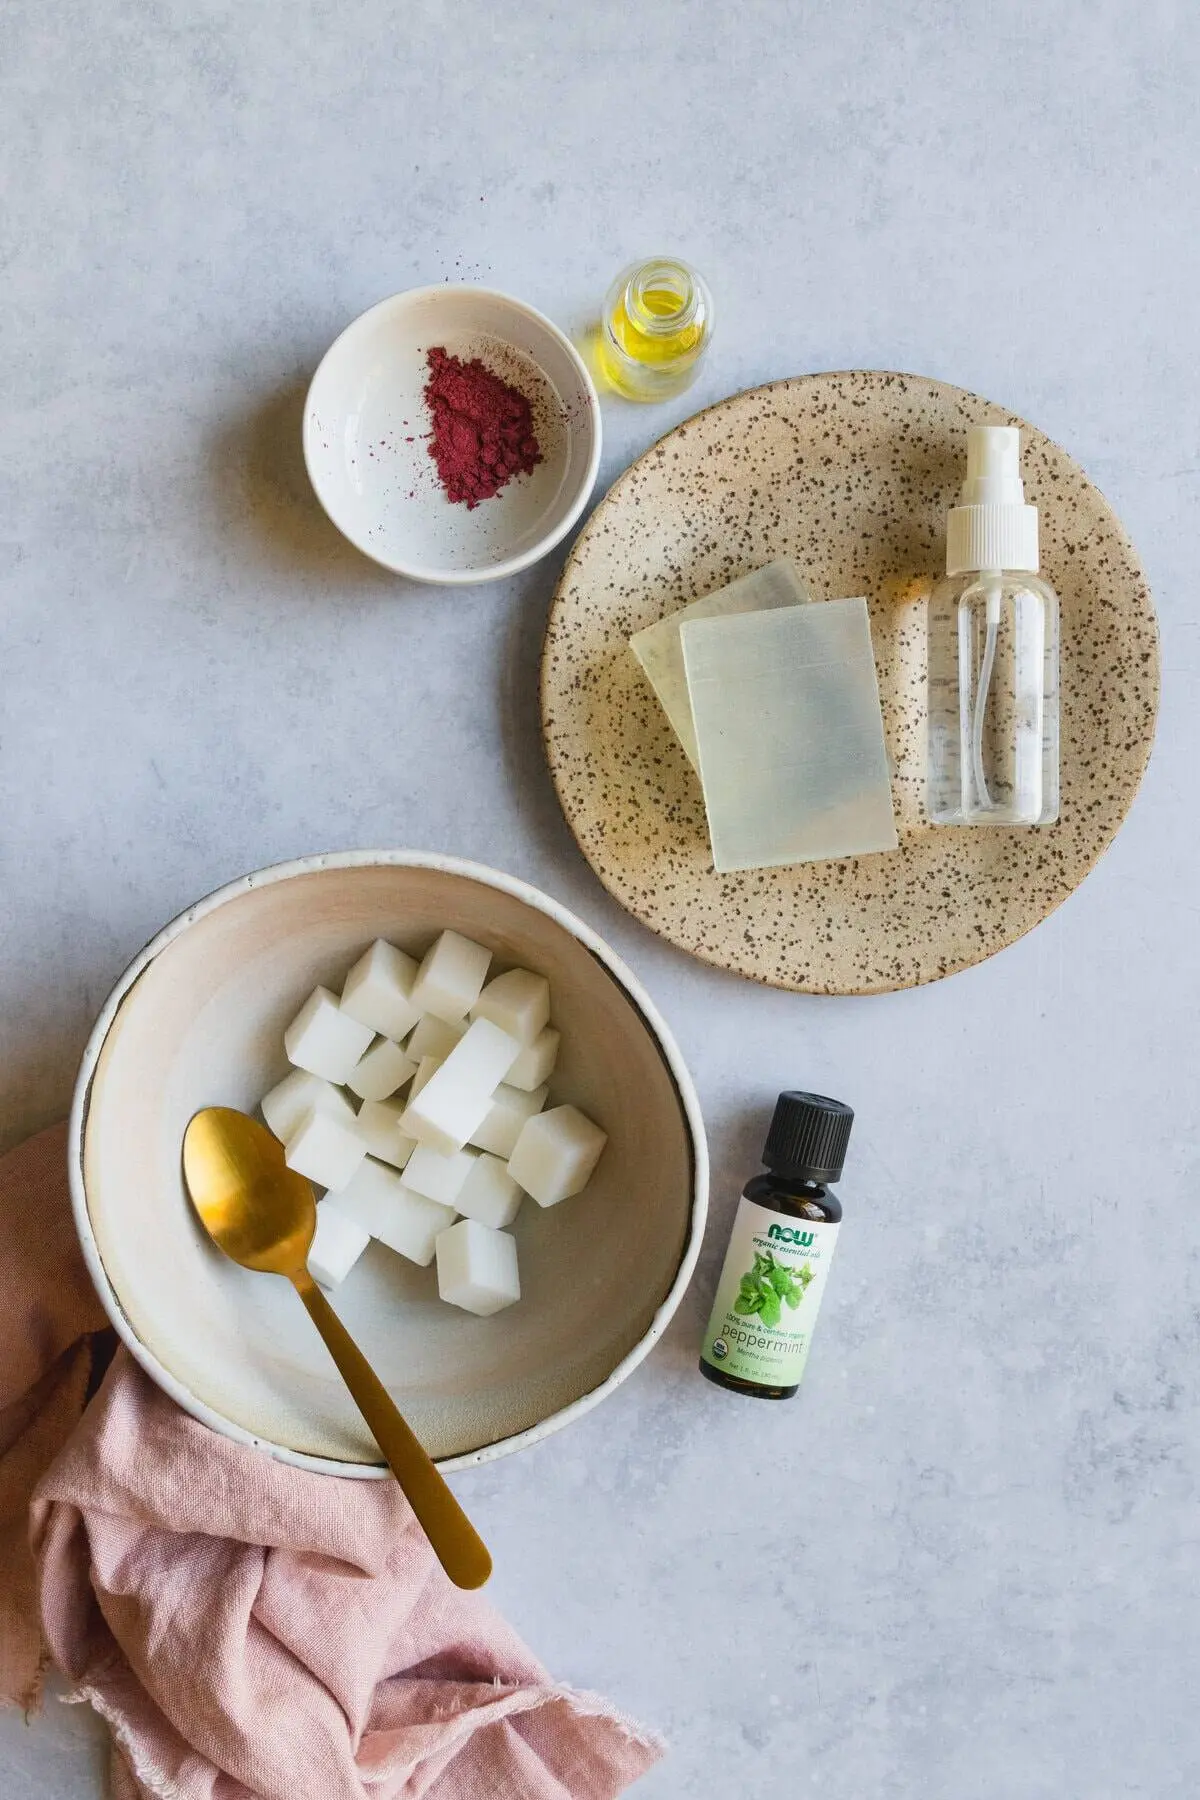
The DIY adaptation elevates standard melt-and-pour projects by combining two distinct soap bases: nourishing shea butter and hydrating glycerin. While the glycerin base provides a translucent, glossy medium for suspended geometric elements, the shea butter base delivers deep, conditioning moisture to combat seasonal dryness.

To further elevate the formulation beyond a standard commercial bar, the recipe incorporates specialized skin-conditioning agents:

- Rice Bran Oil: Rich in antioxidants and fatty acids, it helps nourish and protect the skin barrier.
- Aloe Vera Gel: Known for its cooling and anti-inflammatory properties, it soothes irritated or dry skin.
- Peppermint Essential Oil: Replaces synthetic fragrance with a crisp, refreshing, and festive aroma well-suited for the winter season.
Chronology of the Craft: A Step-by-Step Production Guide
While the finished product looks like it belongs on the shelves of a high-end boutique, achieving the signature embedded star design requires patience and precision. A complete batch takes approximately three to four hours from start to finish, primarily due to the mandatory cooling periods between structural layers.

Phase 1: Creating the Embedded Elements
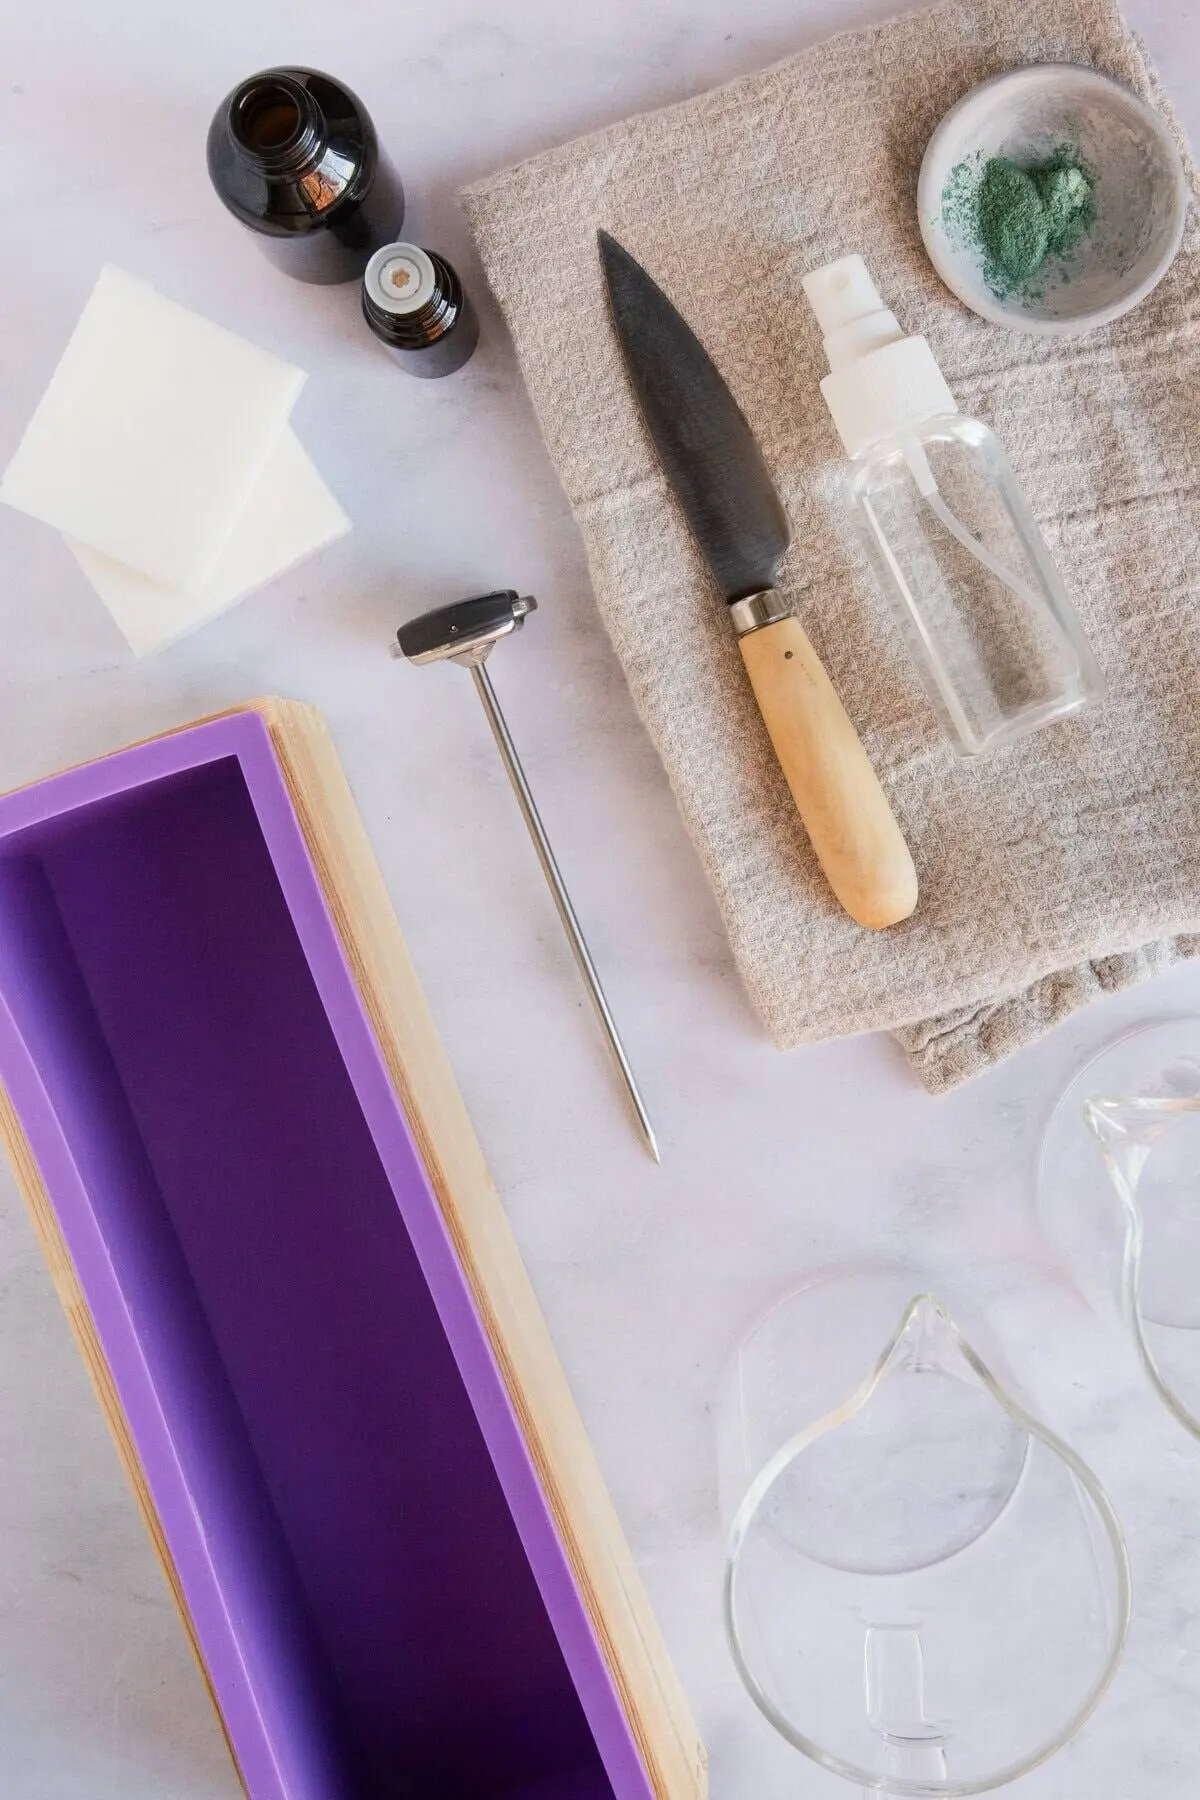
- Melt and Color Clear Soap: Chop clear glycerin soap base into uniform chunks and heat in a microwave-safe measuring vessel in 30-second intervals until fully liquefied. Stir in pink mica powder to achieve a vibrant magenta hue.
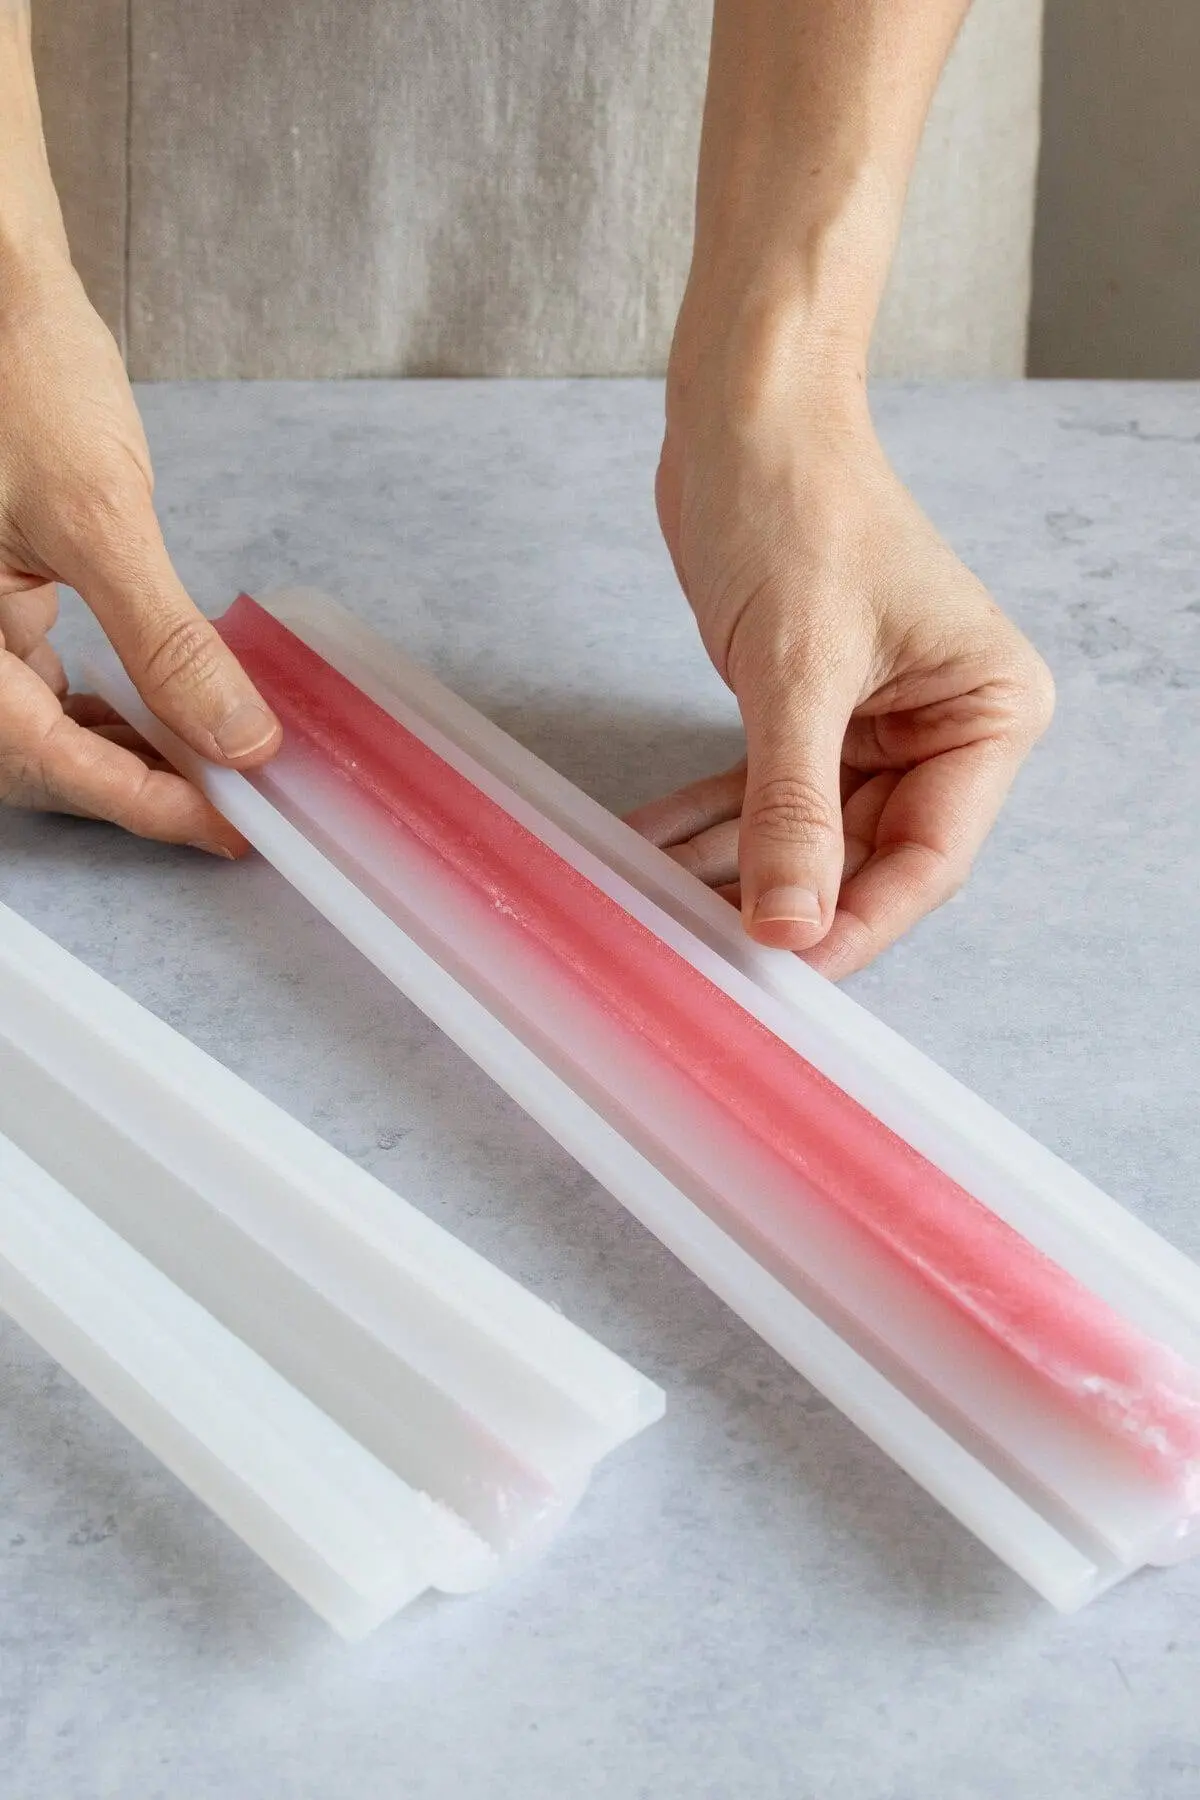
- Pour into Star Molds: Rest a star-shaped column mold on a stable cookie sheet (to catch spills) and pour the colored liquid.
- Cast the Base Layer: Pour any remaining clear soap into a 1-inch layer at the base of a rectangular loaf mold. Mist lightly with rubbing alcohol to dissipate surface bubbles.
- Demold and Cut: Allow the soap to cool undisturbed for roughly one hour. Carefully remove the star cylinder and slice the flat base layer into a mix of small squares, triangles, and rectangles. Trim any rough edges for a clean aesthetic.
Phase 2: Formulating the Shea Butter Body
- Melt Shea Base: Chop the opaque shea butter soap base into chunks and melt using intermittent 30-second microwave bursts.
- Incorporate Actives: Stir peppermint essential oil, rice bran oil, and aloe vera gel directly into the molten shea base.
- Tint and Monitor Temperature: Dust in a small amount of pink mica powder to achieve a softer, pastel pink contrast. Crucially, allow the mixture to cool down to 140°F–145°F. Pouring the soap while too hot will inadvertently melt the pre-cast geometric shapes.
Phase 3: Layering and Assembly
- The Foundation Pour: Pour a shallow layer of the white/pastel pink shea base into the bottom of the rectangular loaf mold. Spritz with rubbing alcohol, and let set for 15 to 20 minutes until it can support weight.
- Embedding Shapes: Mist the pre-cut stars and geometric pieces with alcohol—an essential step that ensures strong chemical adhesion between layers—and arrange 2 to 3 pieces at the base.
- Batch Building: Cover the shapes with another layer of the warm shea base, mist with alcohol to eliminate bubbles, and allow it to set. Repeat this stacking process progressively until the mold is filled.
- Final Cure: Conclude by pouring a final sealing layer of soap over the topmost shapes. Allow the entire loaf to cure undisturbed for 2 to 3 hours (or ideally, overnight). Once fully hardened, demold the loaf and slice it into clean, 1-inch thick artisanal bars.
Supporting Data and Market Implications
The popularity of DIY cosmetics taps into a massive global shift toward sustainable, transparent consumer habits. According to recent market analysis, the global handmade soap market is projected to expand significantly through the end of the decade, driven by consumer demand for palm-oil-free, cruelty-free, and minimal-plastic products.

- Cost Efficiency: While artisanal boutique soaps frequently retail between $8 to $15 per single bar, a bulk batch of melt-and-pour DIY soap yields approximately 8 substantial bars for an estimated total material cost of around $30.
- Gift Economy: Handmade bath and body products remain a dominant category in the multi-billion-dollar seasonal gifting market. The ability to customize embedded shapes for specific holidays—such as hearts for Valentine’s Day, pastels for Mother’s Day, or stars for the winter holidays—makes customizable column molds a staple in modern craft supplies.
Expert Storage and Troubleshooting Tips
Because artisanal soaps lack the synthetic chemical preservatives found in mass-market commercial cleansers, proper post-production storage is vital to maintaining product integrity.
- Environmental Control: Finished bars should be cured and stored in a cool, dry environment away from direct sunlight and high humidity. Exposure to excess moisture can cause glycerin-rich soaps to "sweat" (attract ambient moisture), leading to a sticky surface texture.
- Long-Term Preservation: For extended storage lasting several months, wrap individual bars tightly in parchment paper, seal them within a barrier plastic bag, and store them in a climate-controlled pantry. For ultimate longevity, sealed bars can be kept in a refrigerator, provided they are thoroughly sealed against ambient food odors. Properly stored melt-and-pour soap retains its color, texture, and fragrance profile for up to one year.
Pro-Tips for Success
- Never Skip the Alcohol: Misting layers with isopropyl (rubbing) alcohol is chemically necessary. It instantly pops surface bubbles and melts microscopic surface tension barriers, ensuring that stacked soap layers fuse into a single solid unit rather than shearing apart during slicing.
- Manage Reheating: As you work through multi-step layering, your primary soap bases will inevitably solidify. Reheat them cautiously in 30-second microwave intervals, taking care not to let the mixture boil, which degrades the added essential oils and carrier fats.