






As consumers increasingly pivot toward intentional, budget-friendly, and personalized holiday gifting, a new contender has emerged at the intersection of practical self-care and artistic expression: the DIY gift box soap. Combining the visual charm of miniature wrapped presents with the tactile satisfaction of artisanal bath products, these creations are redefining homemade gifting. Utilizing accessible melt-and-pour techniques, mica colorants, and clever vegetable-peeler ribbon curls, crafters of all skill levels are discovering a sophisticated yet approachable method to elevate their seasonal giving.

The Anatomy of a Trend: Main Facts Driving the Craze
The popularity of handmade holiday bath and body products is anchored in a broader cultural shift toward "simple living" and economic mindfulness. According to recent lifestyle and craft industry assessments, handmade holiday gifts have surged in popularity as consumers seek alternatives to mass-produced commercial goods.

The DIY gift box soap project capitalizes on this movement by offering a high-end aesthetic without requiring advanced chemistry or professional-grade equipment. At its core, the project relies on clear melt-and-pour soap bases combined with cosmetic-grade mica powders. This specific formulation removes the safety hazards and steep learning curves traditionally associated with cold-process soap making—such as handling lye—making the activity safe, clean, and family-friendly.

The defining characteristic of these soaps is their trompe l’oeil design. Each bar is meticulously engineered to resemble a wrapped package, featuring contrasting embedded ribbon strips across the base and an elaborate cluster of three-dimensional "soap curls" on top that mimic a festive gift bow.

Step-by-Step Chronology: How to Create Gift Box Soaps
For those looking to replicate the process, timing and precision are critical. Melt-and-pour soap cools rapidly, meaning the workflow requires advanced preparation and steady execution.

Phase 1: Constructing the Ribbons and Curls
The process begins by manufacturing the decorative elements that give the soap its signature look.

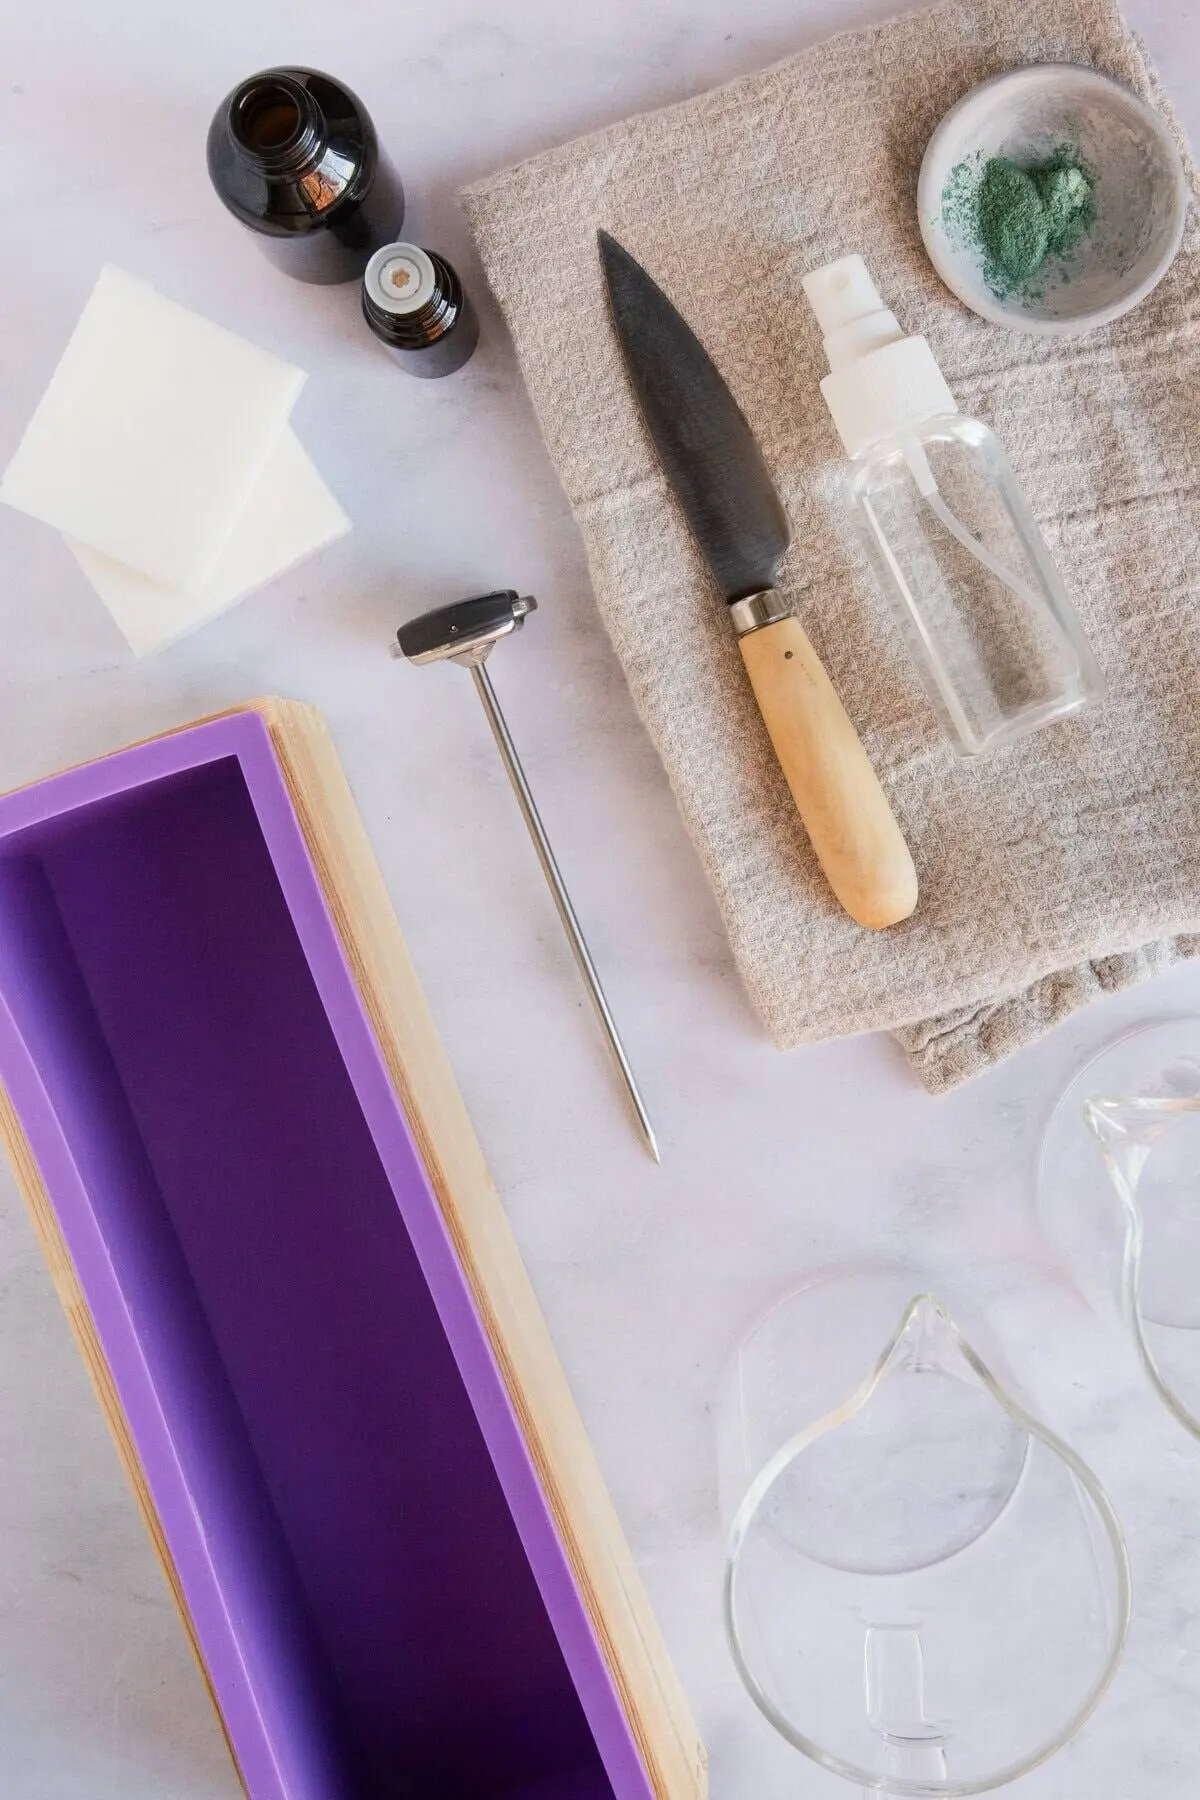
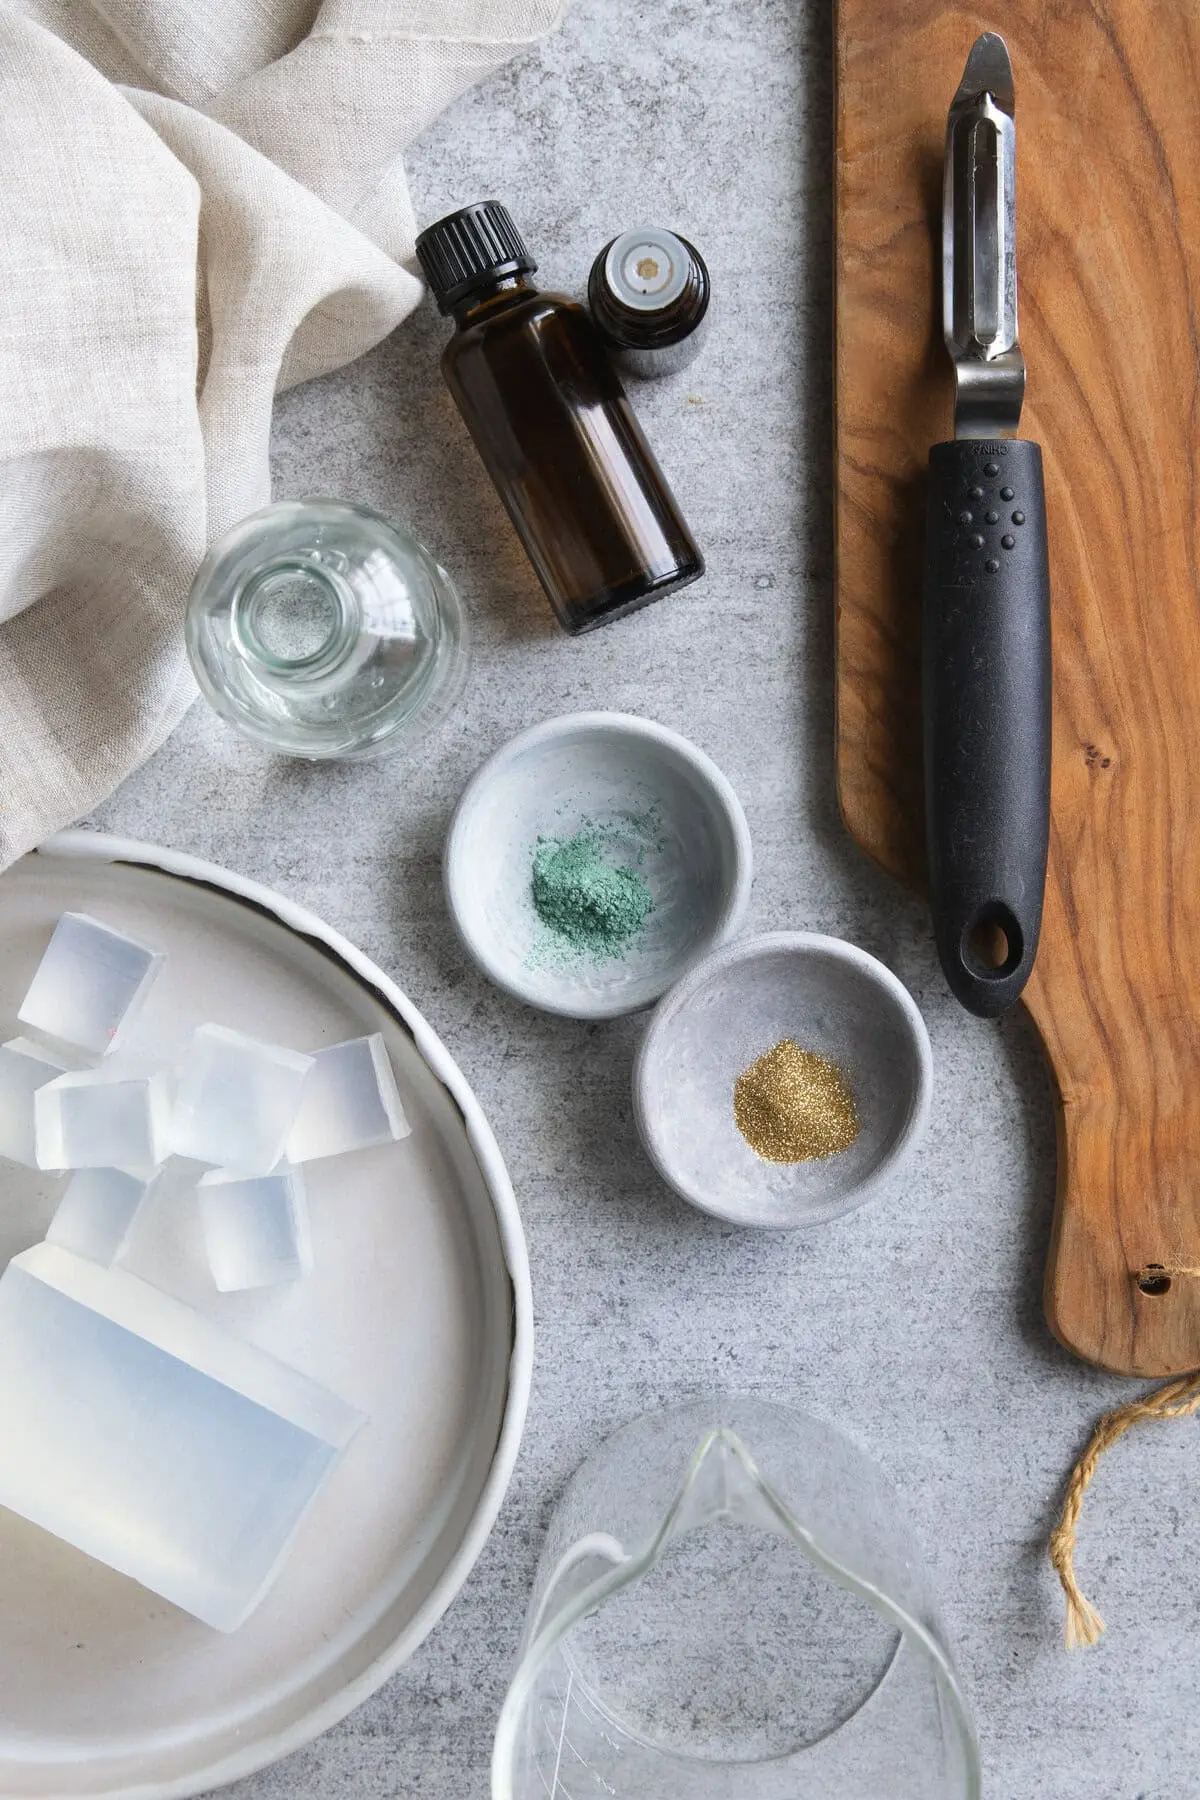
- Melting the Base: Crafters start by dicing 3 ounces of clear soap base into uniform 1-inch cubes, melting them in a microwave-safe container using 30-second intervals.
- Adding Luster: Gold mica powder is thoroughly whisked into the molten liquid to establish a metallic, high-shine appearance.
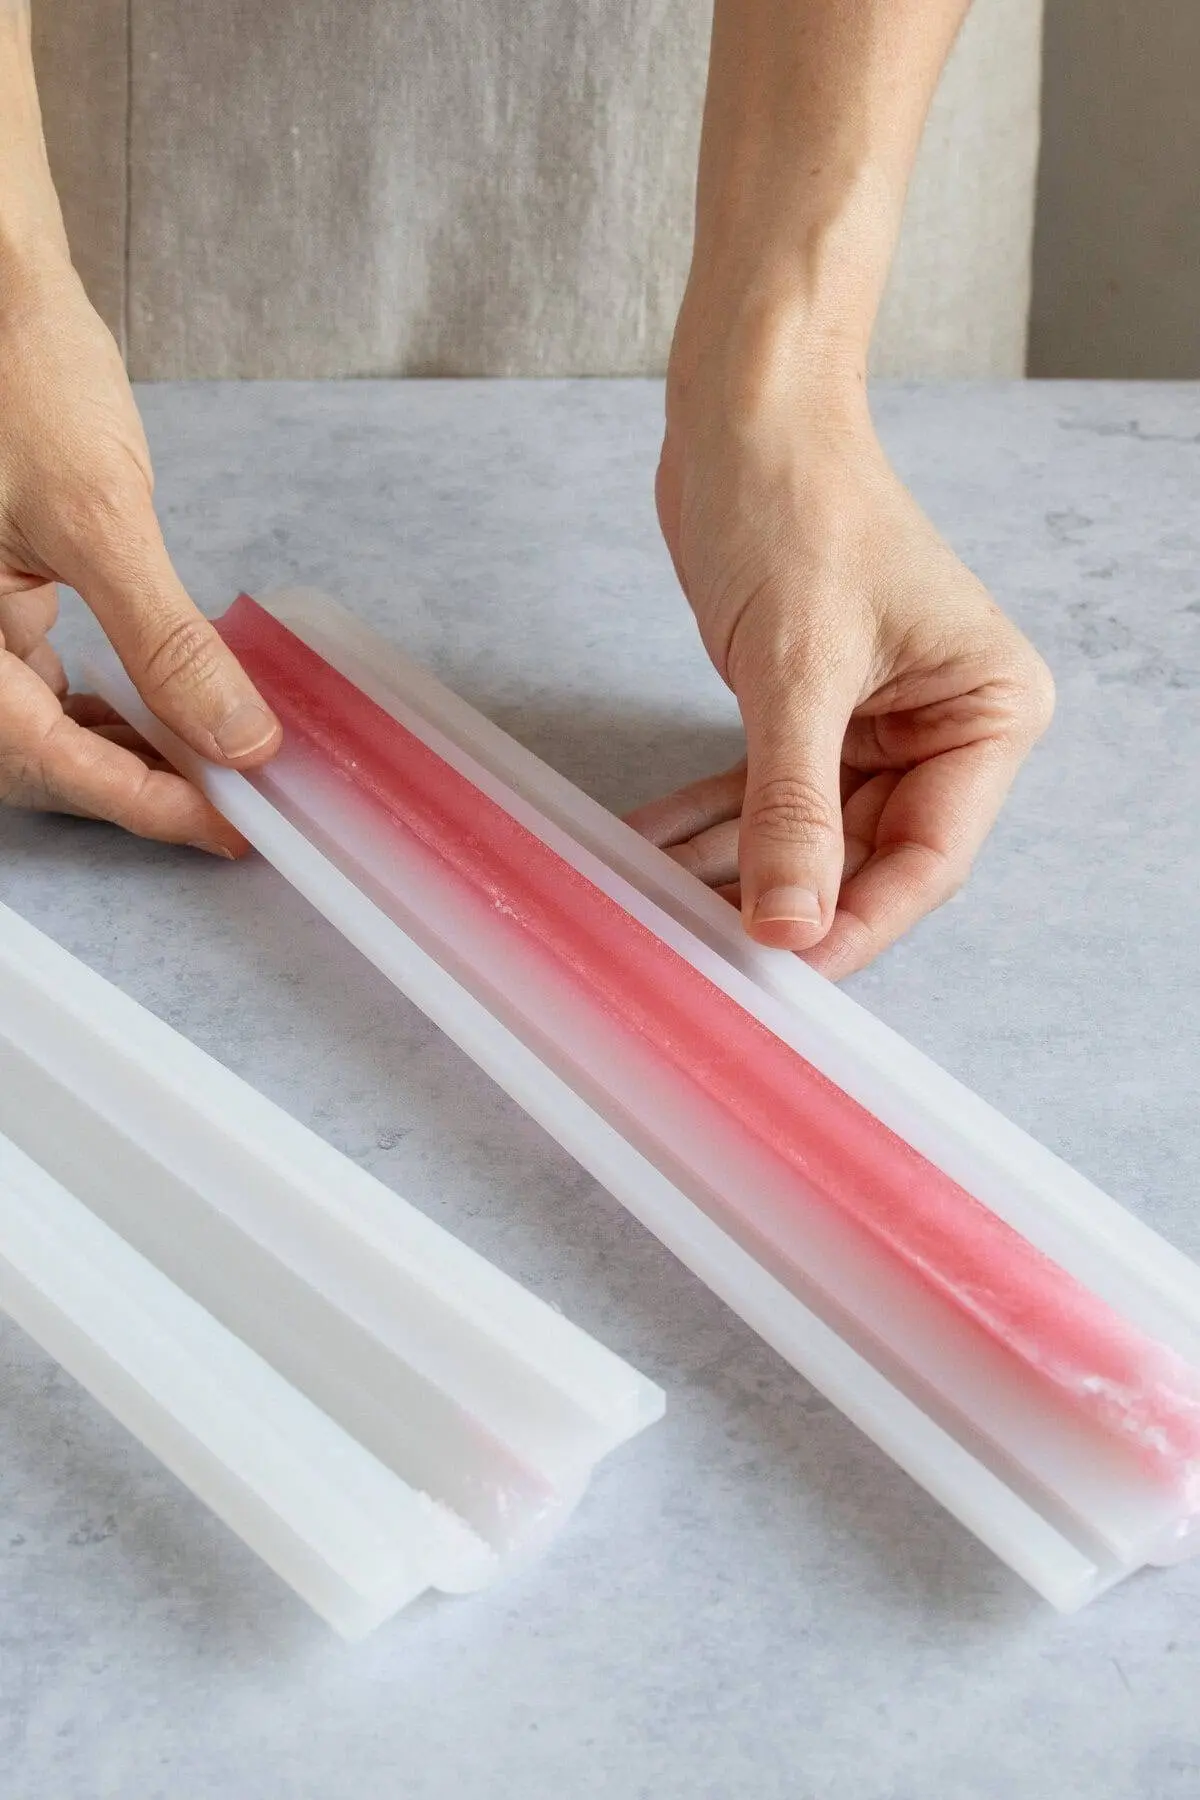
- Pouring the Blocks: Approximately 0.5 ounces of the gold soap is poured into a shallow mold compartment to create a thin sheet destined to become ribbon strips. The remainder is poured into a separate, deeper compartment to form a thick block utilized later for peeling curls.
- Surface Refining: A light spritz of rubbing alcohol removes surface bubbles, and the blocks are left to harden completely.
- Cutting Ribbons: Once set, the thin sheet is sliced into four uniform strips. Two strips are arranged in a cross ("plus sign") pattern directly into the bottom of the final mold, with overlapping center points trimmed to ensure a flat lie.
Phase 2: Casting the Box Body
The structural body of the soap requires a deliberate two-pour technique to anchor the embedded ribbons securely.

- Preparing the Base: Four ounces of clear soap base are melted and customized with the crafter’s choice of colored mica and essential oils for fragrance.
- First Pour: The soap is allowed to cool to approximately 140 degrees Fahrenheit. The pre-cut ribbon cross is firmly pressed into the bottom of the mold to prevent floating, followed by a shallow initial pour of colored soap just deep enough to encase the ribbons.
- Setting and Layering: After a spritz of alcohol and a brief cooling phase, the remaining colored soap is poured to fill the mold entirely, securing the structural integrity of the "box."
Phase 3: Sculpting and Securing the Bow
The finishing touch transforms the geometric block into a convincing gift package.

- Shaving Curls: Using a standard kitchen vegetable peeler, the crafter shaves thin ribbons from the thick gold soap block set aside in Phase 1.
- Forming the Bow: These thin shavings naturally curl upon contact with the blade; any recalcitrant pieces are gently rolled by hand.
- Assembly: Approximately 1 ounce of clear soap is melted in a shallow dish. By dipping the base of each curl into the molten liquid, the crafter builds a clustered, three-dimensional bow atop the gift box. An optional final coating of clear soap over the entire bow creates a protective shell, locking the curls into place.
Supporting Data and Material Specifications
Executing this craft successfully requires adherence to specific technical parameters to ensure structural stability and aesthetic longevity:

- Optimal Temperatures: Pouring melt-and-pour soap at or below 140°F prevents the newly introduced layers from melting pre-existing components or warping embedded elements like the ribbon strips.
- Yield and Economics: A standard batch typically yields two high-end artisan soaps, with estimated material costs hovering around $10 total—significantly lower than comparable retail specialty soaps.
- Shelf Life: When stored under ideal conditions, these soaps maintain their integrity and scent profile for up to one year.
Expert Insights and Official Recommendations
Industry experts and formulation specialists emphasize that while melt-and-pour projects are forgiving, environmental factors play a major role in the final product’s presentation.

Professional soap makers caution against substituting cold-process formulations for this specific design. Cold-process soaps retain different moisture levels and structural characteristics, making them unsuitable for the delicate vegetable-peeler curling technique required for the bows.

Furthermore, time management is highlighted as a critical success factor. Because melt-and-pour bases develop a surface film rapidly upon cooling, pre-measuring all colorants, fragrances, and tools before applying heat is considered an absolute best practice.

Implications for Holiday Gifting and Small-Scale Artisans
The surging popularity of items like the DIY gift box soap signals a broader shift in consumer behavior away from commercialism and toward hyper-personalized, thoughtful craftsmanship. For holiday shoppers facing economic pressures or suffering from gift fatigue, handmade bath items offer an affordable luxury that feels both personal and indulgent.

Beyond personal use, this trend highlights opportunities for micro-entrepreneurs and home-based artisans. Because the technique requires minimal startup capital and utilizes widely available commercial bases, small-batch creators can easily scale production for holiday craft fairs, local boutiques, or online marketplaces.

Storage and Preservation Guidelines
To protect the investment of time and materials, proper storage is paramount. Finished soaps should be individually wrapped in plastic wrap immediately after curing to protect against ambient humidity, which causes glycerin-based soaps to draw moisture from the air (commonly known as "sweating").

Wrapped items should be stored in a cool, dark cupboard away from direct sunlight, which can degrade or fade vibrant mica colorants over time. For long-term preservation, placement within an airtight container accompanied by food-safe silica gel packets ensures optimal dryness. If minor condensation does develop prior to gifting, unwrapping the soap and gently polishing the surface with a dry, soft cloth restores its original polished sheen.