





Main Facts: The Renaissance of Homemade Soap Artistry
The contemporary craft market has experienced a massive surge in domestic cosmetic production, with melt and pour soap making serving as an accessible entry point for artisans and hobbyists alike. While single-color, uniform soap bars remain a staple of beginner DIY projects, creators increasingly look to advanced decorative techniques to elevate their outputs. Chief among these methods is layering—a stylistic approach involving the sequential pouring of distinct color fields, translucent segments, or contrasting opaque bases.
Far from requiring industrial-grade equipment or hazardous chemical handling associated with cold process soaping, layering relies primarily on precise thermal management, timing, and a standard household spray bottle filled with rubbing alcohol. By controlling the physical states of vegetable- or goat’s milk-derived bases, makers can achieve striking horizontal bands, dramatic diagonal stripes, and complex geometrical color blocks. Industry veterans emphasize that success in this craft hinges not on artistic flair alone, but on rigorous adherence to physics, specifically the thermodynamic interactions between successive layers of heated surfactant bases.

Chronology: The Step-by-Step Architectural Process of Layered Soap Production
Creating professional-grade layered soap requires a disciplined, chronological approach to preparation, melting, pouring, and setting. Artisans follow a strict operational timeline to ensure structural integrity and aesthetic cohesion.
Phase 1: Material Preparation and Base Breakdown
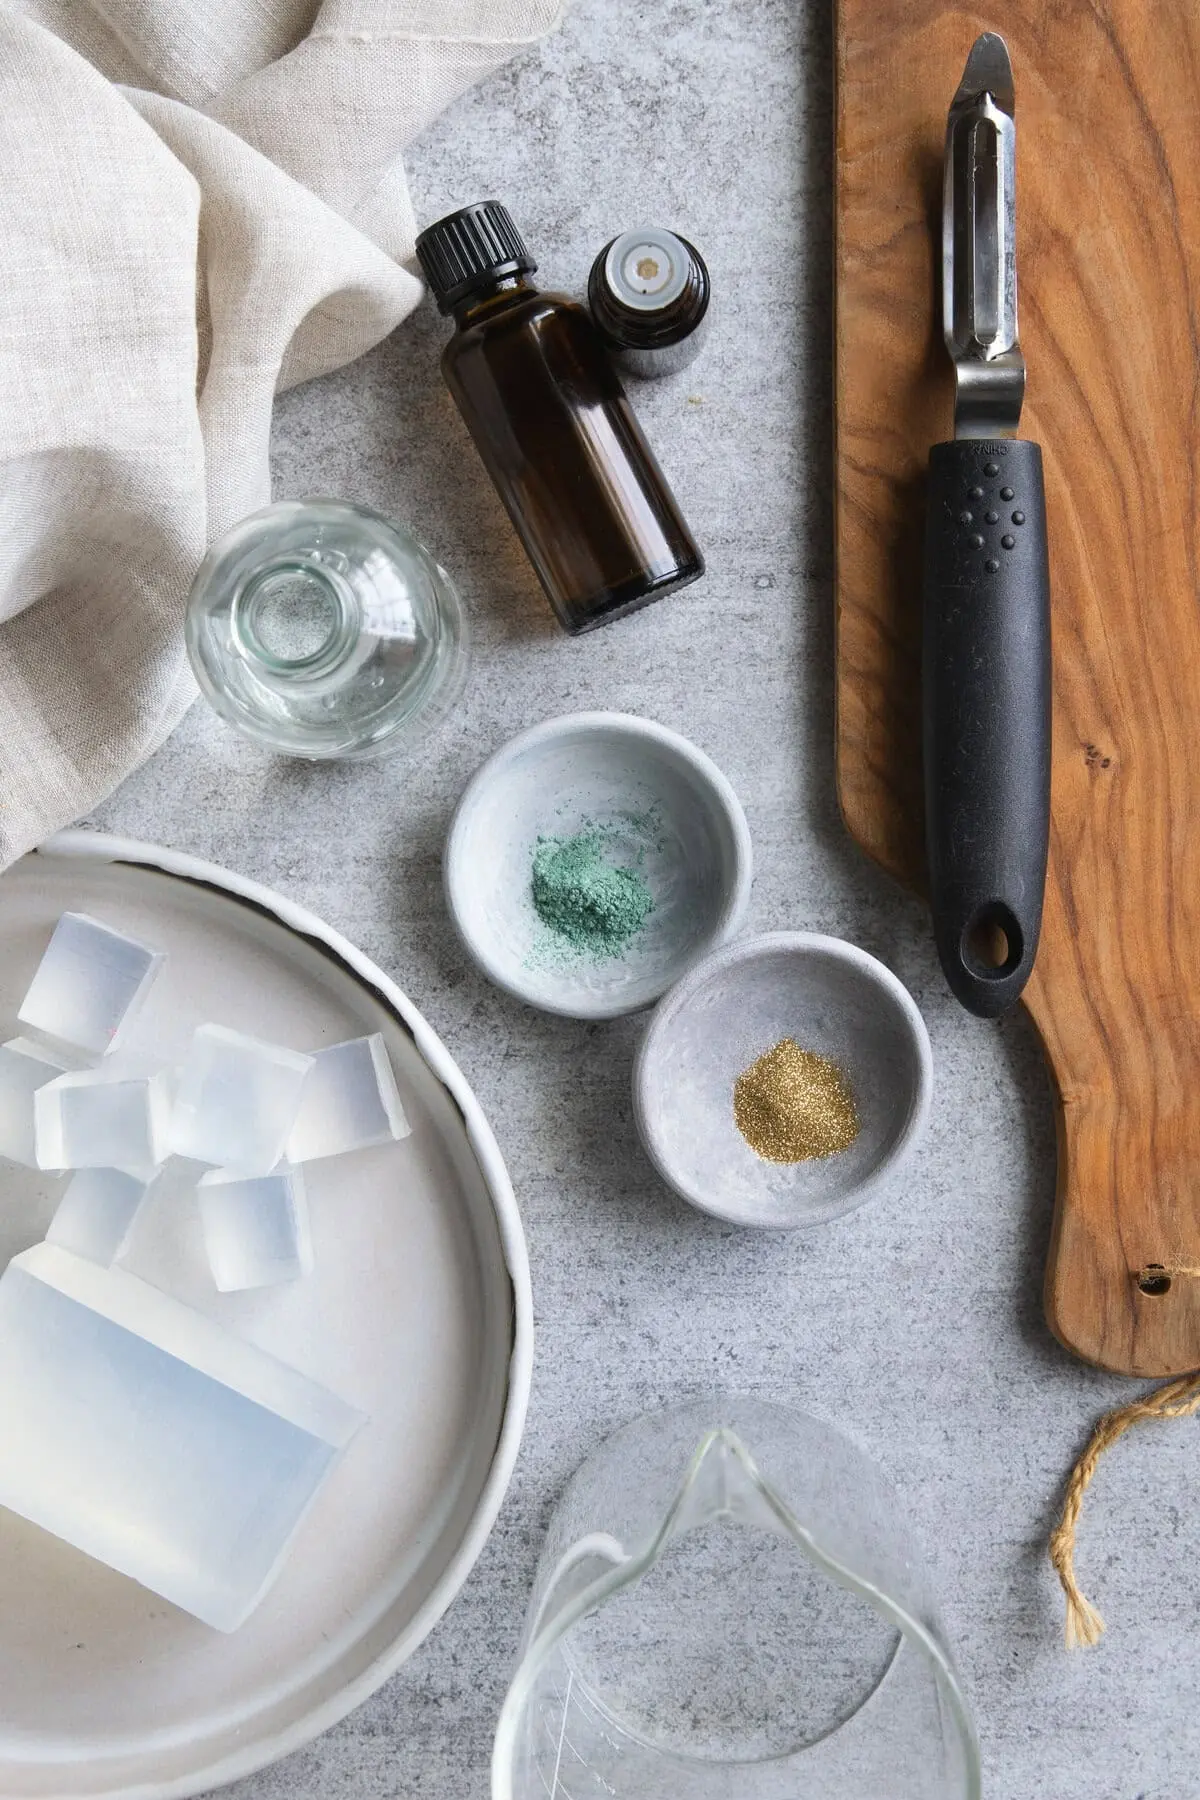
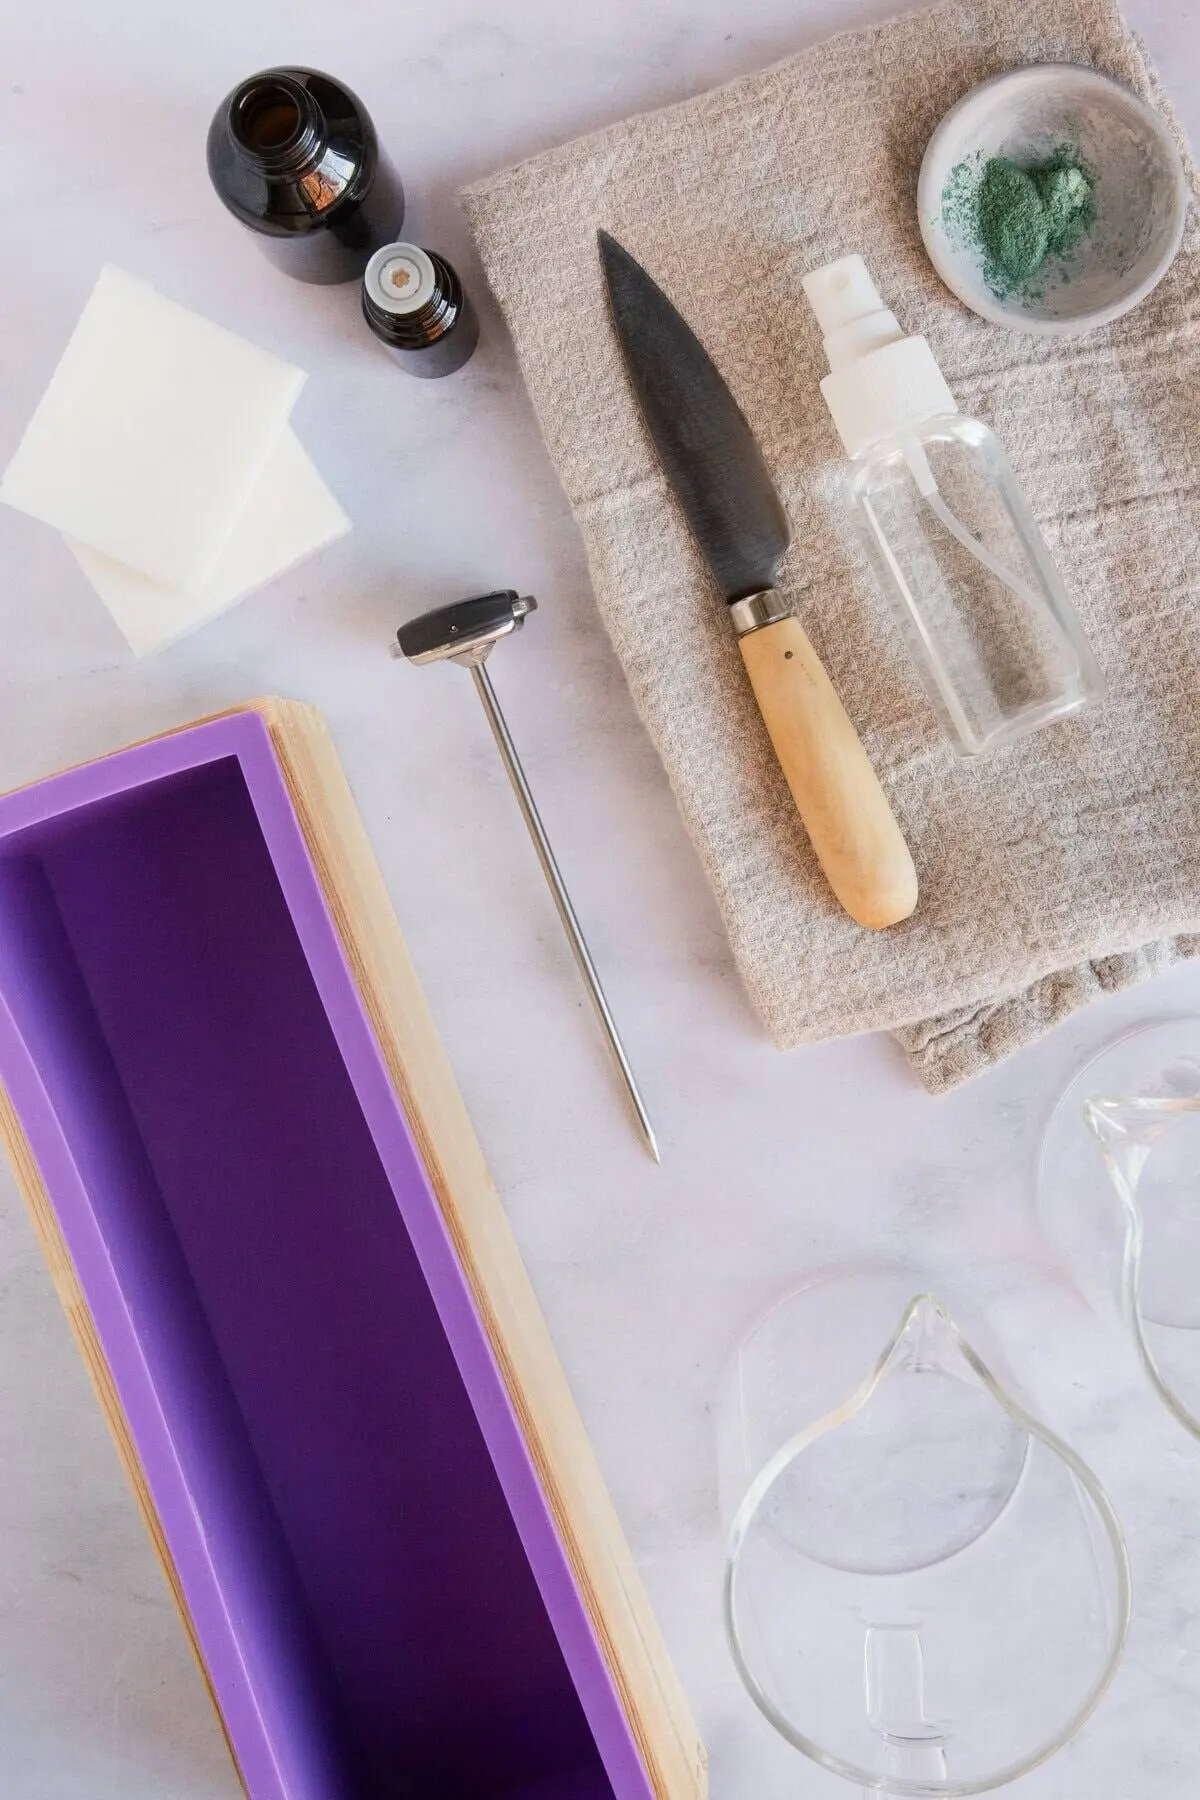
The process begins with the careful sectioning of the raw melt and pour base. Artisans chop the solid blocks into uniform, one-inch cubes. This geometry ensures rapid, even thermal absorption when subjected to microwave heating, preventing localized scorching or the formation of dense, un-melted core chunks. These cubes are then distributed into separate heat-safe containers, with one dedicated vessel assigned to each anticipated color or opacity tier.

Phase 2: Thermal Liquefaction and Additive Integration
The divided bases are subjected to controlled heat in short, thirty-second intervals, accompanied by gentle stirring. The objective is to achieve a completely liquid state without elevating the temperature past optimal thresholds. Once liquefied, colorants (such as liquid synthetic dyes or natural powders like beetroot and spirulina) and skin-safe fragrances or essential oils are gently incorporated. Rapid or aggressive stirring is strictly avoided at this stage to prevent the introduction of micro-bubbles, which compromise the optical clarity and structural soundness of the final product.
Phase 3: The Initial Pour and Thermal Stabilization
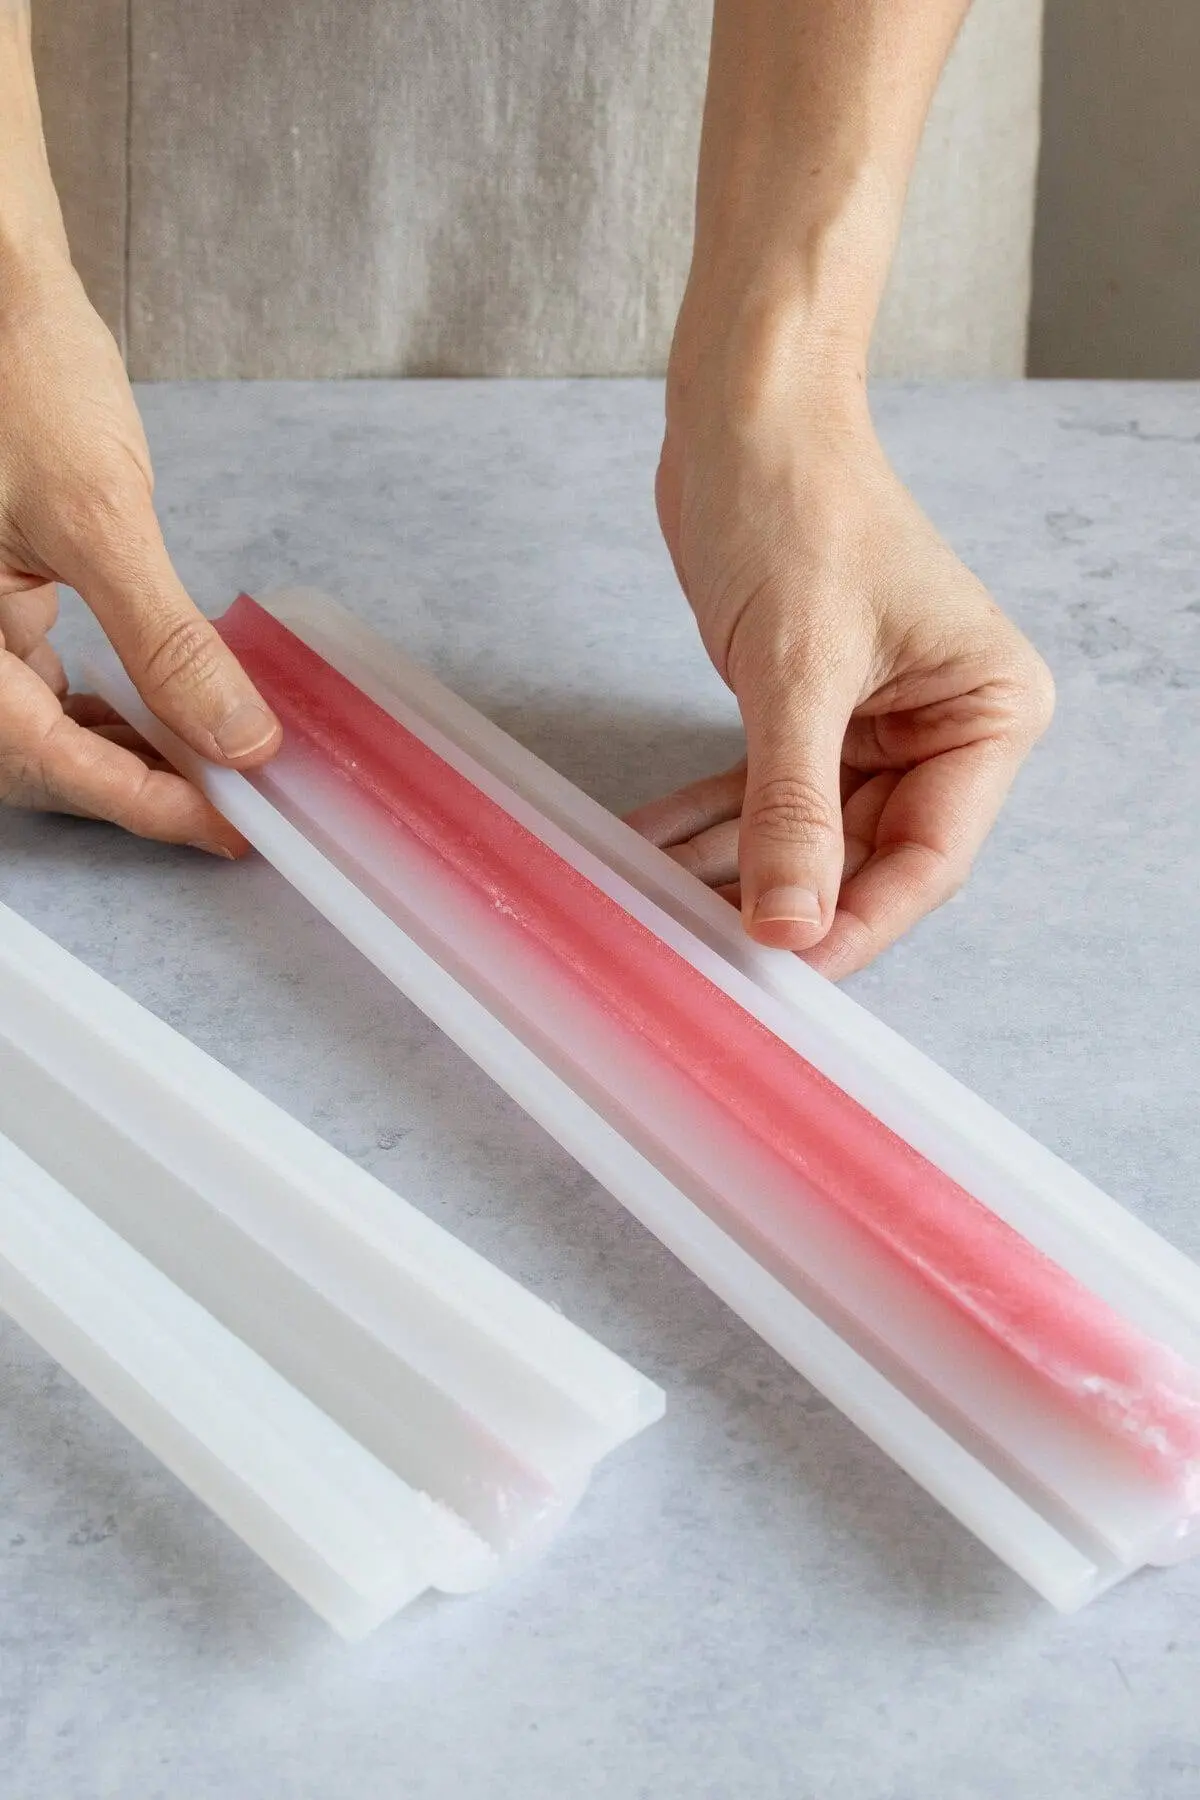
To achieve dynamic designs, such as diagonal or slanted color fields, the soap mold is propped at a calculated angle using a stable support like a ramekin or rolled kitchen towel. The first layer is poured into the cavity. Because no underlying substrate exists to disrupt, the initial temperature of this pour is non-critical. A light mist of rubbing alcohol is applied immediately to the surface to dissipate lingering surface foam. The mold is then left undisturbed until a delicate, semi-firm skin forms across the top—a transitional phase typically achieved within ten to fifteen minutes, depending on ambient room temperature and volume.

Phase 4: Secondary Pours and Molecular Bonding
Before introducing subsequent layers, the cooled surface must be primed. The artisan applies a generous spritz of rubbing alcohol, which acts as a chemical bonding agent. Concurrently, the next batch of melted soap must be allowed to cool to an optimal sweet spot—precisely 140 degrees Fahrenheit. Pouring at this exact temperature prevents the new liquid from aggressively melting through the underlying skin while ensuring sufficient thermal fusion to prevent future delamination. The stream is poured slowly, often deflected over a utensil or down the interior wall of the mold to minimize turbulence, followed by a final alcohol mist.
Phase 5: Curing, Unmolding, and Precision Slicing
The sequence is repeated until the mold reaches capacity, with any angled configurations flattened during the final top pour. The composite block must then undergo complete thermal equilibrium, remaining undisturbed at room temperature for several hours or overnight. Once fully solidified, the loaf is extracted from the mold and sectioned using a straight-edge cutter or wire slicer, revealing crisp internal stratifications ready for immediate use or retail distribution.

Supporting Data: Variables, Metrics, and Technical Tolerances
To maintain quality control across batches, professional soapmakers rely on precise numerical parameters regarding temperature, weight distribution, and chemical interventions:
- The 140-Degree Rule: Research and practical testing establish 140°F (60°C) as the critical pouring threshold. Pouring above 150°F risks dissolving the underlying stratum, creating muddy, bleeding color interfaces. Pouring below 130°F frequently results in structural failure, causing layers to separate cleanly along the seam during the cutting phase.
- Time-to-Skin Metrics: Under standard room conditions (70°F ambient), a quarter-inch layer of standard glycerin base forms an optimal bonding skin within 10 to 15 minutes.
- Ratio Planning: For uniform loaf production, total batch weight is divided mathematically prior to melting. A standard two-pound loaf divided into four equal layers requires precisely eight ounces of base per color tier, ensuring proportional aesthetic balance.
- Chemical Adhesion Index: Isopropyl alcohol (91% concentration or higher) serves a dual purpose: it lowers surface tension to instantly collapse carbon dioxide and air bubbles, and it partially dissolves the surface molecules of cooled soap, creating a solvent-welded joint between strata.
Official Responses: Industry Insights and Artisan Best Practices
Master soapmakers and formulation chemists emphasize that while melt and pour crafting is marketed as beginner-friendly, advanced aesthetics demand professional-level troubleshooting protocols.

Renowned handicraft educators note that the most common point of failure among novices is impatience. "The temptation to rush the cooling process or skip the alcohol spray inevitably leads to structural delamination," explains formulation specialist Clara Vance. "Melt and pour is essentially a thermal welding exercise. If your surface is too cold, the weld fails. If your incoming liquid is too hot, you compromise the structural foundation of the layer below it."
Furthermore, safety guidelines highlight the absolute necessity of utilizing skin-safe, cosmetic-grade additives. When layering complex fragrances or natural exfoliants like ground botanicals, formakers must account for potential migration and allergen risks, particularly if the finished bars are intended for commercial sale or public gifting. Industry groups strongly advocate for rigorous record-keeping of scent loads, generally advising that fragrance oils should not exceed 1% to 3% of the total soap weight to prevent sweating and phase separation within the layered matrix.

Implications: The Commercial and Therapeutic Future of Custom Cosmetics
The mastery of melt and pour layering techniques carries significant implications for both the micro-entrepreneurial craft sector and the broader sustainable consumer goods market. As consumers increasingly prioritize personalized, artisanal, and locally sourced self-care products, the ability to produce visually sophisticated cosmetics at home empowers independent creators to compete aesthetically with commercial manufacturers.
Economically, the low barrier to entry—requiring minimal capital investment in heavy machinery—allows small-scale artisans to test innovative design concepts, such as seasonal color palettes and custom aromatherapeutic combinations, with negligible financial risk. From an environmental perspective, the popularity of melt and pour techniques reduces reliance on commercial packaging when distributed locally, while offering consumers total transparency regarding ingredients. Ultimately, transforming a basic cleansing bar into a multi-dimensional visual medium bridges the gap between functional hygiene products and accessible domestic fine art.