NEW YORK — In an era dominated by instant digital gratification, a quiet counter-revolution is taking place in home kitchens and craft rooms across the country. Driven by a collective desire to slow down, disconnect from screens, and master tangible skills, enthusiasts are reviving age-old domestic arts. Among them, artisanal soap making has surged to the forefront of the modern DIY movement.
While traditional cold-process soap making remains a rewarding endeavor requiring precision chemistry, a more accessible alternative has captured the imagination of modern crafters: the "melt-and-pour" method. Offering an entry point that balances creative freedom with safety and speed, melt-and-pour formulations allow hobbyists to bypass the complexities of handling lye while still producing professional-grade, deeply nourishing skincare products.
Nowhere is this trend more visible than in the viral popularity of holiday-themed copycat projects. Capitalizing on the seasonal demand for luxury bath goods—exemplified by cult-favorite commercial products like Lush’s iconic "Snow Fairy" soap—DIY creators are engineering clever, budget-friendly duplicates that rival their commercial inspirations in both aesthetics and skin-softening benefits.
Main Facts: The Anatomy of a Luxury DIY Soap Dupe
The latest project captivating the crafting community is a pastel-pink, shimmering peppermint soap infused with embedded geometric shapes, designed to mimic high-end holiday bath bars.
Rather than relying on harsh detergents, this formulation relies on a strategic dual-base approach:
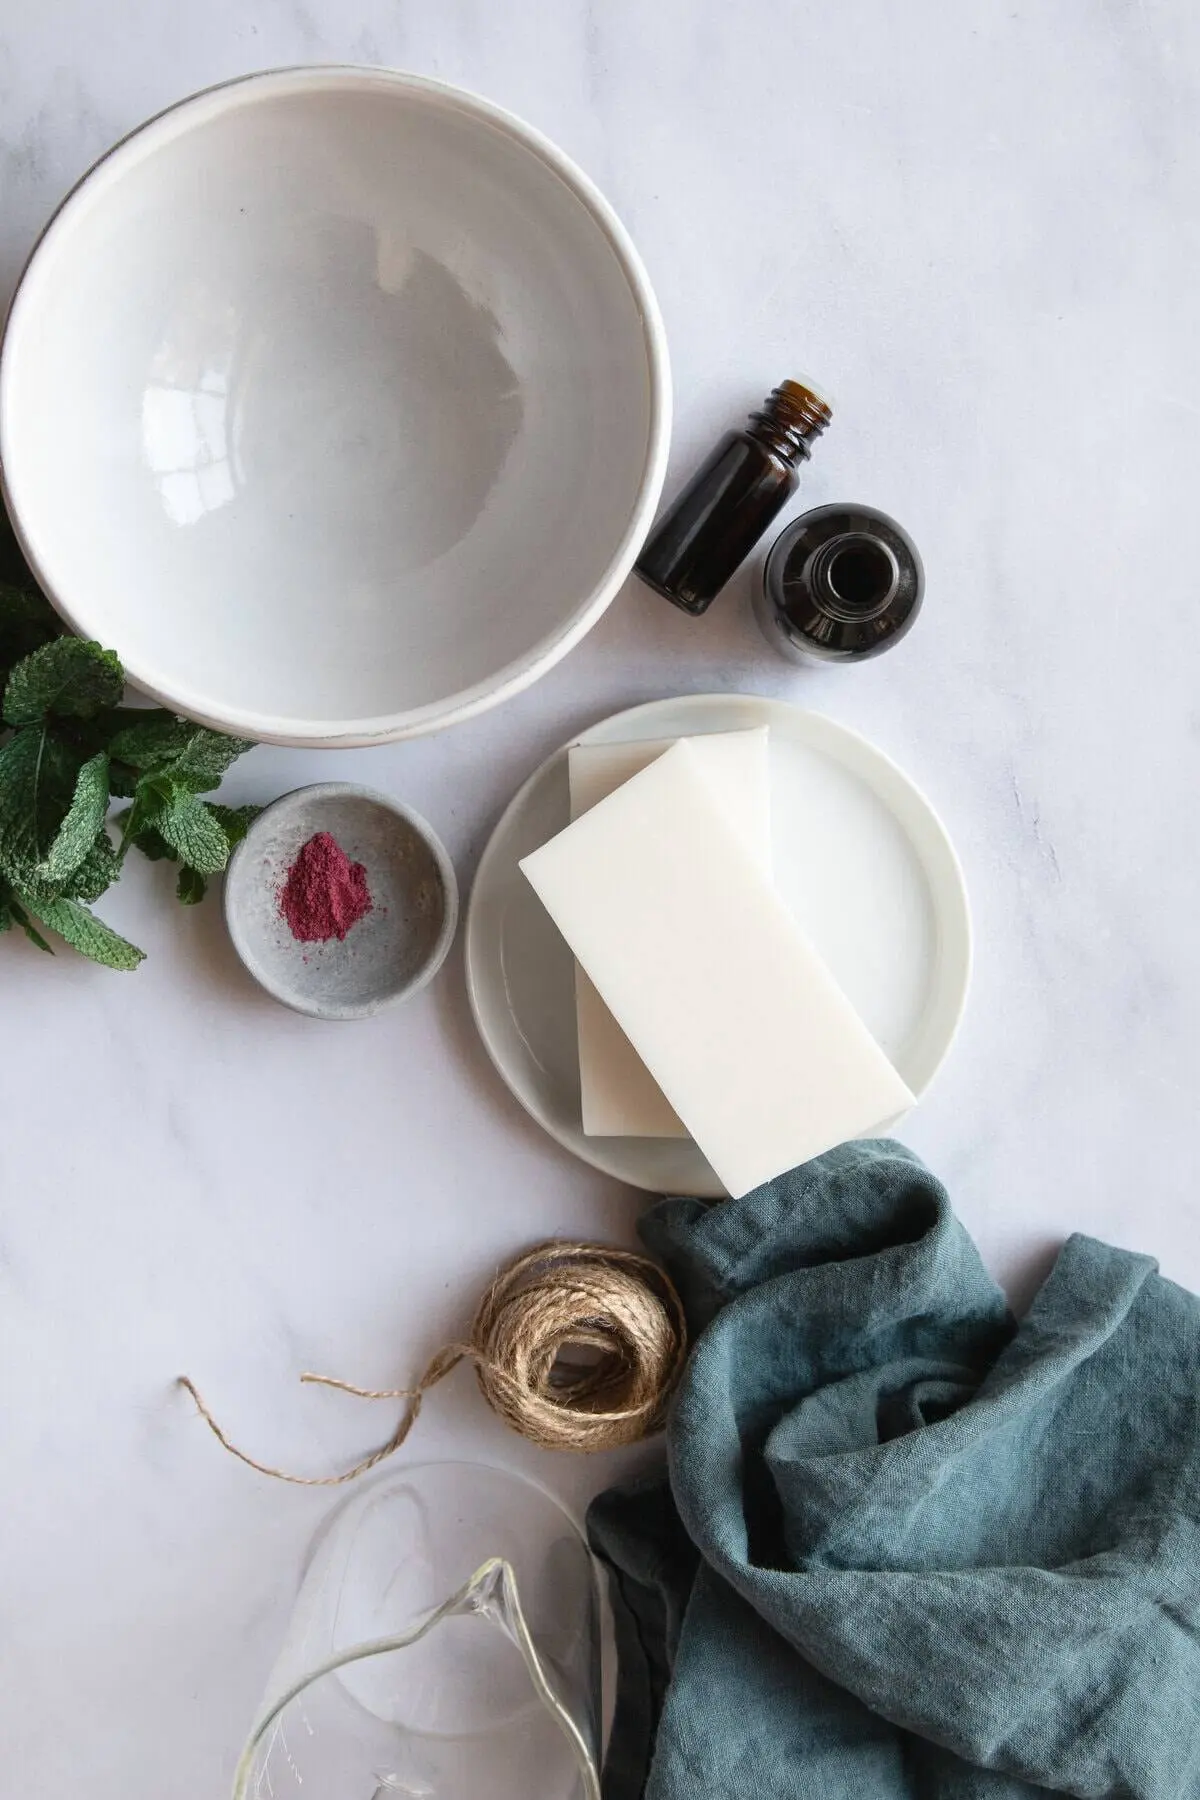
Nourishing Shea Butter Base: Provides a rich, creamy lather and deep moisture barrier protection.
Hydrating Glycerin Base: Attracts moisture to the skin, ensuring a gentle cleanse that doesn’t strip natural oils.
Botanical Boosters: Incorporates rice bran oil and aloe vera gel to actively soothe dry, winter-weary skin.
Aromatic Profile: Utilizes pure peppermint essential oil to deliver a crisp, festive, and invigorating scent profile ideal for the winter season.
With an estimated material cost of around $30 for a yield of eight substantial bars, this DIY alternative offers a cost-effective solution for consumers looking to bypass luxury retail markups without sacrificing quality or visual appeal.
Chronology: The Step-by-Step Evolution of a Layered Masterpiece
Creating an embedded, multi-textured soap is a labor of love that requires patience, precision, and temperature control. Master crafters estimate a total project time of roughly 3 to 5 hours, largely spent waiting for individual layers to cure.
Phase 1: Creating the Embedded Shapes
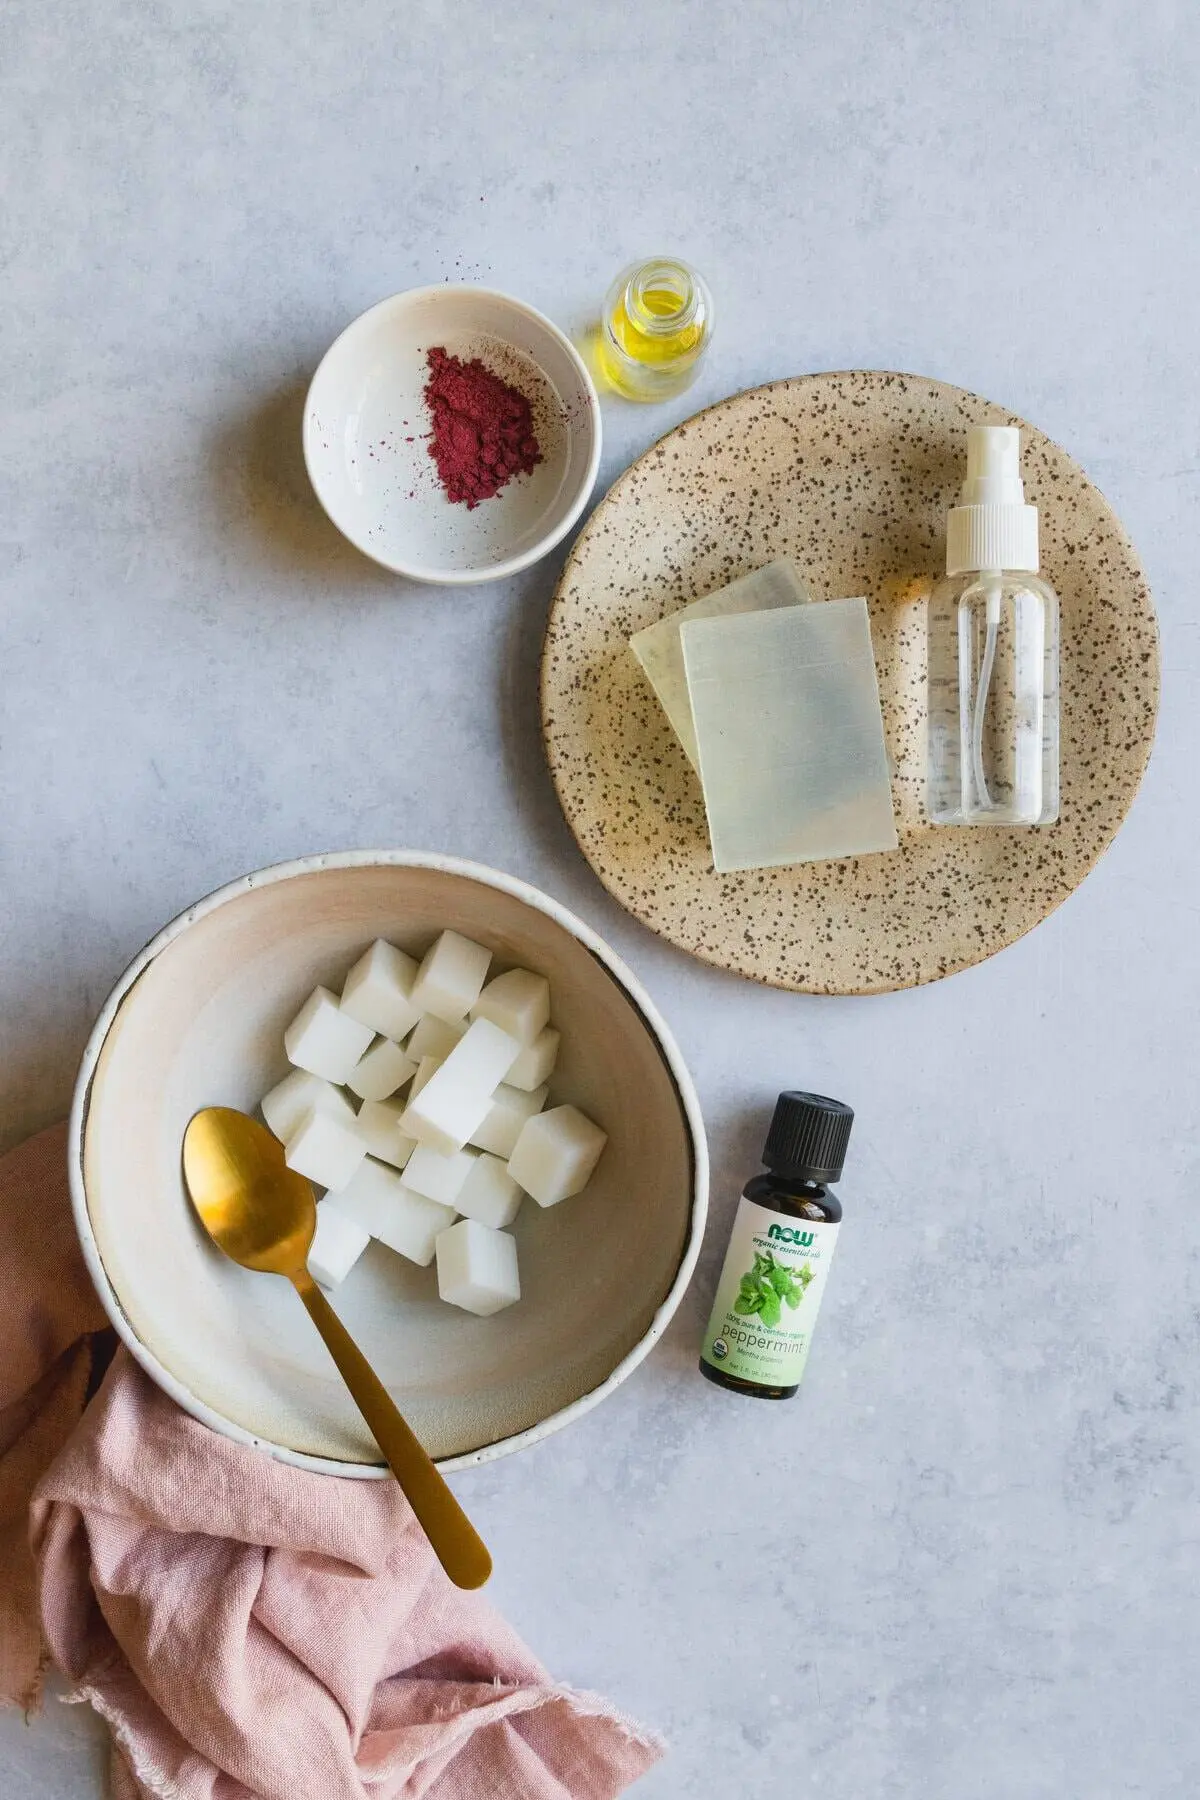
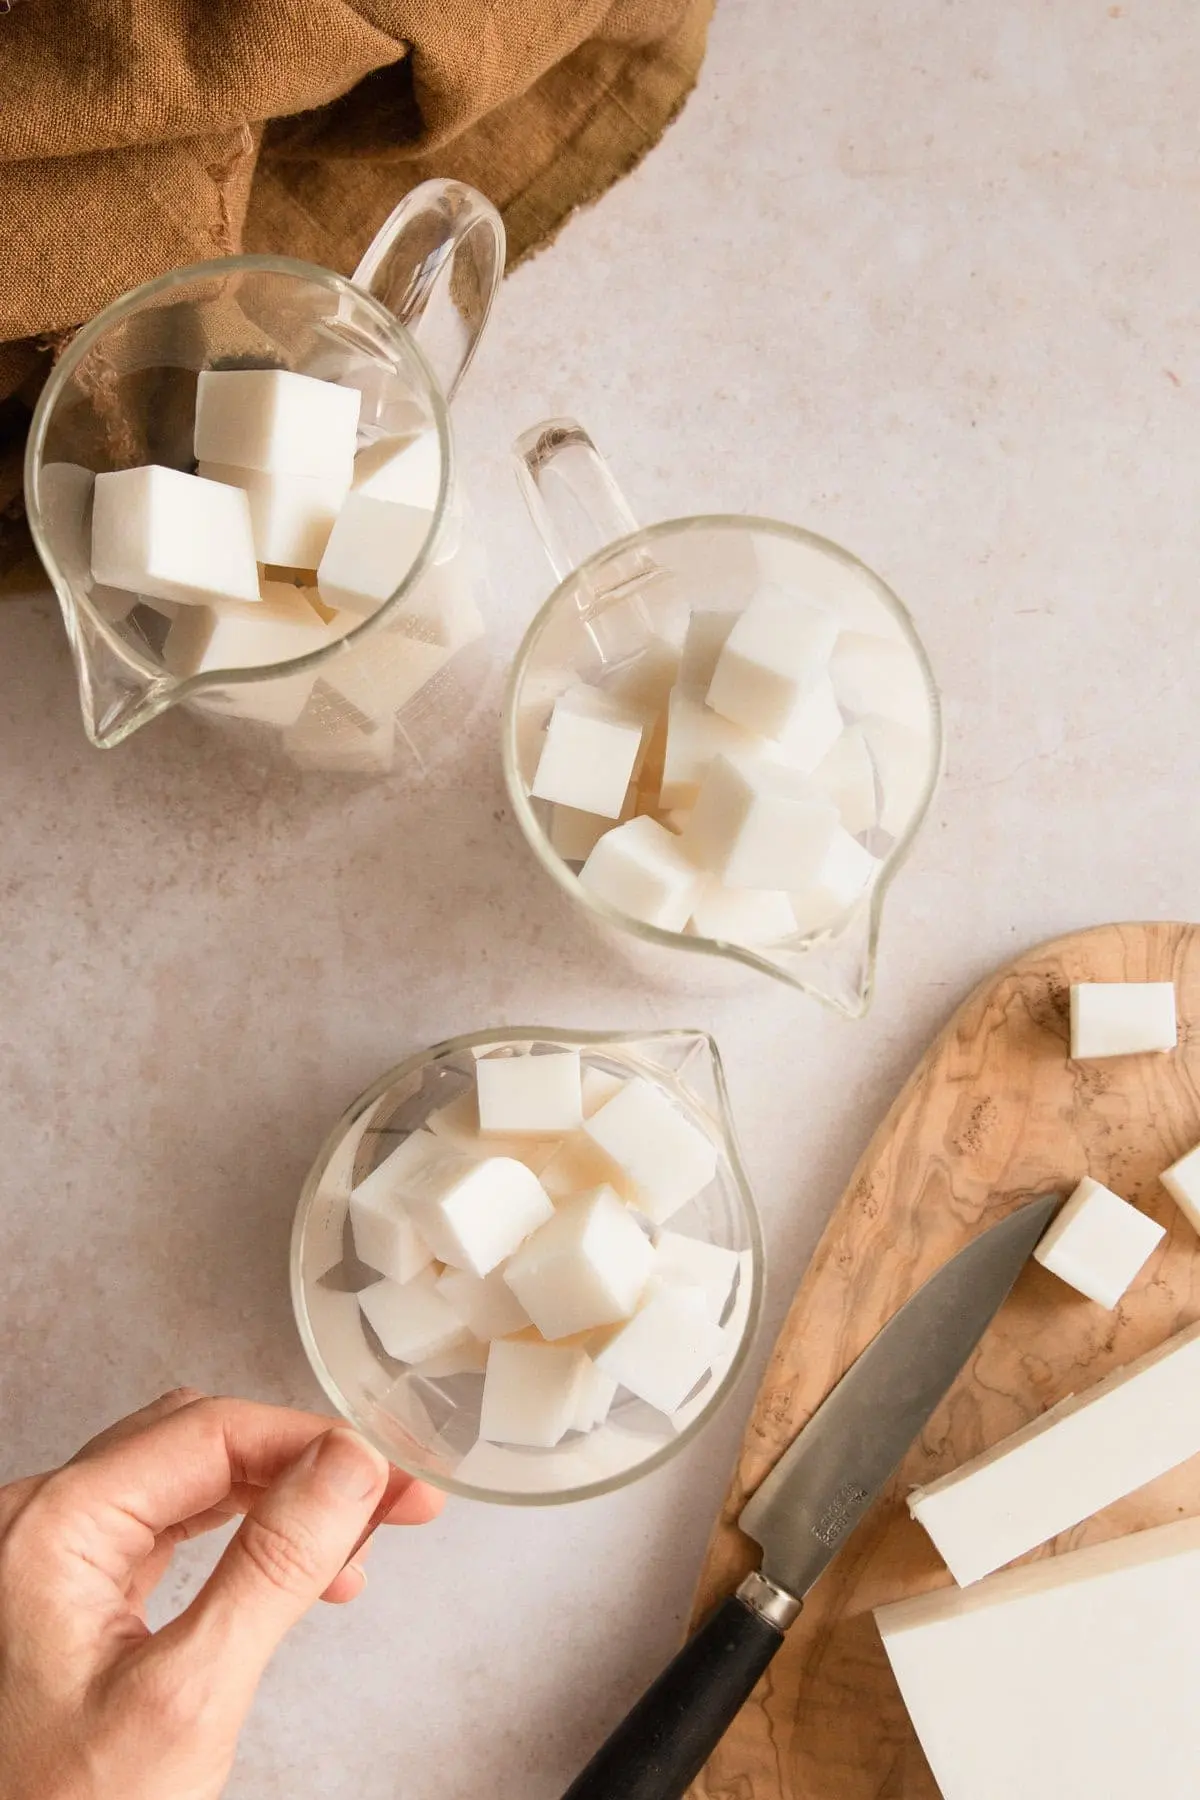
Melting the Clear Base: Chunks of clear melt-and-pour soap are heated in a microwave-safe container in short 30-second intervals until fully liquefied.
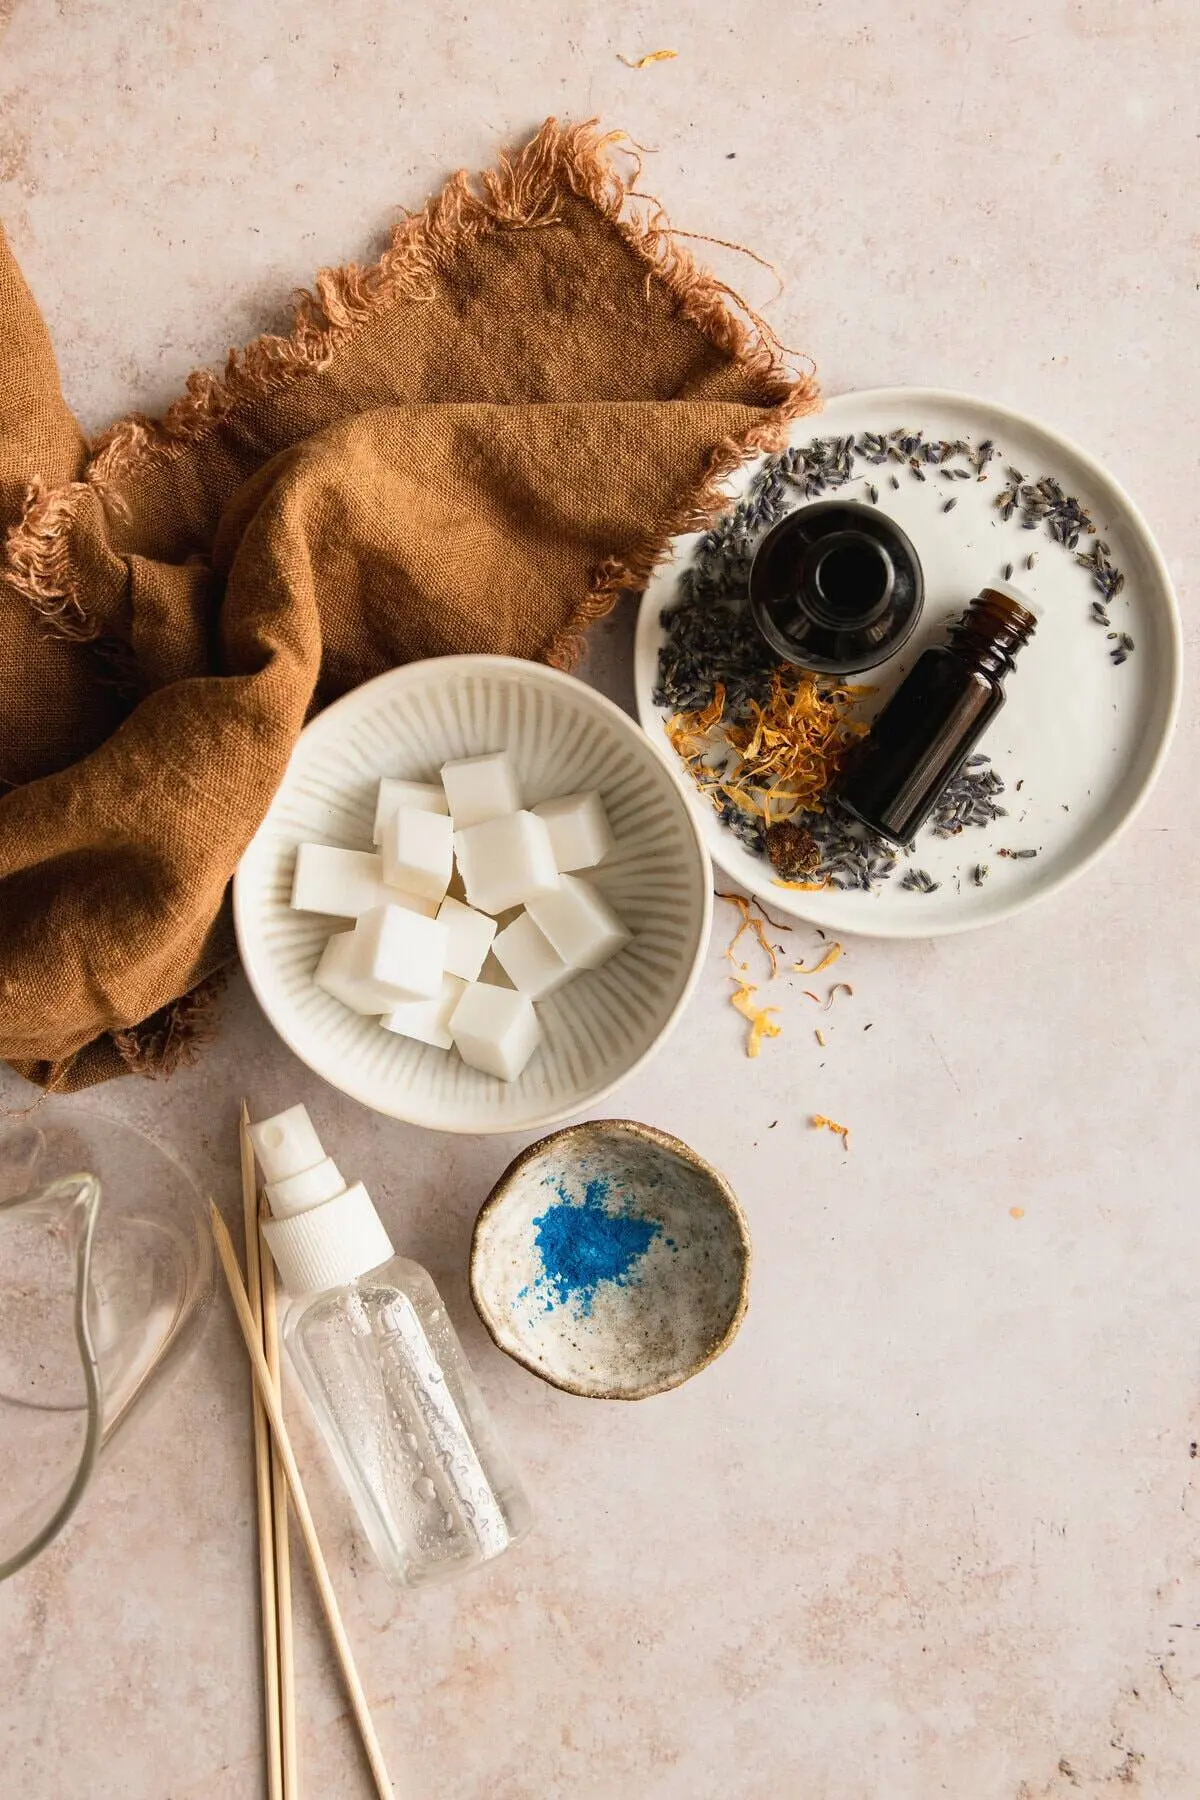
Coloring: A fraction of a teaspoon of pink mica powder is whisked into the molten base to achieve a vibrant hue.
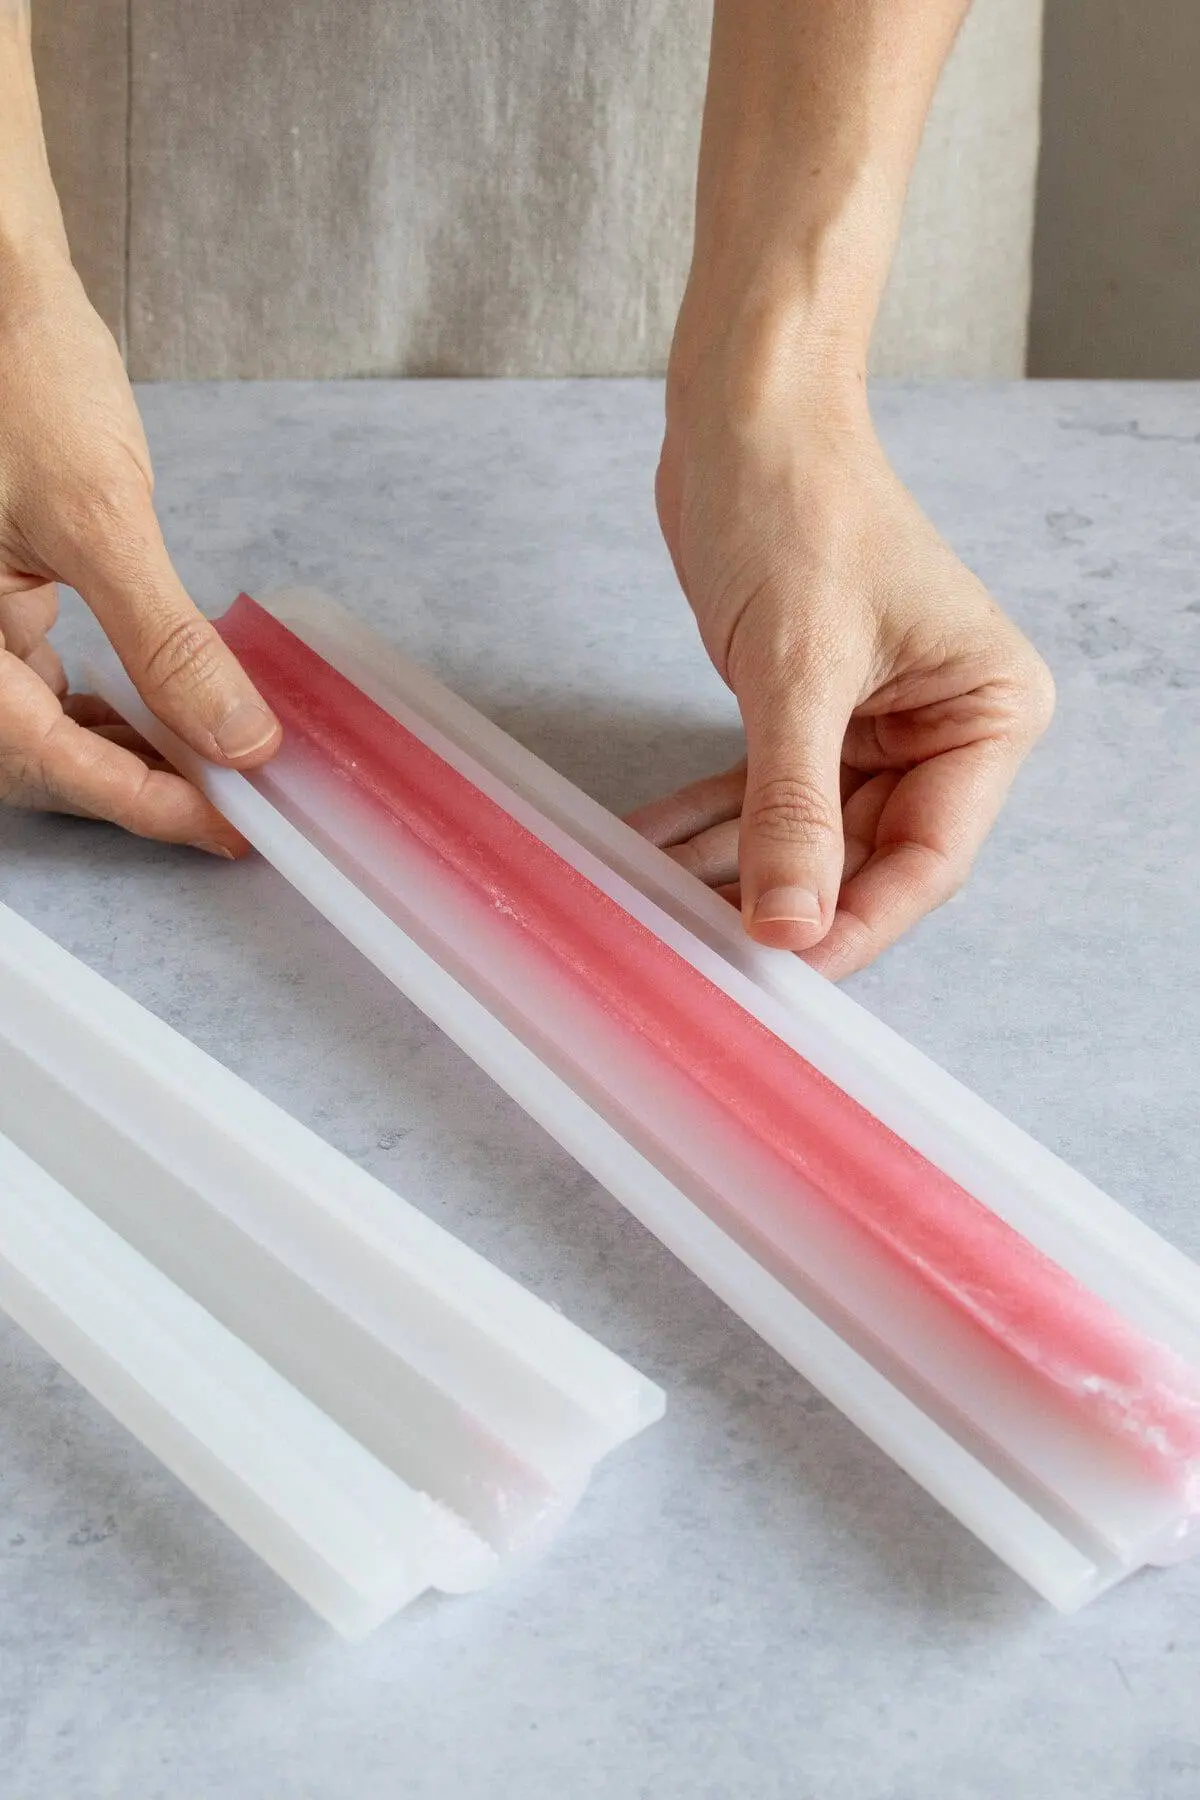
Molding Stars and Geometry: The pink soap is poured into a specialized star column mold—stabilized on a cookie sheet—while the remaining excess is poured into a shallow layer in a rectangular mold.
Curing: The shapes are allowed to cool for approximately one hour before being carefully demolded and trimmed. For a cleaner finish, creators recommend slicing the flat layer into varied squares, triangles, and rectangles.
Phase 2: Assembling the Loaf
Preparing the Shea Base: A separate batch of shea butter soap base is melted, then enriched with peppermint essential oil, rice bran oil, and aloe vera gel.
Temperature Management: The mixture is tinted with a light touch of pink mica and allowed to cool to precisely 145°F. This crucial threshold ensures the liquid is pourable without being hot enough to melt the pre-made geometric shapes.
Layering and Spritzing: A thin layer of white soap base is poured into the bottom of a rectangular loaf mold, immediately spritzed with rubbing alcohol to eliminate surface bubbles, and allowed to set for 15 minutes.
Embedding: The pre-made stars and geometric shapes are spritzed with alcohol (to ensure proper adhesion between layers) and arranged systematically within the mold.
Building the Loaf: Crafters alternate between pouring thin layers of the warm shea base, placing shapes, spritzing with alcohol, and allowing short cooling phases until the mold is completely filled.
Phase 3: Final Curing and Slicing
The Final Set: The completed loaf is left undisturbed to cure completely for 2 to 3 hours, or ideally overnight.
Slicing: Once hardened, the loaf is removed from the mold and sliced evenly into 1-inch thick bars, revealing a complex, stained-glass-like cross-section of pink stars and geometric patterns.
Supporting Data: The Rising Economic and Psychological Value of Crafting
The surge in home soap making is not merely an aesthetic trend; it reflects broader shifts in consumer behavior. According to home economics analysts, interest in artisanal crafting has risen steadily over the past five years, catalyzed by a cultural re-evaluation of time and consumption.
Mental Health Benefits: Activities that encourage a "flow state"—such as measuring, pouring, and waiting for layers to cure—have been shown by behavioral psychologists to lower cortisol levels and combat digital fatigue.
Shelf Life and Gifting Economy: Unlike perishable DIY projects like sourdough or plant dyes, melt-and-pour soaps possess a shelf life of up to one year when stored properly (in a cool, dry place wrapped in parchment paper). This makes them ideal candidates for holiday gifting, a multi-billion-dollar seasonal market where handmade items carry significant sentimental value.
Ingredient Transparency: Consumers increasingly distrust synthetic fragrances and unpronounceable chemical additives in commercial cosmetics. By controlling the ingredient deck—opting for natural mica, pure essential oils, and skin-soothing aloe—DIYers retain total authority over what touches their skin.
Official Responses and Expert Insights: Best Practices for Beginners
While melt-and-pour soap is widely considered beginner-friendly, experienced artisans emphasize that minor oversights can ruin a project. Industry experts offer several critical guidelines for success:
"The single biggest mistake beginners make is ignoring temperature physics," notes veteran soap designer and craft educator Stephanie Pollard. "If your outer soap layer is poured above 145°F, it will simply melt your carefully crafted internal shapes into an unrecognizable blur. Patience is your most important tool."
Furthermore, experts highlight the indispensable role of simple rubbing alcohol:
Bubble Elimination: Spritzing liquid soap surfaces with isopropyl alcohol immediately pops microscopic air bubbles that ruin the glossy finish.
Layer Adhesion: Alcohol acts as a bonding agent between cured and molten soap layers, preventing the finished bars from fracturing along horizontal lines when sliced or used in the shower.
Implications: The Shift Toward Sustainable, Mindful Consumption
The popularity of high-end copycat cosmetics points to a deeper transformation in modern retail culture. As commercial holiday collections often command steep prices for mass-produced goods, consumers are increasingly willing to invest their own time to achieve luxury results at a fraction of the cost.
For the wellness and beauty sectors, this trend signals a growing demand for customizable, high-performance ingredients sold directly to consumers. As suppliers expand their offerings of specialty melt-and-pour bases, organic colorants, and botanical oils, the boundary between industrial manufacturing and home artistry continues to blur.
Ultimately, projects like the peppermint shea soap dupe offer more than just a pleasant bathing experience. They represent a deliberate reclamation of time, a tactile escape from the digital world, and a celebration of traditional craftsmanship adapted for the modern home.