








Introduction: Elevating the Craft of Soap Making
For many artisan crafters and DIY hobbyists, the journey of soap making often begins with simplicity. A single block of clear or opaque melt-and-pour base, a dash of fragrance, and a single splash of color are the traditional entry points into this satisfying tactile art form. However, a predictable threshold inevitably approaches: the point at which plain, single-color bars cease to satisfy the creative impulse. Once the foundational techniques of melting, scenting, and pouring are mastered, crafters naturally seek greater aesthetic complexity.
Enter the technique of layering.
Whether an artisan is aiming for crisp, bold horizontal stripes, whimsical diagonal blocks, or sophisticated color-stacked designs, layering is a transformative method that instantly elevates the visual quality of handmade soap. Best of all, achieving professional-grade results does not require industrial machinery or years of advanced formulation experience. Success relies on patience, a simple spray bottle of rubbing alcohol, precise temperature control, and an understanding of polymer and thermal dynamics within soap bases.

This comprehensive guide explores the structural mechanics, step-by-step methodology, expert tips, and troubleshooting strategies necessary to produce flawless, multi-layered melt-and-pour soaps every single time.
Why Create Layers in Melt and Pour Soap?
Layering is precisely what its name implies: the process of pouring distinct blocks of colored or textured soap bases in sequential stages, allowing each layer to cure and set just enough before introducing the next. While the concept sounds straightforward, achieving clean, professional divisions between layers requires mastering the delicate balance of temperature and timing.
Pouring a subsequent layer while it is too hot will inadvertently melt the structural integrity of the tier beneath it, resulting in muddy, bleeding colors. Conversely, waiting too long leaves the previous tier completely cold and rigid, creating a weak bond that causes the soap bars to split apart cleanly along the seam upon slicing.

When executed correctly, layering unlocks a vast universe of design possibilities. Crafters can construct striking high-contrast patterns by alternating between translucent clear bases and creamy opaque white bases. They can also tilt their molds to create dynamic diagonal stripes that catch the eye and command attention on retail shelves or bathroom vanities.
Essential Supplies and Equipment
Before diving into the pour, preparation is key. Having the proper inventory of ingredients and specialized tools ensures a smooth, uninterrupted workflow.
The Ingredients
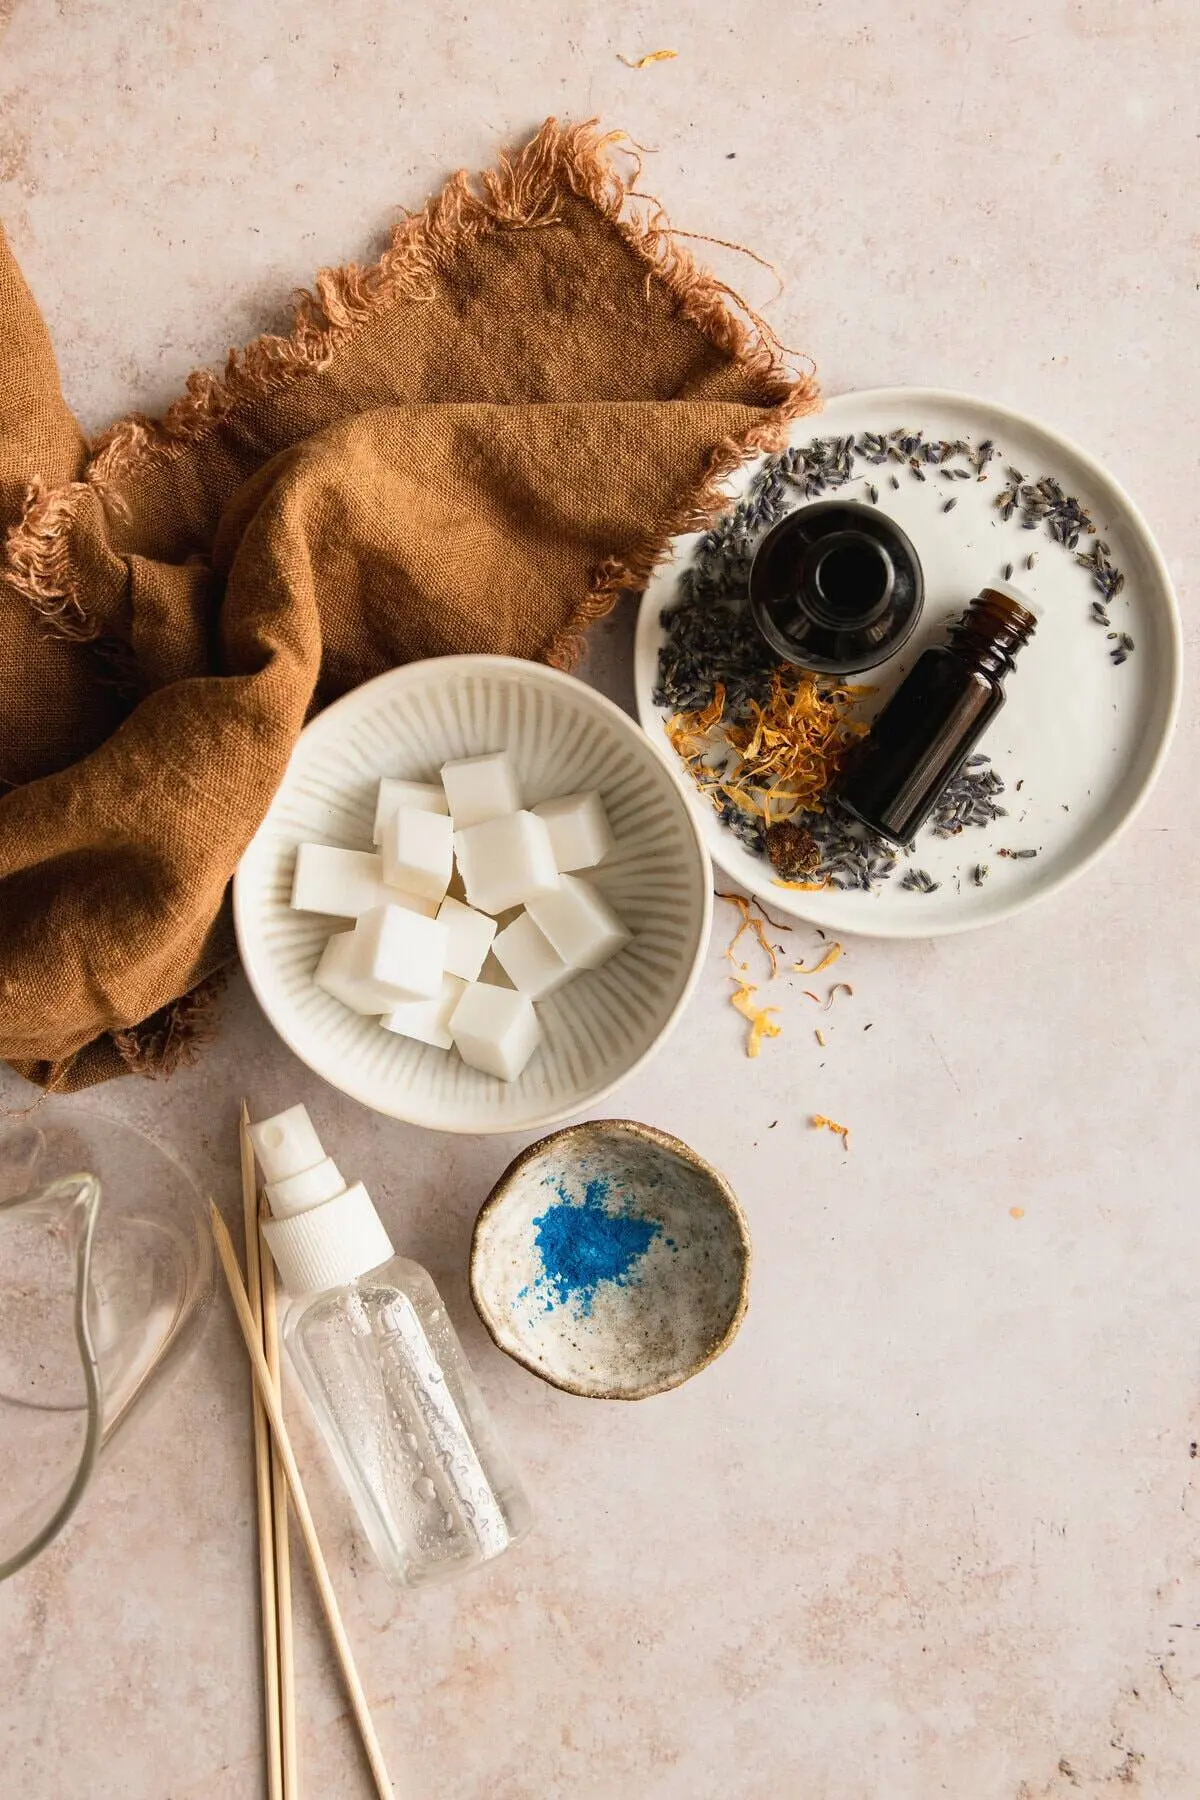
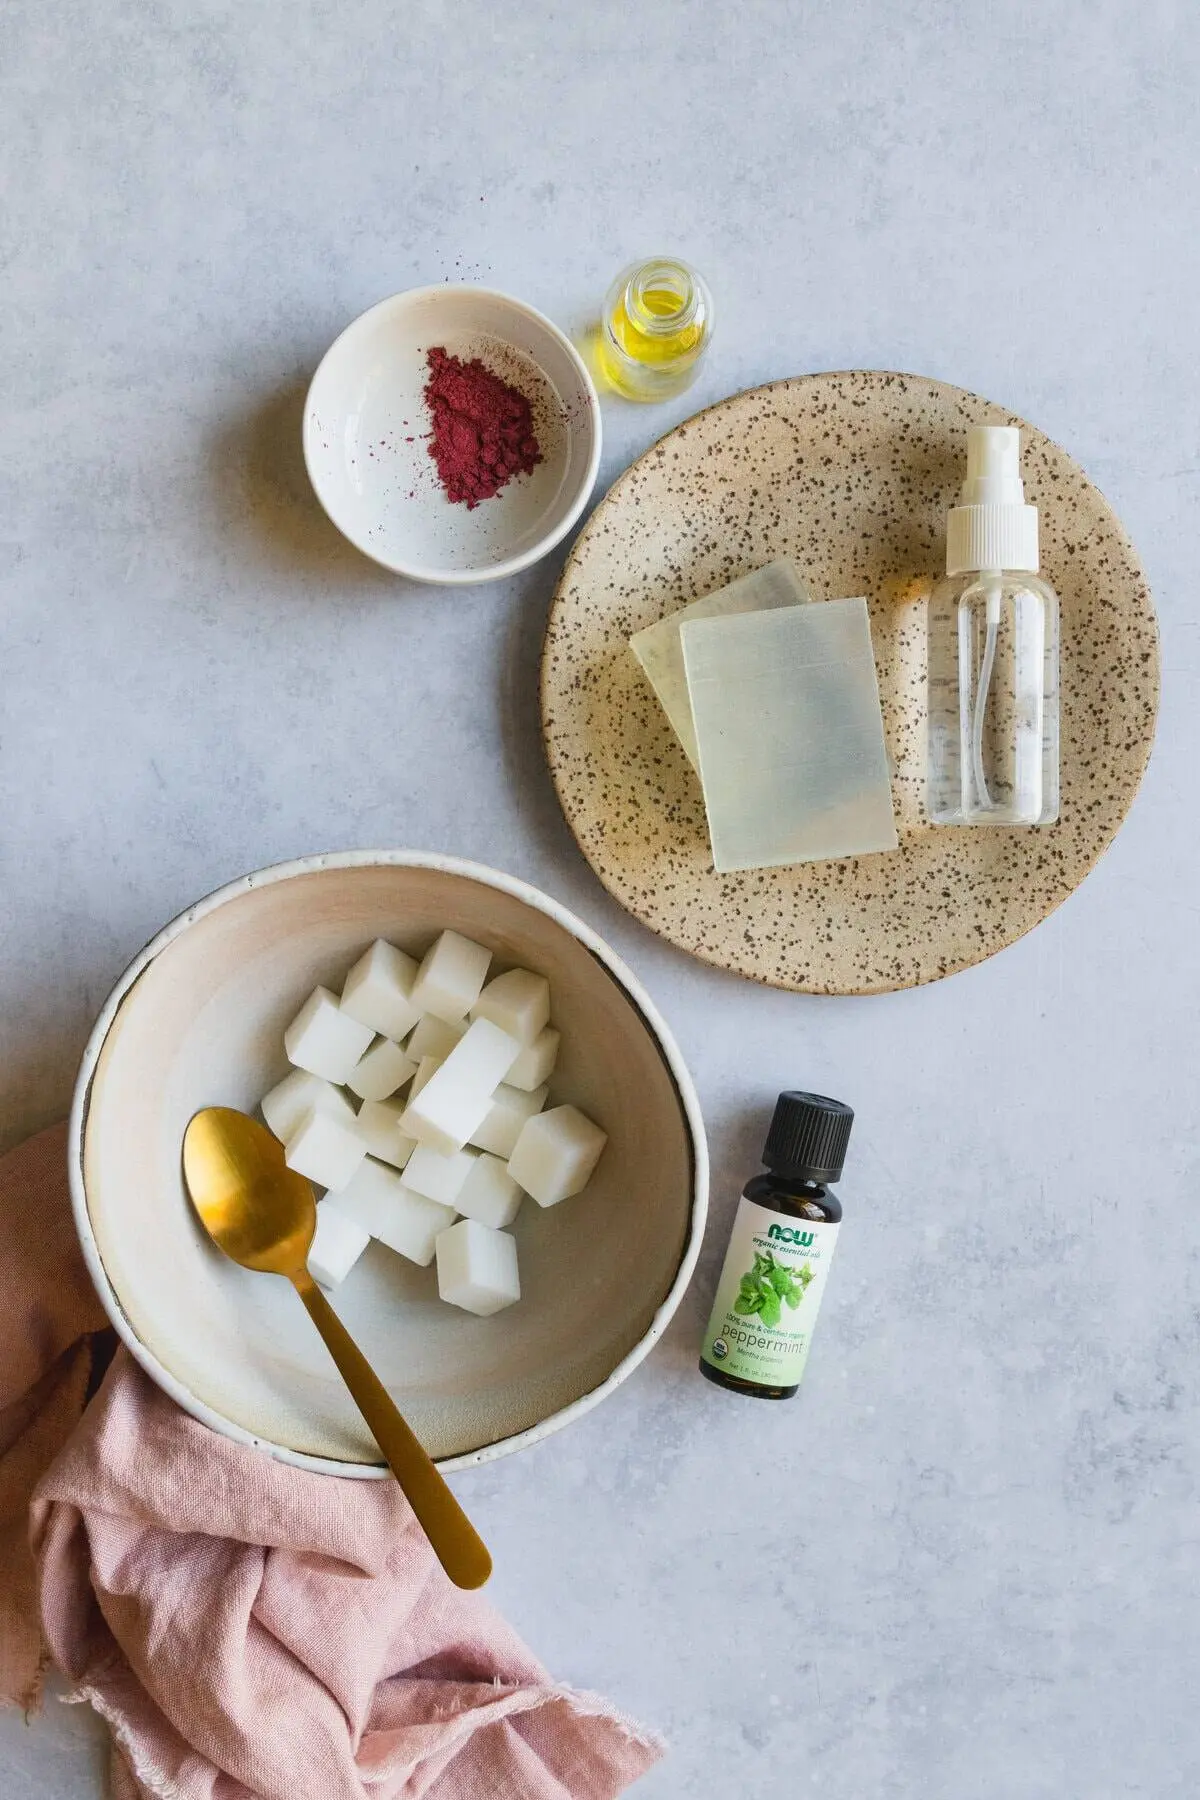
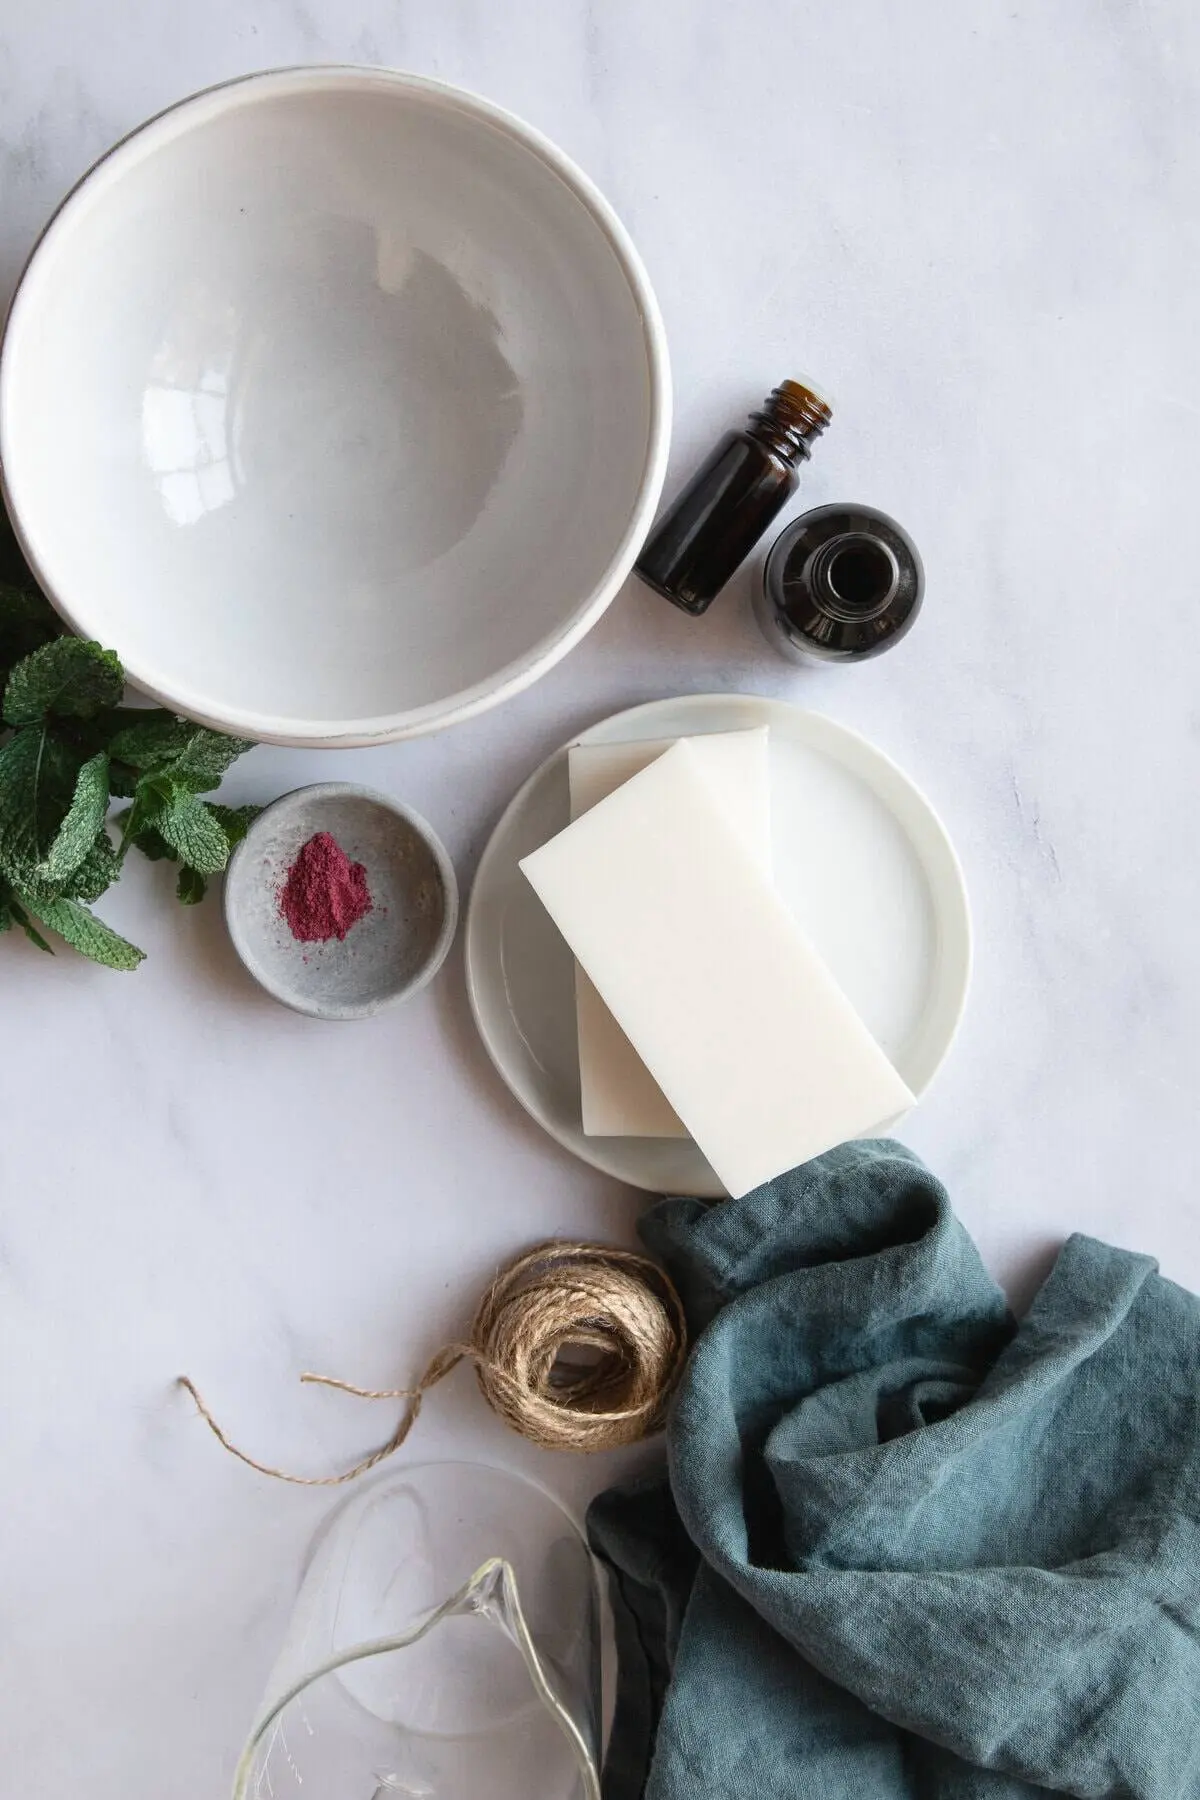
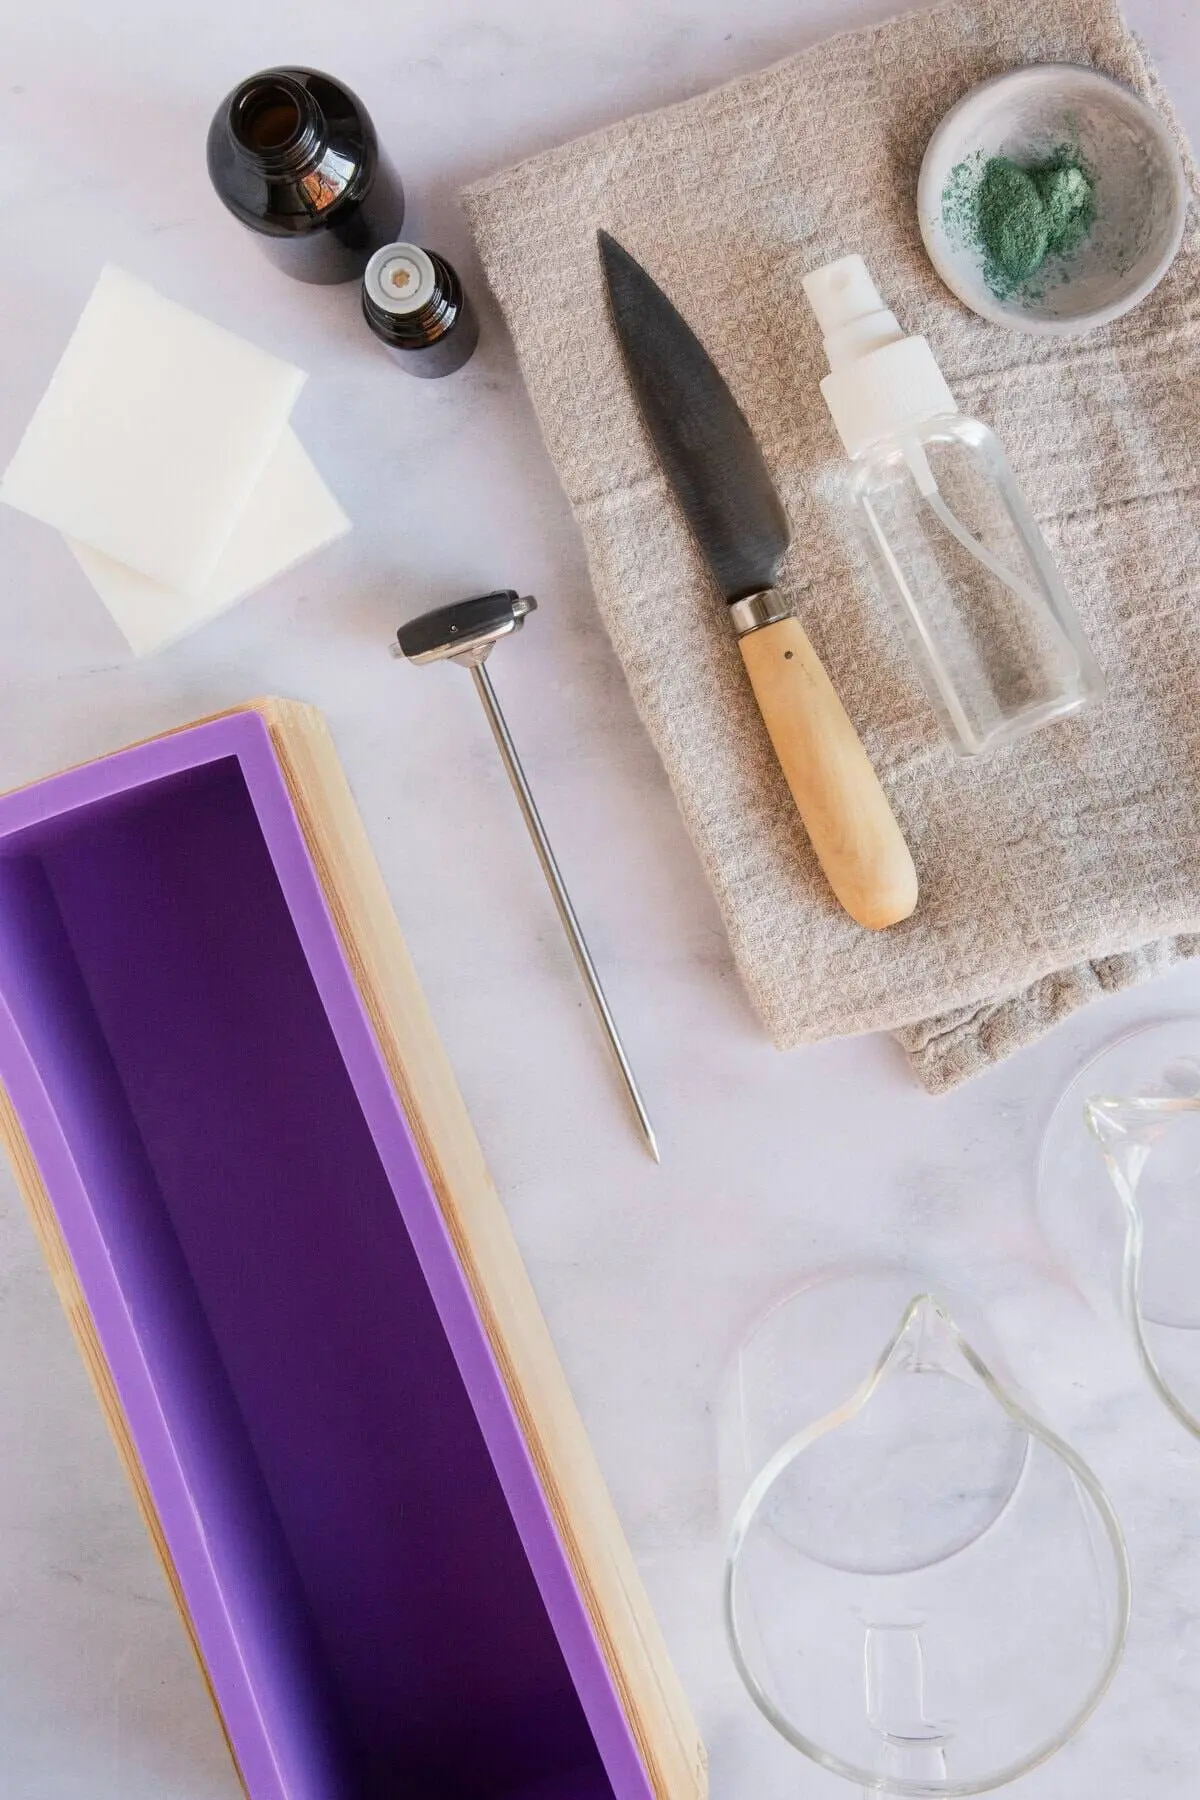
- Soap Bases: A combination of clear and white melt-and-pour bases forms the backbone of advanced layering. Clear bases offer a glass-like, translucent finish, while white bases (such as goat’s milk, shea butter, or standard white glycerin) scatter light to yield vibrant, opaque colors. Alternating between the two maximizes visual depth.
- Colorants: Liquid soap dyes deliver bold, saturated, punchy colors that disperse evenly. For those pursuing natural aesthetics, botanical powders such as beetroot or spirulina impart soft, earthy tones.
- Fragrances: Skin-safe essential oils or fragrance oils add an olfactory dimension. Crafters can maintain a uniform scent profile across all tiers or assign a unique aroma to each layer (e.g., a lavender-scented middle paired with a rose-scented top). Safety is paramount: always verify dermal limits, especially when gifting or selling bars.
- Rubbing Alcohol (Isopropyl Alcohol): The ultimate bonding agent and bubble-remover. Keeping a spray bottle of 91% or higher rubbing alcohol within arm’s reach is non-negotiable.
The Equipment
- Molds: Silicone loaf molds are favorites among experienced makers because they allow for slicing multiple bars at once, showcasing the interior strata. Alternatively, individual cavity molds work well for single-serving designs.
- Pouring Containers: 16-ounce heat-safe glass measuring cups equipped with integrated pour spouts provide optimal control. Maintaining one dedicated container per color streamlines the workflow.
- Thermometer: A basic kitchen thermometer or digital instant-read thermometer is critical. Guessing temperatures frequently leads to scorched soap or separated layers.
- Props: Small ramekins, books, or rolled-up kitchen towels serve as reliable props for tilting molds during diagonal pours.
Chronology of the Process: Step-by-Step Execution
Because this technique focuses on structural methodology rather than a single fixed recipe, the following framework can be adapted to any color palette, fragrance blend, or mold dimension.

Step 1: Preparing and Melting the Soap Base
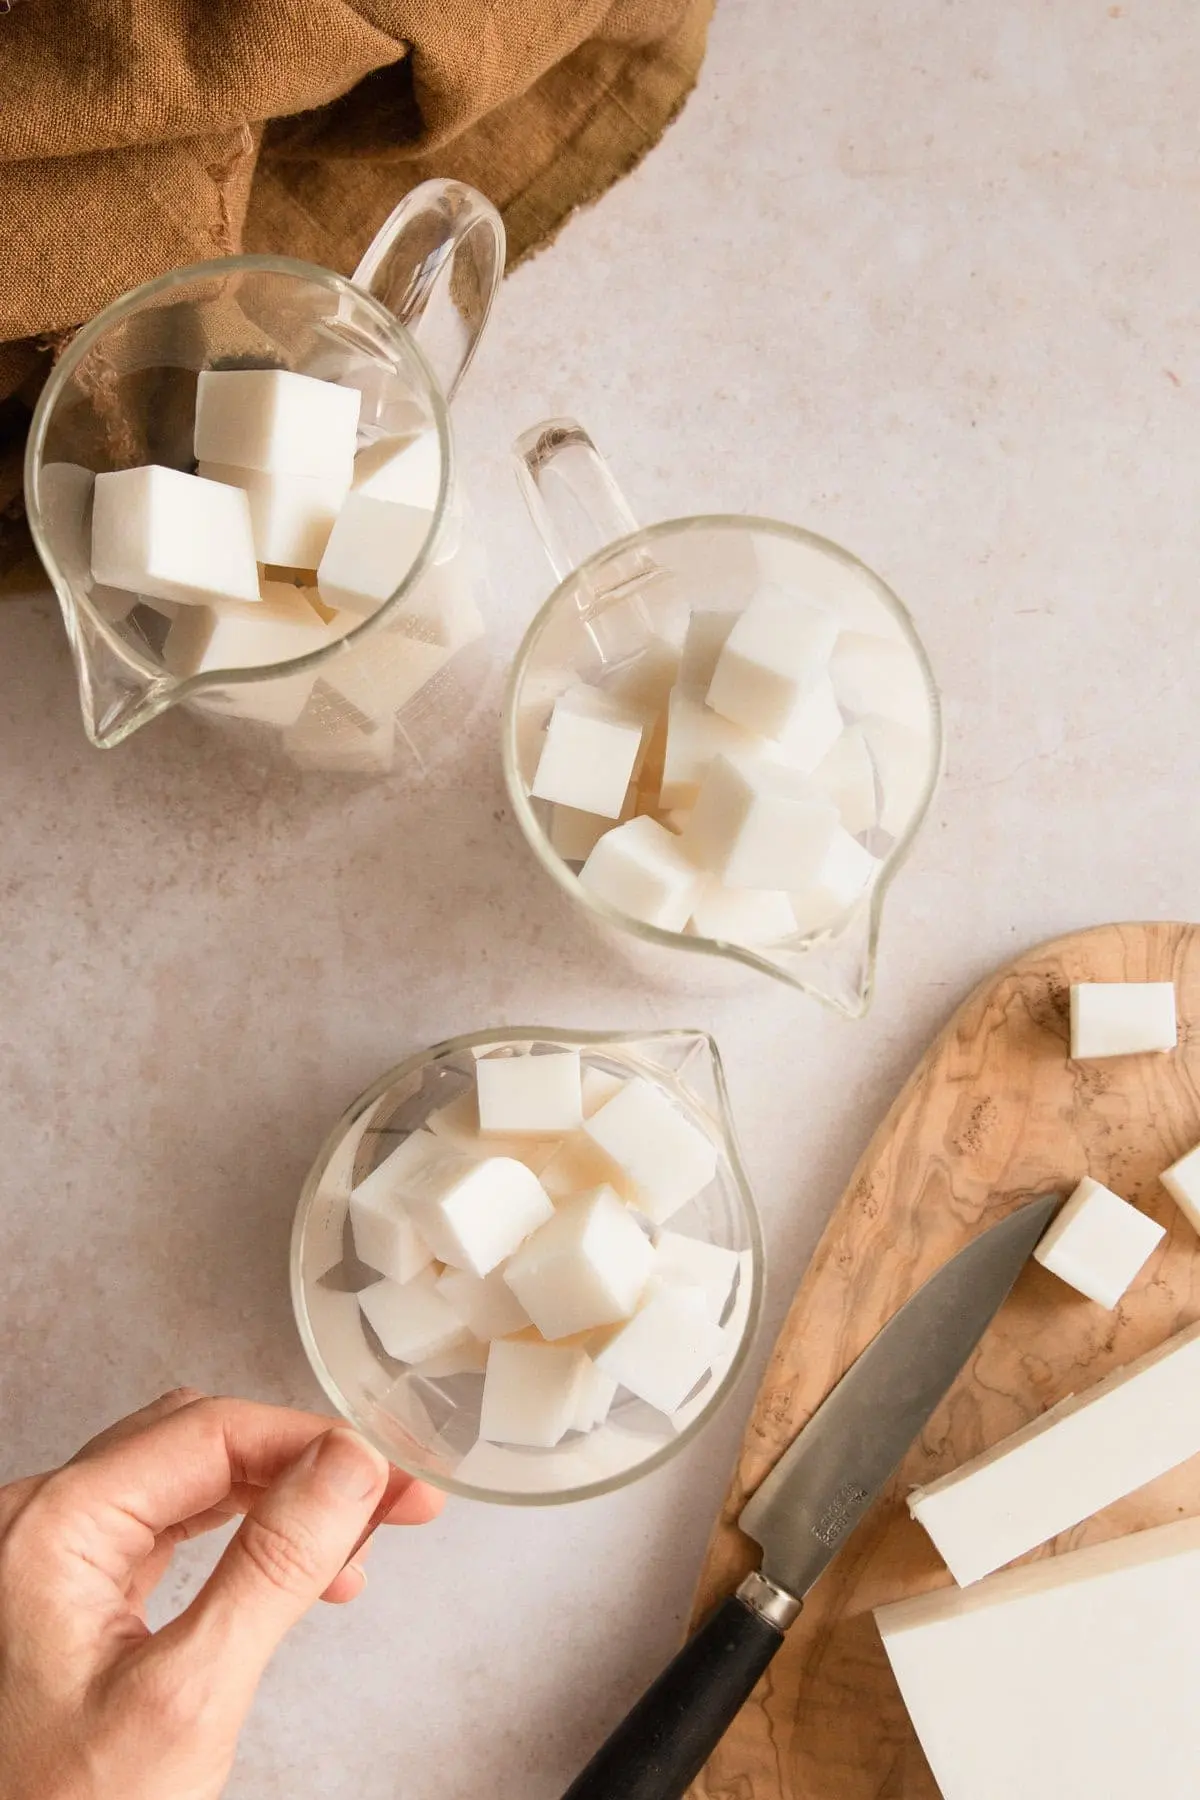
Begin by slicing the solid melt-and-pour block into uniform 1-inch cubes. This geometry encourages even melting, prevents localized scorching, and reduces microwave heating times. Distribute the cubes into separate heat-safe containers, allocating one container per planned layer.
Heat the base in short, controlled 30-second bursts, stirring thoroughly between intervals. The objective is to melt the soap just until liquefied. Overheating alters the chemical structure, scorching the base or introducing thick, unworkable bubbles.
Step 2: Incorporating Color and Fragrance
Once the soap is fully liquefied, gently stir in the selected colorant and fragrance. Agitate the mixture slowly; vigorous stirring incorporates excess air, creating unwanted foam and bubbles.

This phase is where creative expression shines. Assigning distinct hues and aromas to individual layers adds sensory complexity. Always ensure that any added botanicals or essential oils are completely skin-safe.
Step 3: Pouring the Inaugural Layer
For crafters attempting diagonal designs, tilt the mold by placing a small ramekin or rolled towel beneath one side.
Pour the first batch of liquid soap into the lowest point of the mold. Because no prior layer exists beneath it, temperature is less restrictive for this initial pour. Immediately after pouring, apply a light mist of rubbing alcohol across the surface to instantly eliminate surface bubbles. Allow the layer to cool undisturbed.

Indicators that the layer is ready for the next tier include the formation of a delicate surface film (or "skin"). The top should feel slightly warm and resilient to a gentle touch, without being overly wobbly or masking liquid underneath. This typically requires 10 to 15 minutes, depending on ambient room temperature and tier thickness.
Step 4: Pouring Subsequent Tiers
Prior to introducing the next layer, mist the cooled surface generously with rubbing alcohol. This step acts as chemical "glue," ensuring proper molecular bonding and preventing air gaps.
Temperature control is critical here. Allow the newly melted soap batch to cool to approximately 140°F (60°C) before pouring.

- Too hot: The liquid will breach the surface skin of the lower tier, blending colors into an undesirable muddy swirl.
- Too cool: The layers will fail to fuse, causing the finished soap to fracture along the seam when sliced.
Pour the liquid slowly and steadily, finishing with another light spritz of alcohol to eradicate any freshly generated surface bubbles.
Step 5: Repeating and Unmolding
Continue alternating colors and layers until the mold reaches capacity, remembering to spray alcohol before and after every single pour.
For projects utilizing tilted diagonal layers, ensure the mold is carefully returned to a flat, level surface before pouring the final horizontal cap layer. Apply a final mist of alcohol and allow the entire block to cure completely.

While temptation dictates premature unmolding, patience is required. Leave the mold undisturbed for several hours or overnight. Premature extraction risks shifting soft internal strata, warping the design. Once fully set, unmold the loaf and slice it cleanly into professional-grade bars.
Supporting Data: The Physics of Thermal Bonding
Temperature regulation in melt-and-pour soap crafting is supported by thermodynamic principles. Glycerin-based soap systems undergo phase changes governed by precise latent heat thresholds.
| Pouring Temperature | Resulting Structural Outcome | Risk Factor |
|---|---|---|
| Above 150°F | Melts lower boundary layer; merges colors. | Muddy, indistinct lines; loss of geometric separation. |
| 135°F – 142°F | Ideal "sweet spot"; lightly softens lower skin to create a permanent molecular bond. | Crisp, distinct lines with high tensile strength upon cutting. |
| Below 125°F | Fails to bond with lower layer; cools too rapidly upon contact. | Structural failure; layers separate completely when sliced. |
Furthermore, data from artisan case studies indicates that utilizing 91% or higher isopropyl alcohol reduces surface tension by up to 40%, allowing trapped micro-bubbles to escape within milliseconds of contact while dissolving microscopic oil films that would otherwise prevent proper adhesion between glycerin sheets.

Official Recommendations from Master Formulators
Industry professionals and veteran soap artisans emphasize several core rules to maintain consistent production quality:
- Never Skimp on Alcohol: Professional formulators note that over-spraying alcohol is physically impossible in this application. It serves a dual purpose as both a bubble dissolver and an adhesive primer.
- Precision Weighing: For strict geometric uniformity, weigh the total soap base and divide it evenly by the intended number of layers prior to melting.
- Workspace Stability: Even minor vibrations from nearby appliances or foot traffic can cause slanted layers to shift during the critical early stages of the cooling cycle. A vibration-free, level surface is mandatory.
Implications for Crafters and the Handcrafted Market
The mastery of advanced techniques like layering carries significant implications for hobbyists and small business owners alike.
For the home crafter, transitioning from basic single-pour blocks to intricate, multi-tiered artisanal bars builds confidence and opens doors to personalized gifting. For small-scale entrepreneurs operating micro-businesses on platforms like Etsy or at local craft fairs, aesthetic innovation directly impacts market value. Visually striking, high-end designs command higher price points, transforming basic hygiene products into luxury vanity items.

By respecting the underlying thermodynamic rules—managing temperatures precisely, embracing the power of isopropyl alcohol, and exercising patience during the cooling cycle—any crafter can reliably produce professional-grade, stunning layered soaps that rival commercial boutique offerings.