








Introduction: The Magic and Mechanics of Soap Swirling
The tactile satisfaction of slicing open a freshly made loaf of handmade soap to reveal an intricate, ribbon-like cascade of color is an experience familiar to many artisan crafters. Among the diverse methodologies of home soap making, the color swirl melt-and-pour technique stands out as a favorite project. It is widely praised for being accessible and beginner-friendly, while consistently delivering stunning visual results that feel almost magical upon unmolding.
However, achieving those crisp, clean, professional-grade swirls requires a precise understanding of the physical and chemical properties unique to melt-and-pour soap bases. Artisans transitioning from the cold process soap world often assume the two methods share identical workflows. In reality, swirling melt-and-pour soap is a completely different discipline governed by strict thermodynamic realities.
Unlike cold process soap, which relies on a chemical saponification process that slowly thickens into a pudding-like consistency known as "trace," melt-and-pour bases are pre-saponified and rely entirely on cooling to transition from liquid to solid. Because melt-and-pour cools and solidifies exponentially faster and does not develop a true trace, the window of opportunity for creating dynamic swirls is remarkably narrow. Crafters must work quickly and strategically; otherwise, they risk being left with a hardened block of soap before a skewer can even touch the surface.

Despite these challenges, creating breathtaking aesthetic designs—such as dreamy cloud-like lavender soaps—is entirely achievable with the right preparation, temperature control, and methodology. This comprehensive guide details the precise steps, chronological progression, and professional troubleshooting required to master the art of color swirl melt-and-pour soap.
Chronology of the Craft: Step-by-Step Production
Success in working with melt-and-pour soap hinges on a well-orchestrated chronology. Because the medium sets rapidly, improvising steps mid-process is a recipe for failure. Every tool, ingredient, and container must be staged before heat is applied.
Phase 1: Preparation and Melting
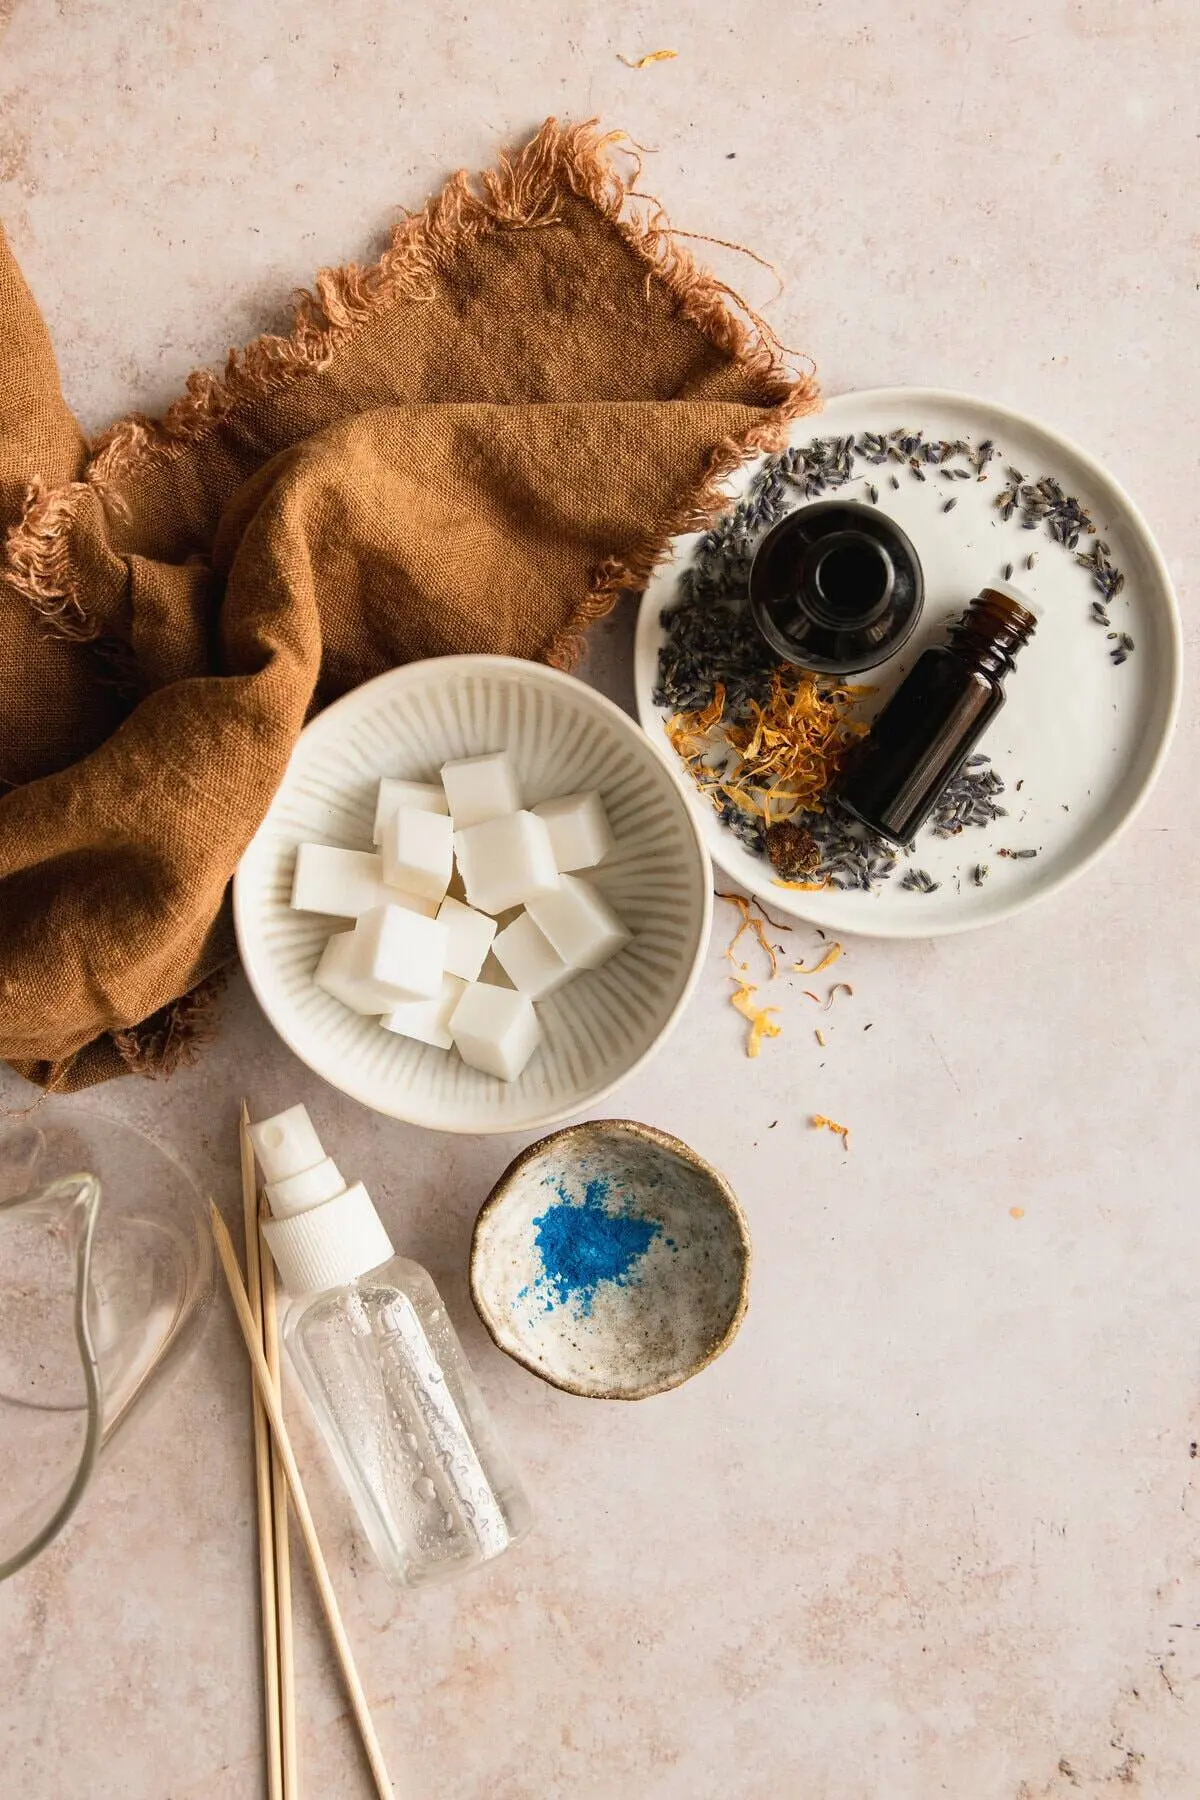
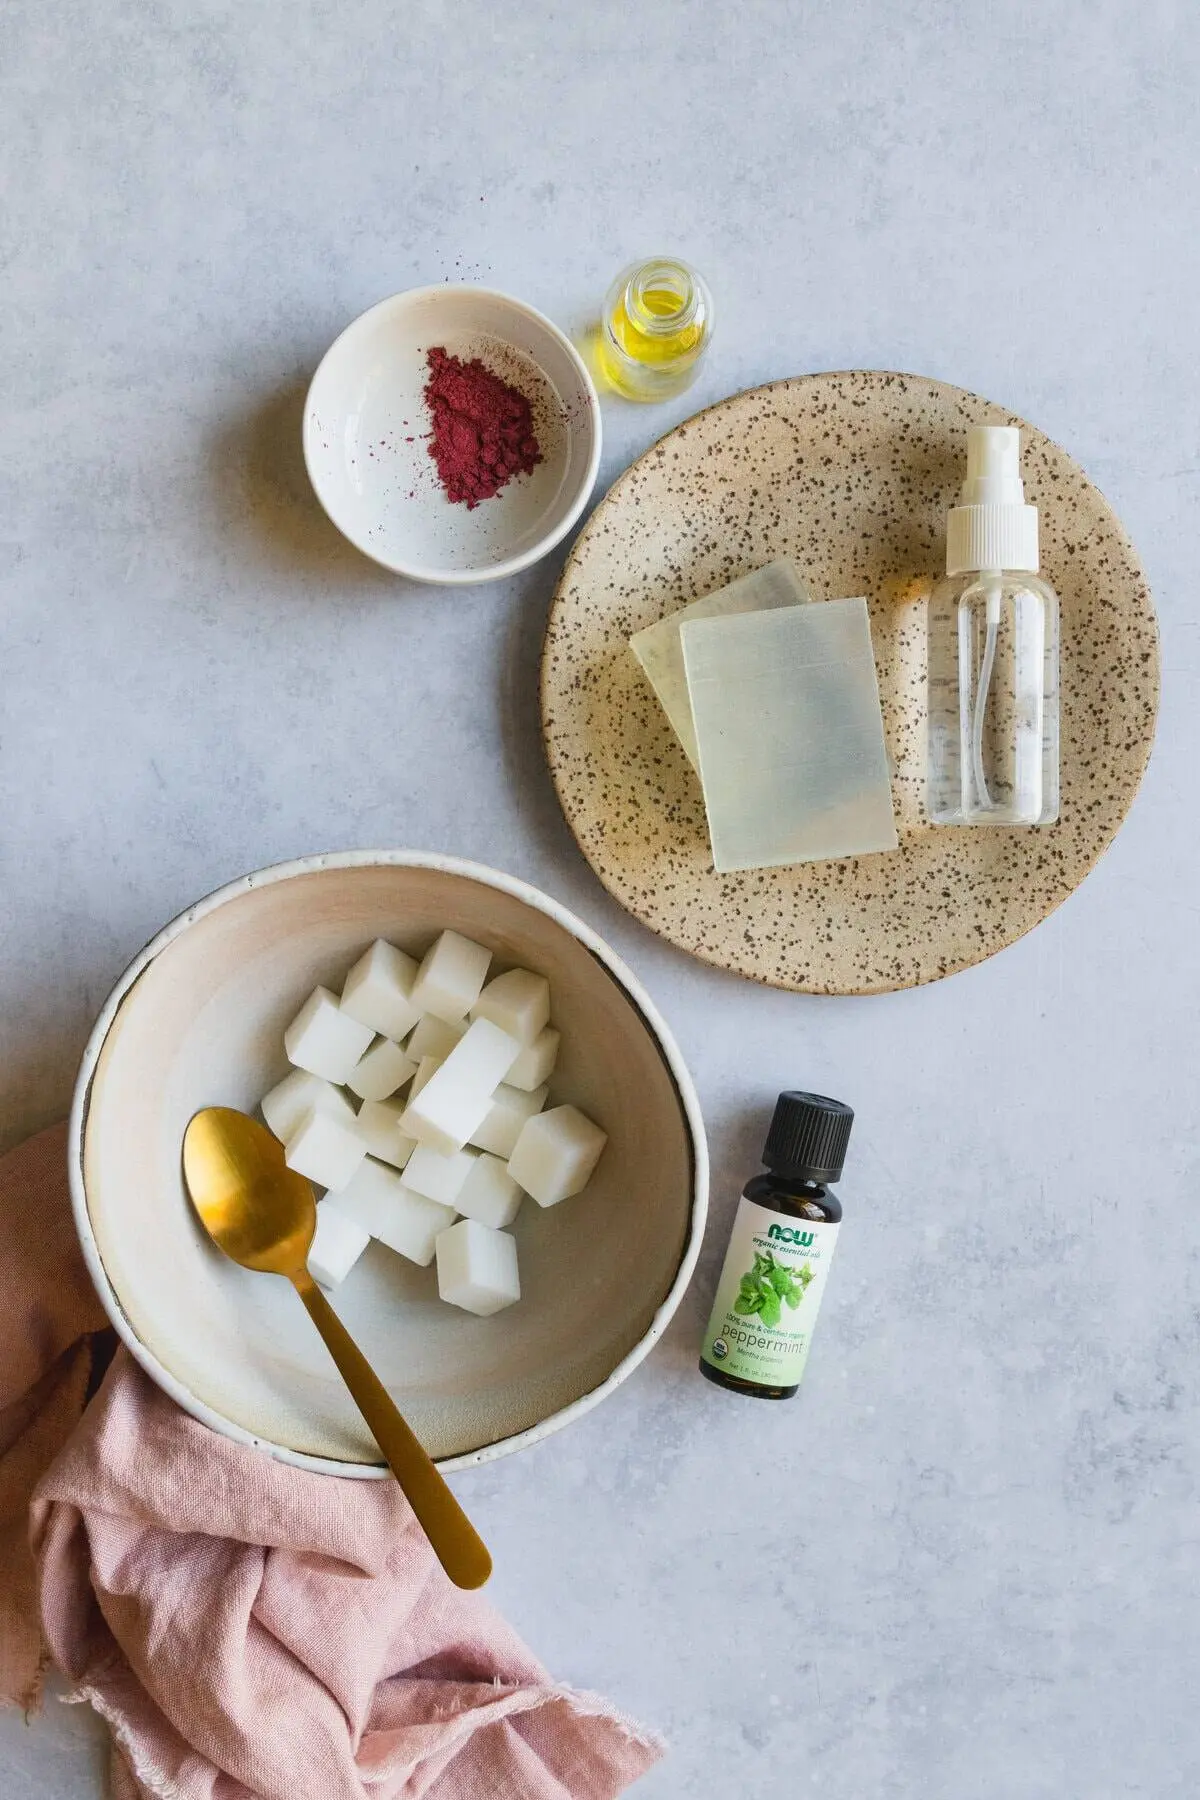
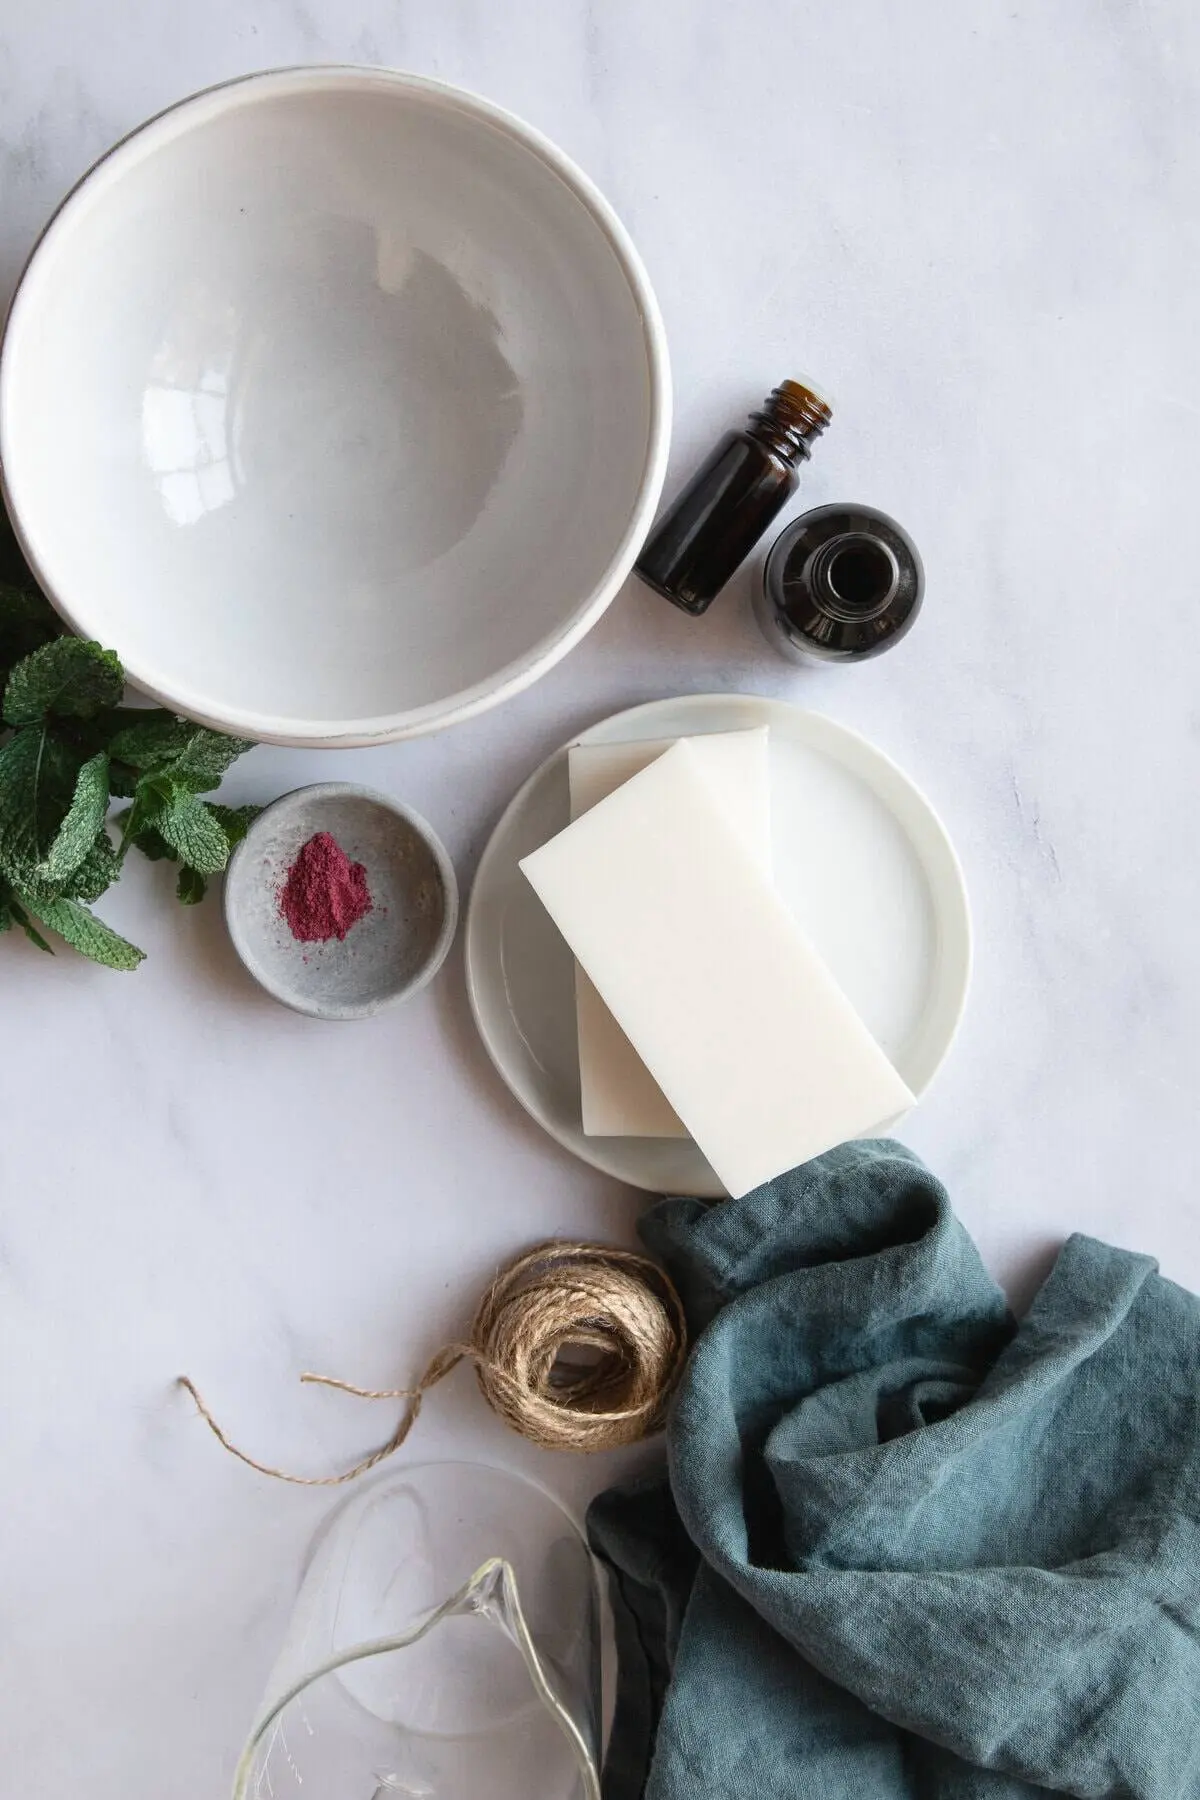
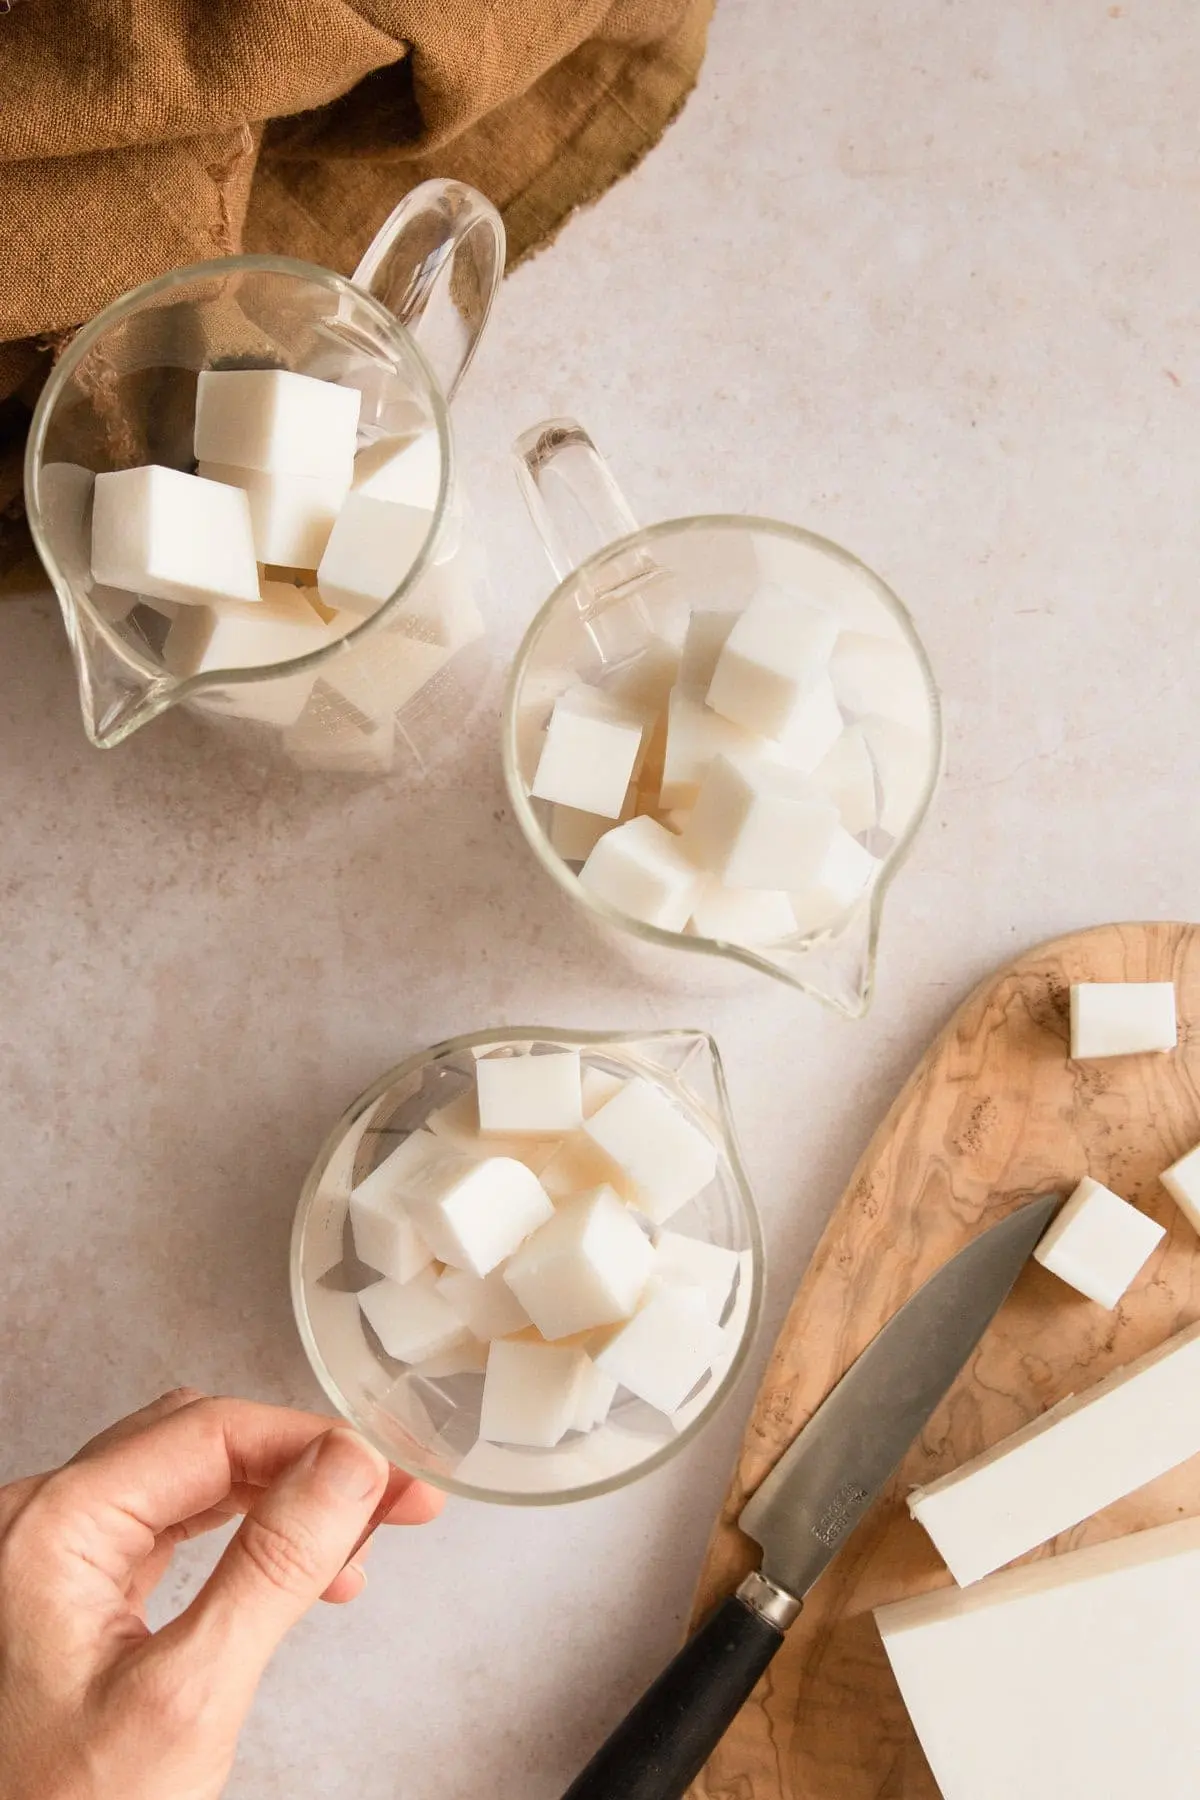
The production process begins with material preparation. The soap base must be sliced into small, uniform cubes. This ensures even heat distribution and prevents scorching during the melting phase. Once cubed, divide the base evenly into separate microwave-safe containers, allocating one container for each color incorporated into the design.

Melting can be executed via microwave using short, controlled bursts—typically 30-second increments interspersed with gentle stirring to prevent overheating—or via a traditional double boiler system for those who prefer regulated, indirect heat.
Phase 2: Pigmentation and Fragrance Integration
Once the soap base has liquefied entirely, colorants (such as cosmetic-grade mica powders) and essential oils or fragrance oils are introduced. Each container must be thoroughly whisked to ensure uniform distribution of the pigment and scent. Uneven pigment dispersion at this stage leads to clumping and inconsistent coloring during the pour.
Phase 3: Temperature Regulation (The "Sweet Spot")
Temperature control is the single most critical variable in achieving successful soap swirls—accounting for approximately 90% of the overall outcome.

Melted soap must cool until it reaches the optimal thermal "sweet spot" for swirling, which is approximately 120°F (49°C). If the soap is poured while too hot—around 135°F (57°C) or higher—the low viscosity will cause the contrasting colors to bleed together instantly, resulting in a muddy, undefined aesthetic. Conversely, if the soap cools too much before pouring, it will prematurely set inside the pouring vessel or mold, rendering manipulation impossible.
A digital kitchen thermometer is non-negotiable for this step. Guessing the temperature guarantees inconsistent results given the narrow margin of error.
Phase 4: Pouring and Pattern Generation
With the soap at 120°F, the casting phase begins. Artisans generally choose between two primary pouring strategies:

- Option A: Dividers. Using physical dividers inside the mold can theoretically segregate colors and prevent premature blending. While structurally logical for achieving geometric designs, many crafters note that liquid soap can seep around imperfect seals, flooding the mold cavities. Selecting high-tolerance silicone dividers or matching them precisely to specific base types is essential for success.
- Option B: Free-Form Pouring. Pouring contrasting colors alternately from varying heights creates organic, unpredictable, and fluid patterns. High-velocity pours from an elevated position generate deep movement within the mold, while low-level pours keep the pigment concentrated and contained.
Phase 5: Swirling and Surface Finishing
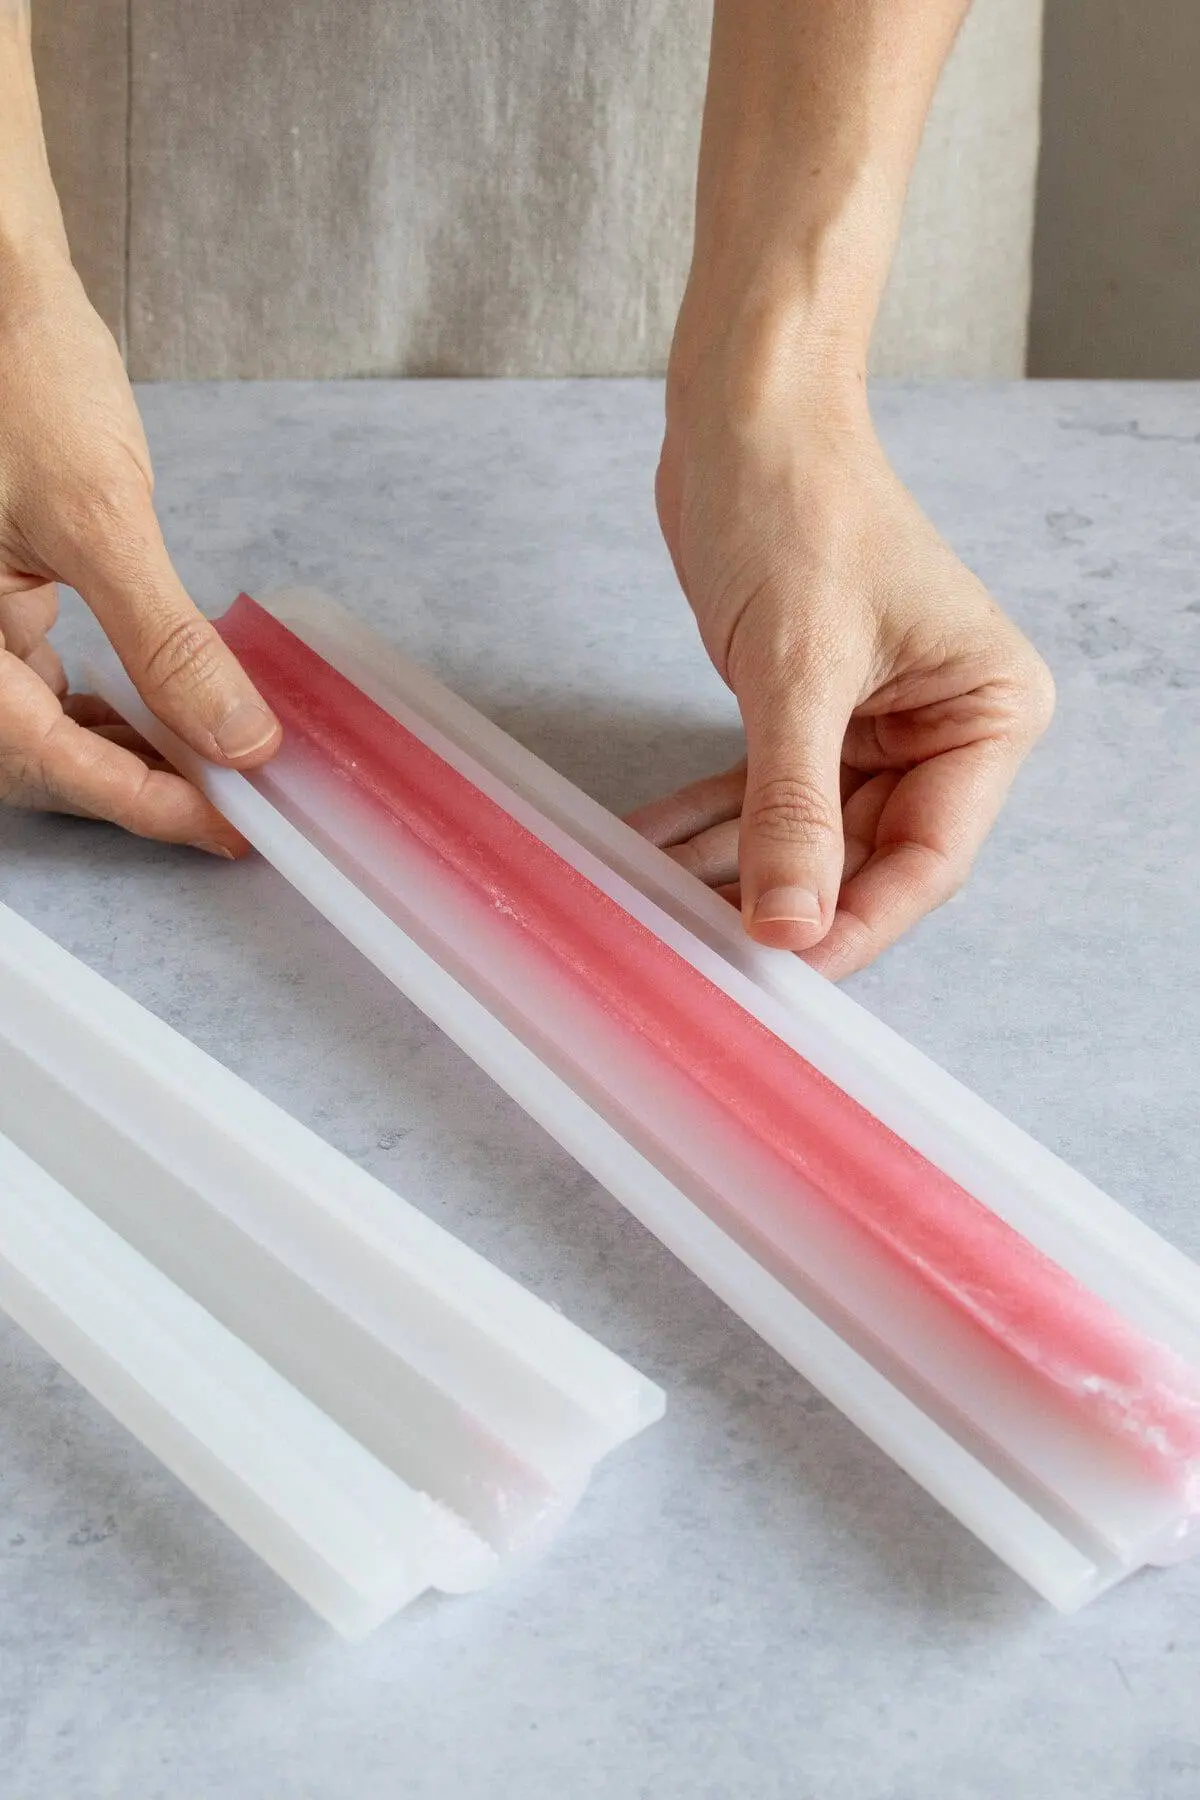
Immediately following the pour, the swirling mechanism is executed. Crafters drag a wooden skewer, chopstick, or specialized tool through the liquid. Crucially, this is not a stirring motion; it is a gentle, gliding action designed to draw one chromatic phase into another with a delicate touch.
Experts advise restricting the tool to a maximum of one or two passes. Over-swirling breaks down distinct lines and muddies the color palette.
Finally, the top surface of the soap is spritzed immediately with 99% isopropyl alcohol (rubbing alcohol) to eliminate surface bubbles by breaking their surface tension. The mold is then left entirely undisturbed to cure.

Supporting Data and Technical Specifications
Understanding the underlying materials ensures reproducible results and high-end artistic outcomes. The following parameters govern professional melt-and-pour soap crafting:
- Optimal Pour Temperature: 120°F (49°C) for defined lines without premature setting.
- Overheating Threshold: Temperatures exceeding 135°F (57°C) risk thermal degradation of fragrances, excessive evaporation, and color bleeding.
- Surface Tension Control: 99% Isopropyl Alcohol. Lower concentrations (e.g., 70%) contain too much water, which can create a sticky film or interfere with the soap’s surface cure.
- Curing Timeline: Dependent on ambient room temperature and humidity, full solidification generally requires anywhere from 2 hours to overnight. Moving the mold prematurely compromises internal structural integrity and blurs design lines.
- Base Consistency: Uniformity in base selection prevents differential settling. Mixing bases with varying densities (such as a heavy goat’s milk base paired with a light clear glycerin base) causes phase separation, where one color naturally sinks and the other floats.
Troubleshooting Common Crafting Failures
Even seasoned artisans occasionally encounter manufacturing anomalies. Below are official assessments and structural solutions for the most frequent issues encountered during melt-and-pour swirling.
Issue: Muddy or Blended Colors
- Cause: The soap base was poured at an excessively high temperature (above 135°F), causing low viscosity and rapid color migration.
- Solution: Strictly monitor cooling phases with a digital thermometer, ensuring the base reaches 120°F before pouring.
Issue: Faint or Washed-Out Swirl Lines
- Cause: Over-manipulation of the medium. Dragging the swirling tool too many times homogenizes the distinct color channels.
- Solution: Limit the design to one or two deliberate, slow passes with a skewer.
Issue: Stratification (Color Separation)
- Cause: Utilizing soap bases with disparate specific gravities or chemical formulations (e.g., mixing opaque butter bases with clear synthetic bases).
- Solution: Standardize production by utilizing a single brand and product line of soap base across all color variations.
Issue: Premature Solidification
- Cause: Ambient room temperature is too low, or the soap cooled below 120°F before the pour could be completed.
- Solution: Maintain fluidity by keeping pouring containers in a warm water bath or on a low-heat warming pad. If chunks form, microwave in 15-second intervals, stirring constantly until liquefied.
Industry Implications and Future Trends
The rise of artisanal, small-batch cosmetics reflects a broader consumer shift toward transparency, personalization, and mindful hobbies. Melt-and-pour soap crafting—frequently highlighted across DIY lifestyle platforms—bridges the gap between industrial commercial products and bespoke home-crafted luxuries.

As consumer demand for aesthetically pleasing, skin-safe personal care items grows, techniques that elevate basic crafting into a refined art form continue to gain traction. Mastering thermodynamic control, color theory, and material science within melt-and-pour soap making empowers hobbyists and small business entrepreneurs alike to produce commercial-quality goods without requiring heavy industrial infrastructure. By respecting the chemical limitations of the medium, crafters can consistently achieve museum-quality visual aesthetics from the comfort of their home kitchens.