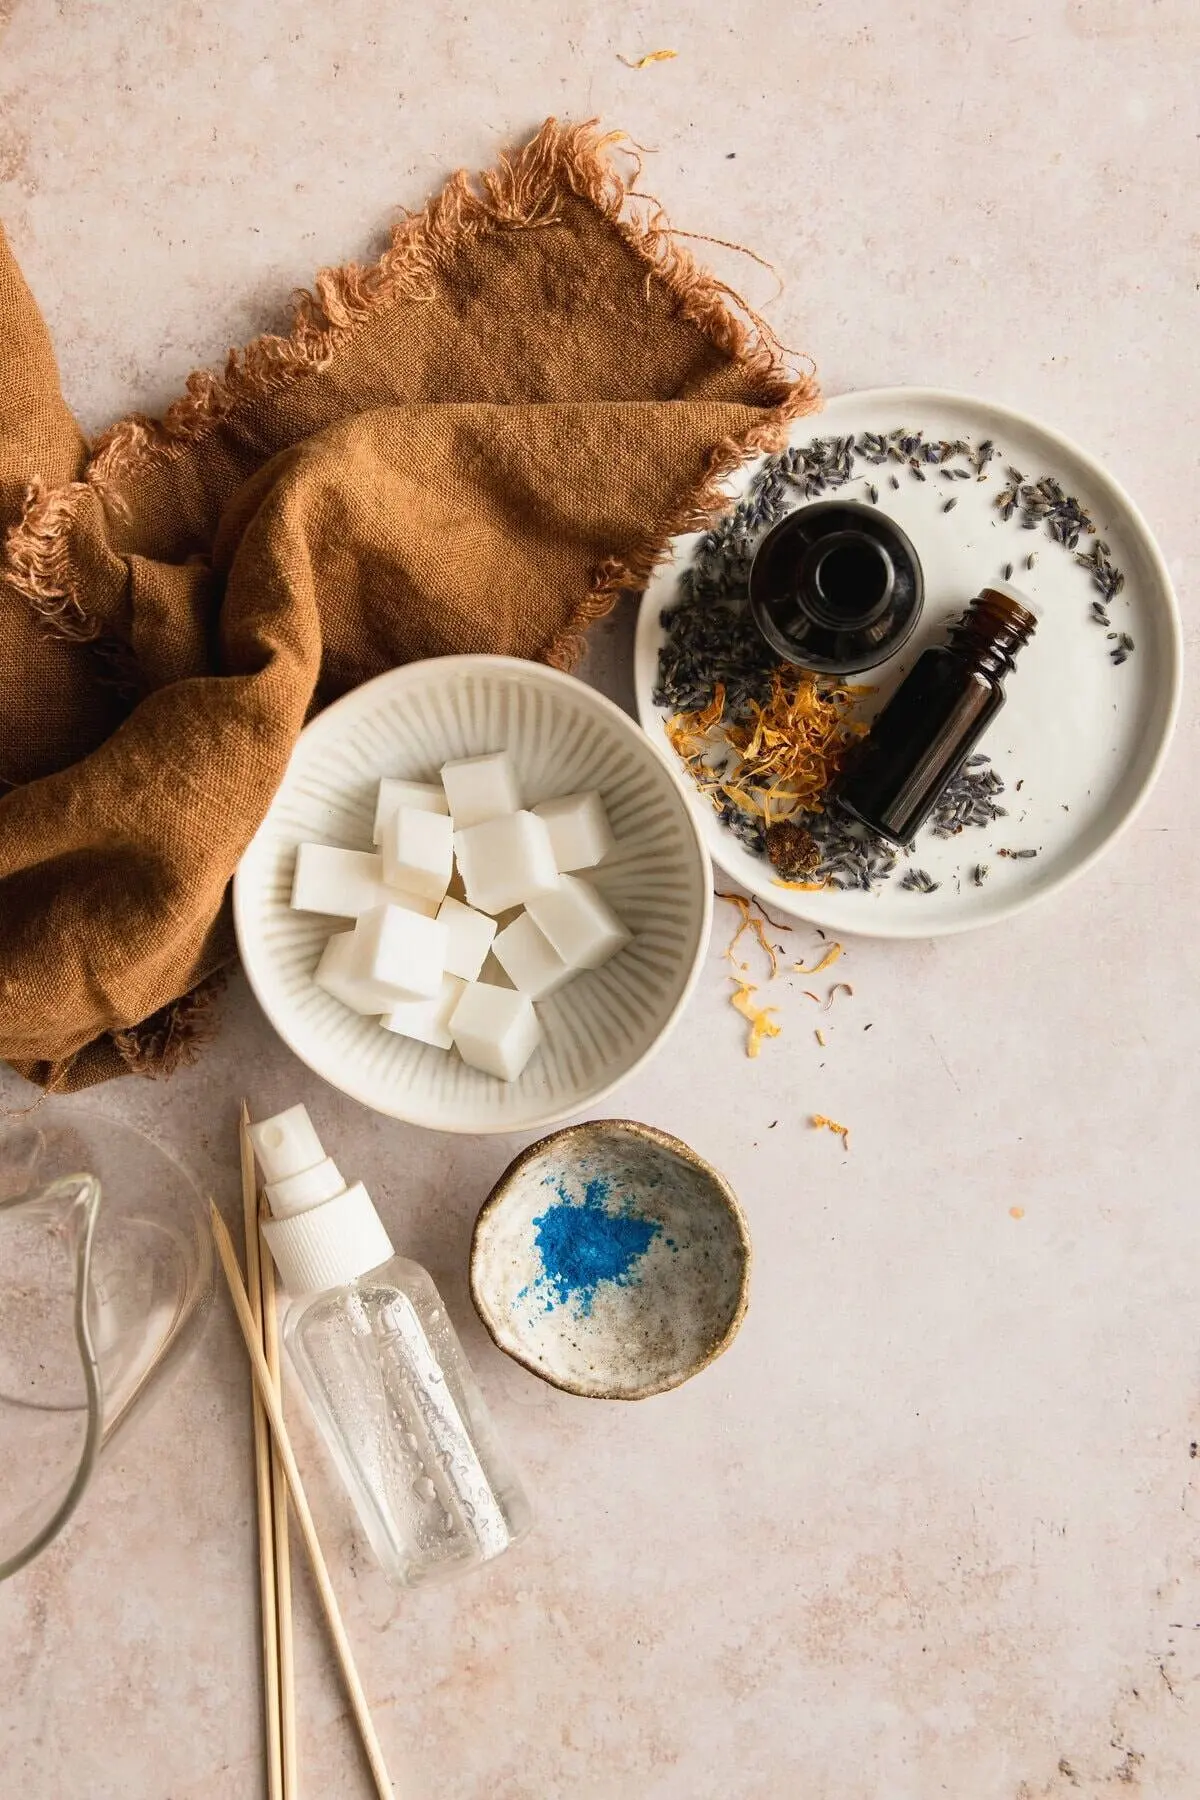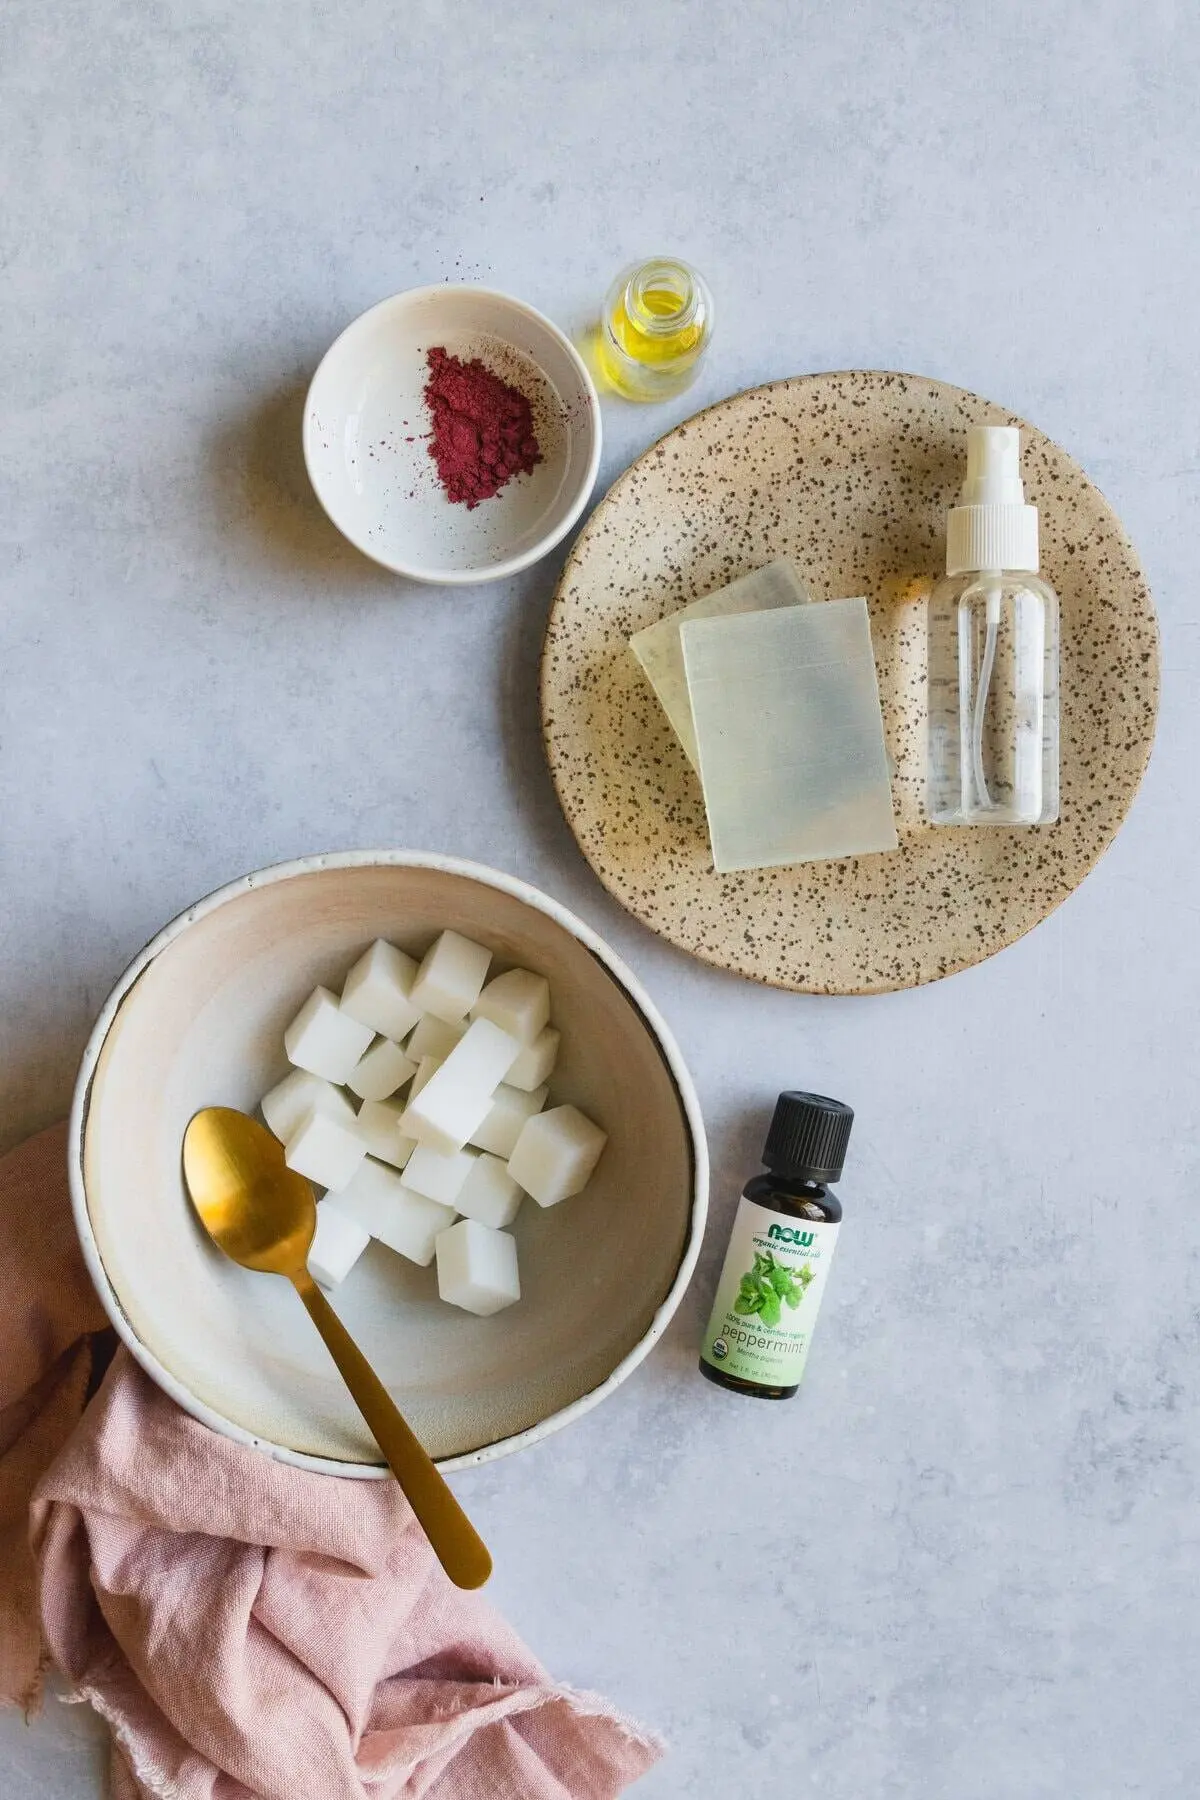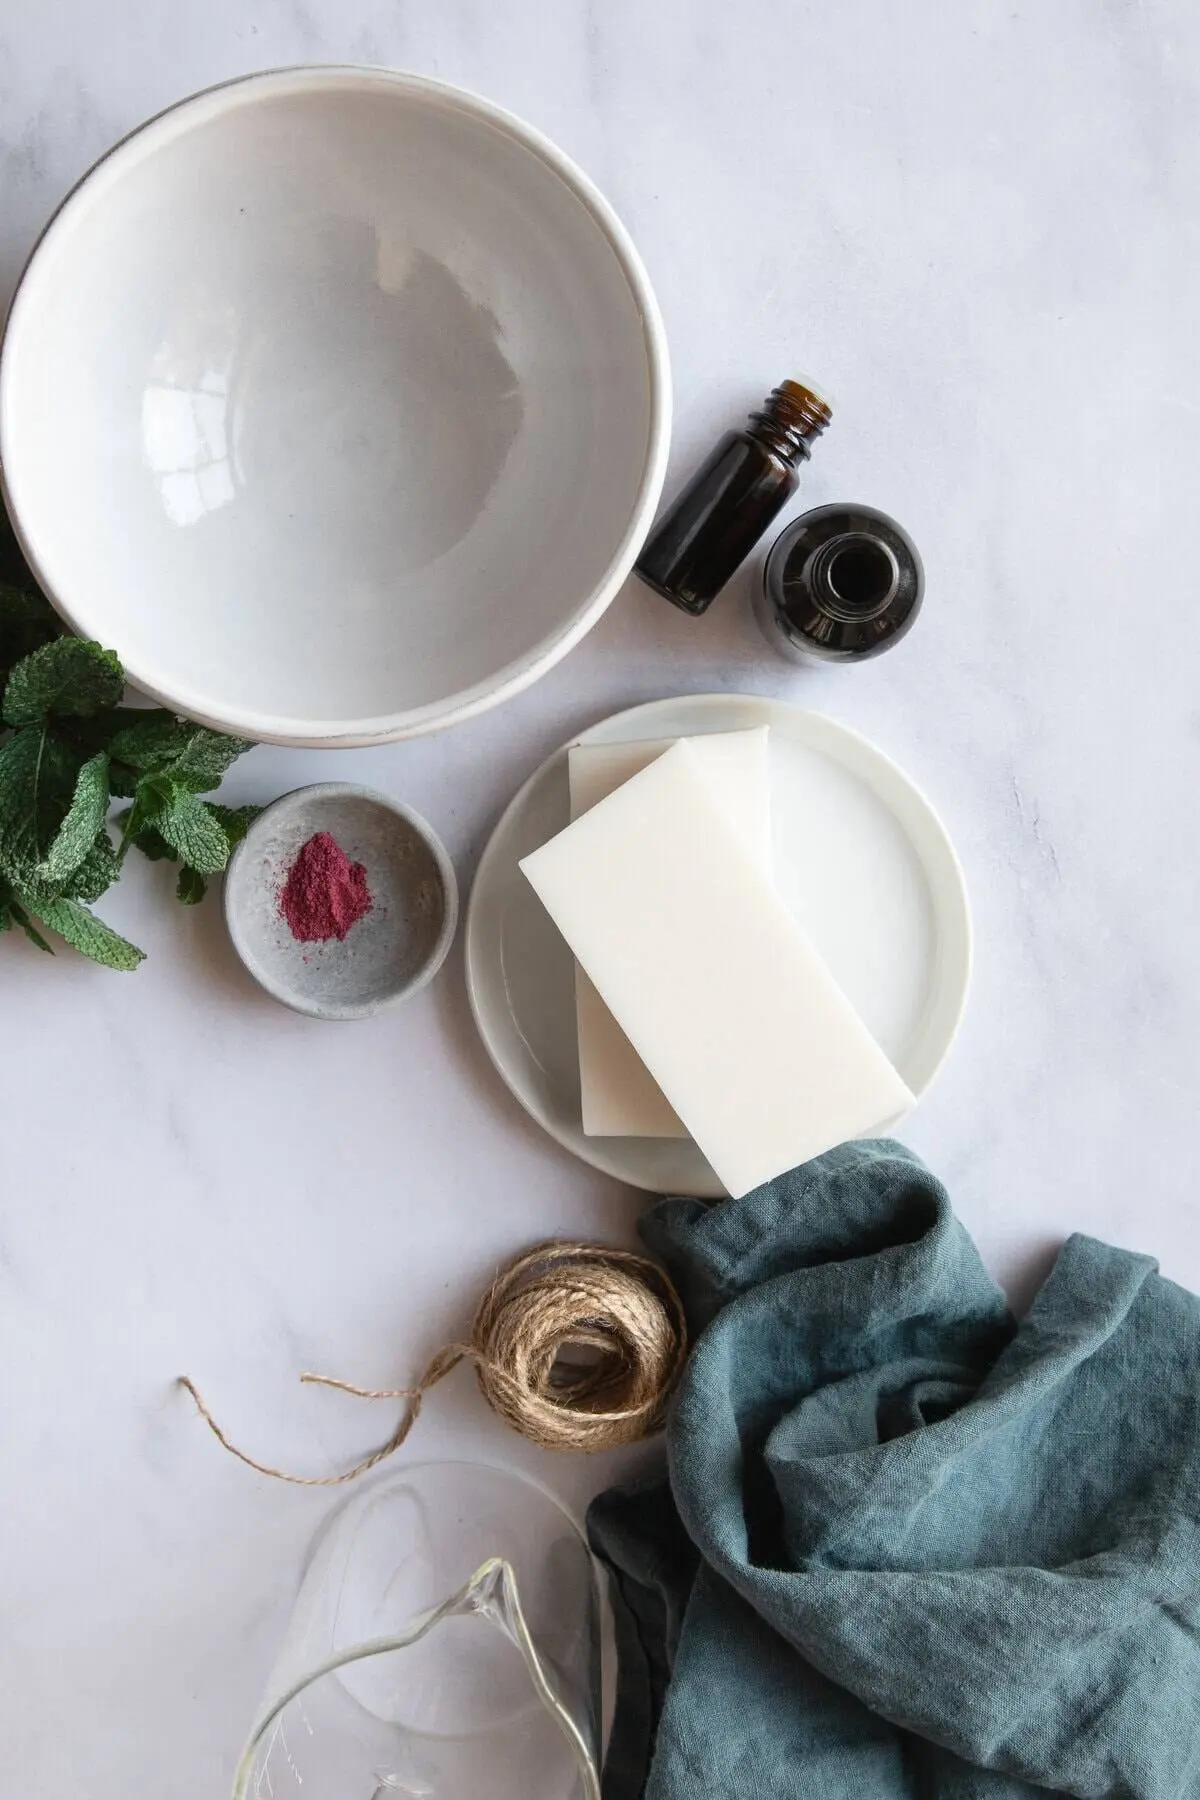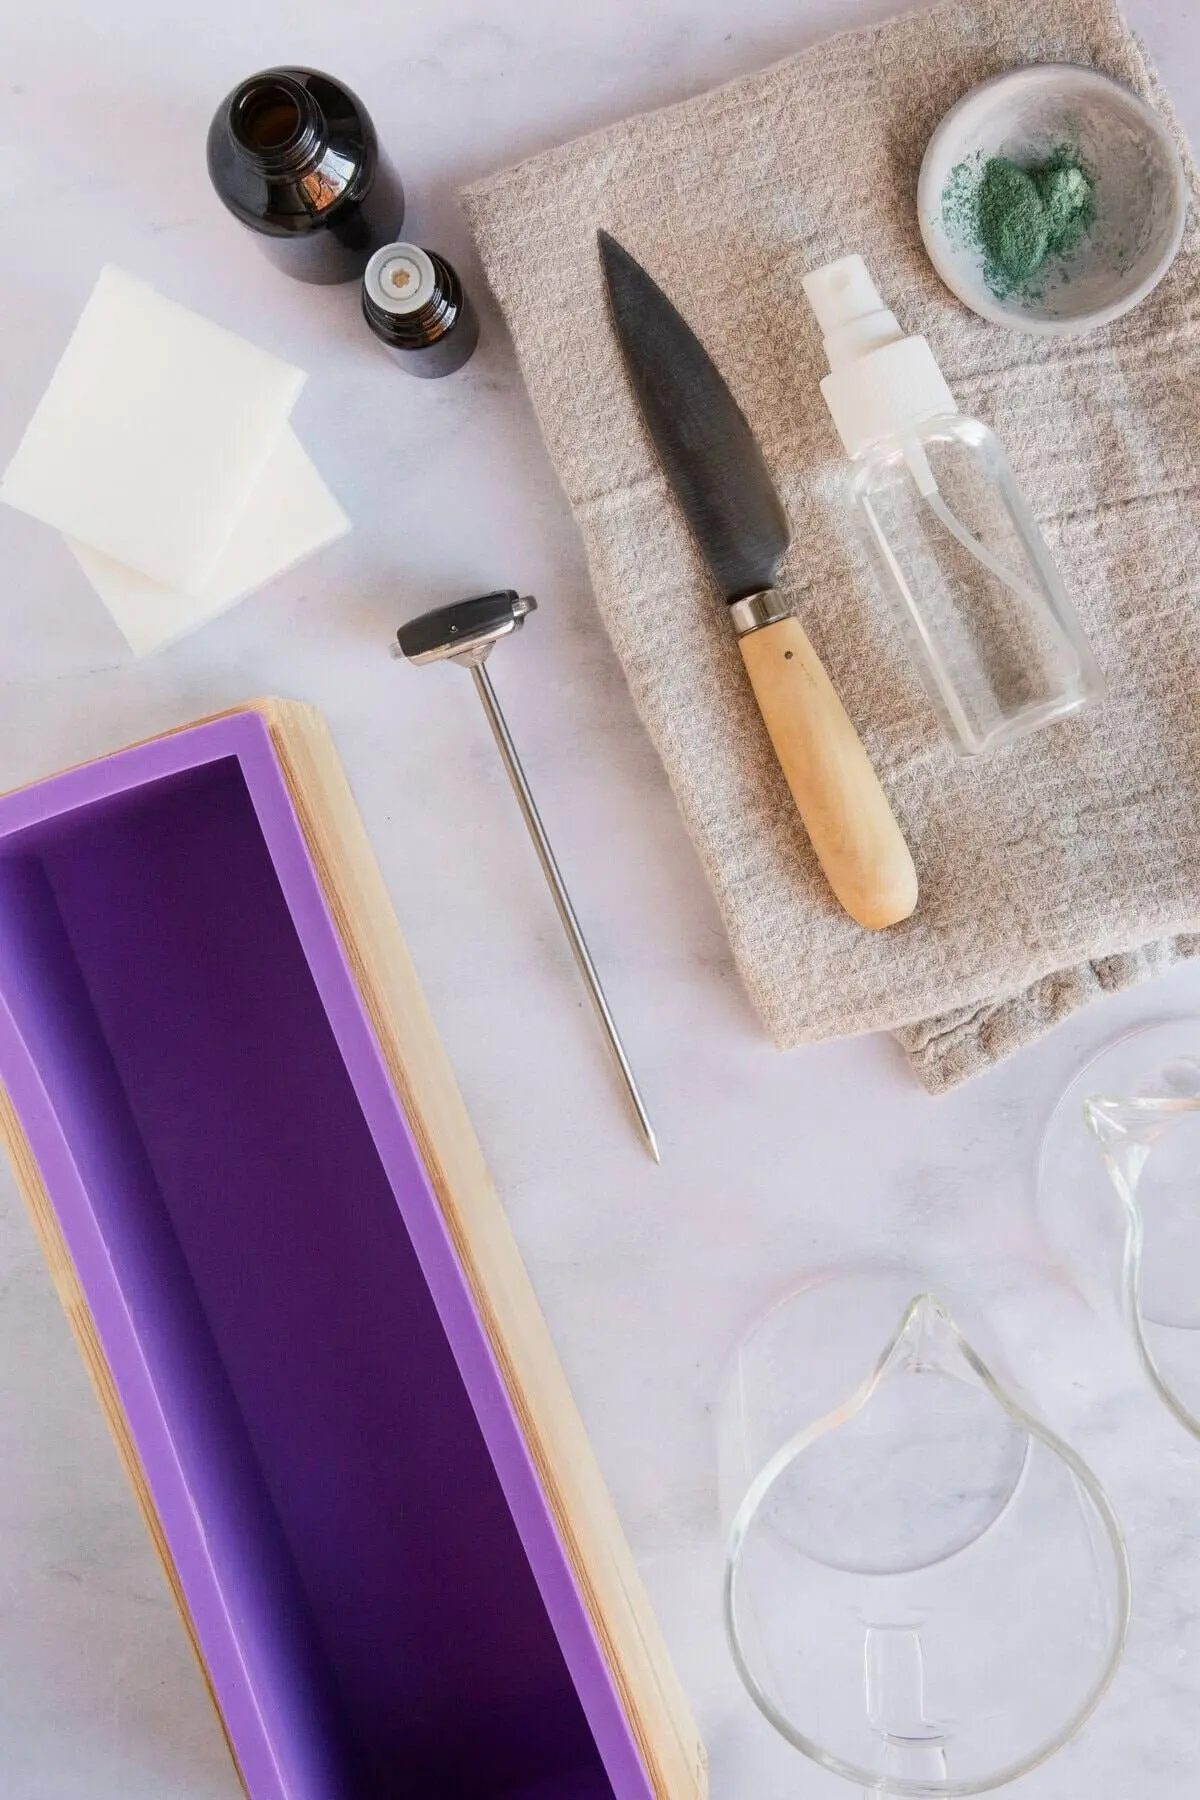










For the past several years, the artisanal bath and body community has experienced a quiet renaissance. While traditional cold-process soap making—requiring precise handling of sodium hydroxide (lye) and a weeks-long curing window—retains a dedicated following, a more accessible yet deeply artistic cousin has taken center stage: melt-and-pour soap making.

No longer viewed merely as a simplified entry point for beginners, melt-and-pour chemistry has evolved into a sophisticated craft. Artisans are leveraging clear glycerin and opaque botanical bases to construct intricate embedded scenes, geometric color blocks, and sculptural 3D elements. What once took days of waiting can now be accomplished in a single afternoon, provided the maker understands the critical physics of temperature, cooling intervals, and layer adhesion.

The Anatomy of Melt-and-Pour Bases: White vs. Clear
To achieve professional results when embedding shapes, a soap maker must first master the distinct properties of the foundational raw materials. Melt-and-pour soap bases are pre-saponified, meaning the chemical reaction between fats and lye has already occurred at the factory level. Crafters simply slice the blocks, liquefy them via microwave or double boiler, customize them with cosmetic-grade colorants and fragrances, and pour them into customized molds.

While various formulations exist—including goat milk, shea butter, and oatmeal bases—they generally fall into two primary categories for embedding work:

1. Opaque White Bases (Goat Milk, Shea Butter, Oatmeal)
White bases are characterized by their creamy, opaque appearance and softer physical profile. Because they typically incorporate skin-conditioning emollients, honey, or botanical butter, they possess a lower melting point than pure glycerin. This softness makes them ideal for outer protective layers or structural backgrounds rather than intricate embedded shapes, which can warp or lose definition under sustained thermal stress.

2. Clear Glycerin Bases
Clear soap bases feature a high concentration of glycerin, a natural humectant derived from plant or animal fats. Glycerin bases are structurally firmer than white bases. Consequently, they absorb thermal energy differently: they heat up more rapidly, retain heat longer, cool at a slower, more predictable rate, and hold fine geometric shapes exceptionally well.

Furthermore, colorants appear significantly more vibrant in clear bases, allowing suspended designs to "pop" with optical clarity. While experienced artisans frequently break these rules once they master thermal control, clear glycerin remains the gold standard for suspension and embedding techniques.

Tooling Up: Selecting the Right Molds
The success of an embedded soap design relies heavily on the geometry of the molds used during the manufacturing process. Flexible food-grade silicone molds have become the industry standard due to their non-stick properties and effortless demolding capabilities.

Shaping Molds
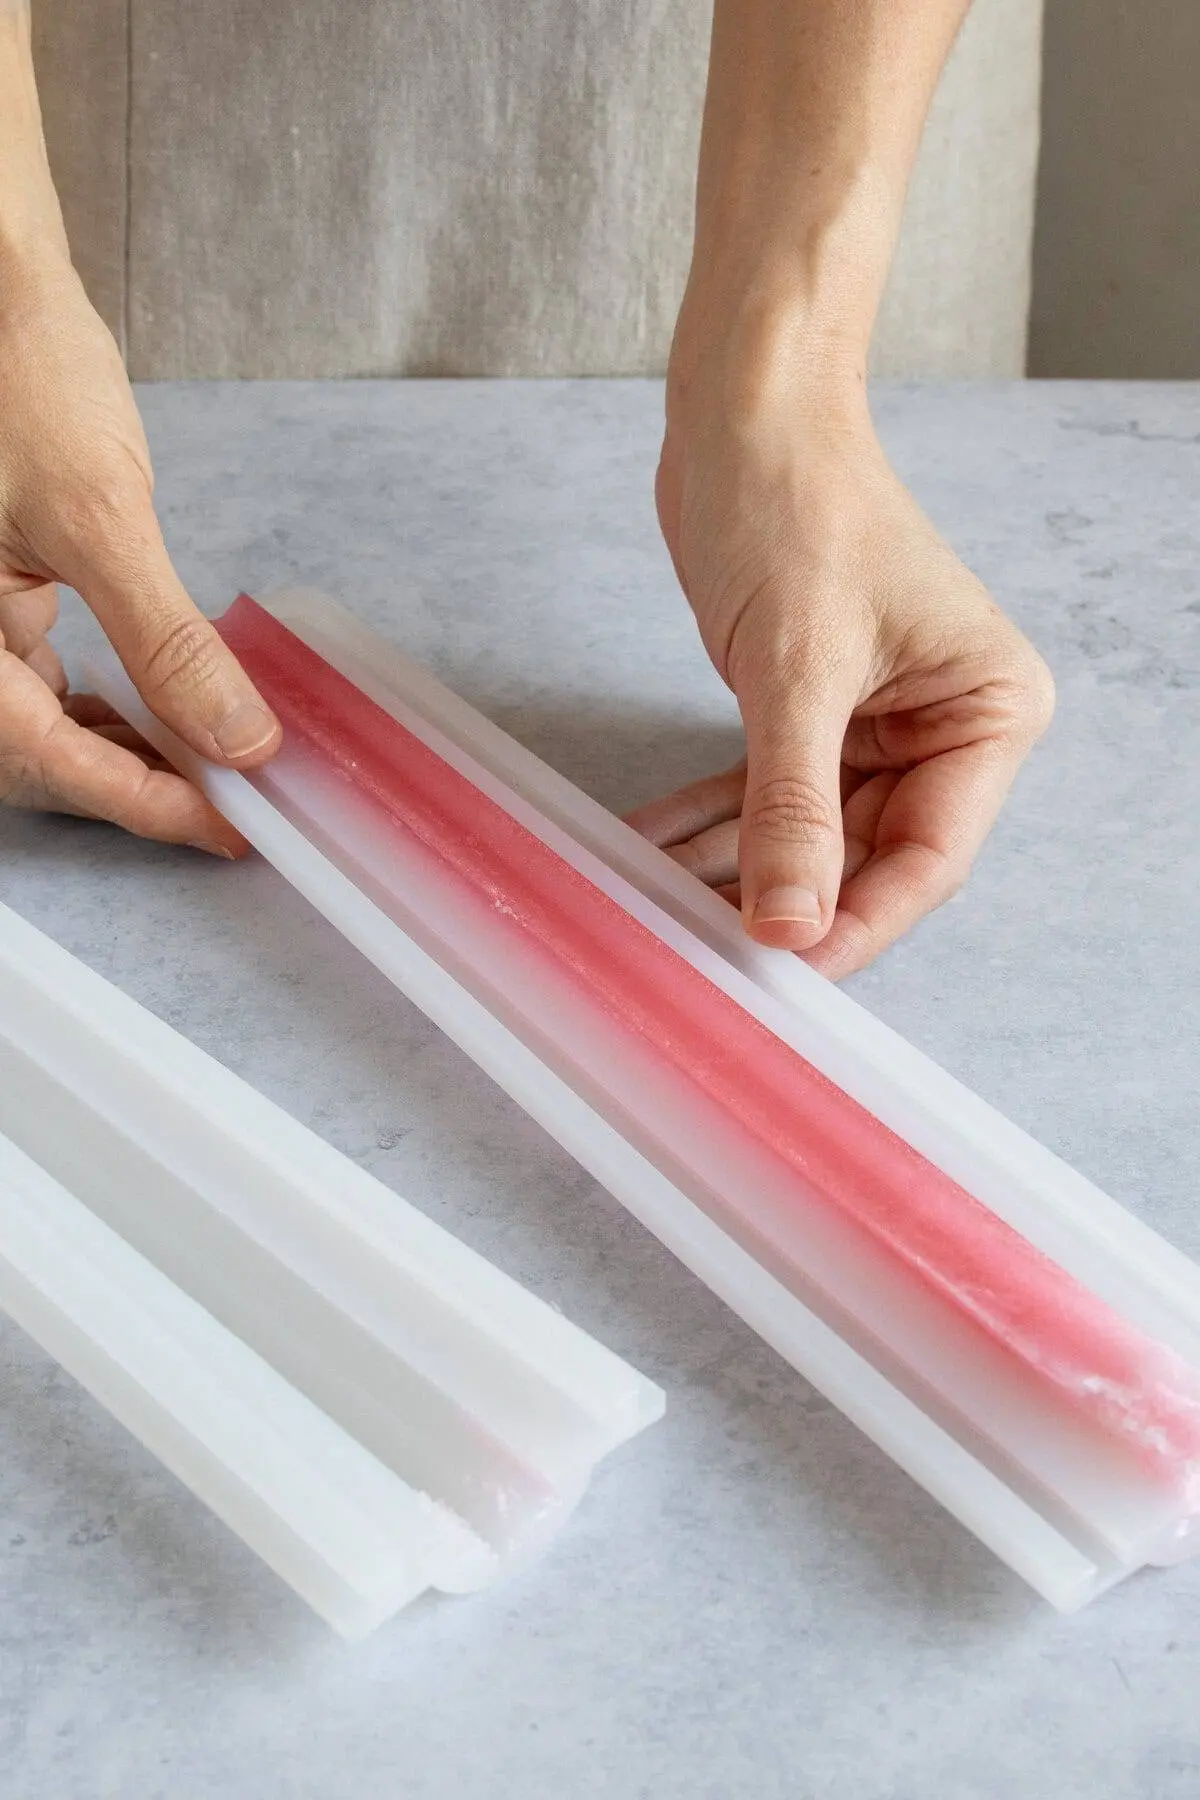
- Column Molds: These flexible silicone tubes feature interlocking seals that snap together to form an elongated cylinder. Liquid soap is poured down the center, cooled, and unpeeled to yield a continuous, long shape that runs through the core of a larger loaf.
- Silicone Cake Decorating Molds: Perfect for crafting flat, detailed motifs (such as butterflies, stars, or geometric fauna) destined for single-bar cavities.
- Non-Soap Embeds: Artisans are not strictly limited to soap-based inclusions; dried botanicals, exfoliating loofah slices, and embedded sea sponges can also be utilized, provided they are skin-safe and properly sterilized.
Pouring Molds
- Rectangular Loaf Molds: Large, block-style molds designed to hold multiple bars’ worth of product in a single pour. Once cured, the uniform block is sliced into individual units using a wire cutter or straight-edge knife.
- Single-Bar Cavity Molds: Individual compartments that eliminate post-production cutting, producing ready-to-use bars with minimal waste.
Thermal Physics and Preparation Protocols
Because melt-and-pour soap is typically liquefied in a microwave, crafters frequently encounter uneven heating spots, thermal shock, trapped air bubbles, and structural scorching. Adhering to strict preparation protocols ensures structural integrity.

When melting soap, cut the blocks into uniform, bite-sized cubes to encourage even thermal distribution. Heat the material in short, 30-second bursts at medium power, stirring thoroughly between intervals to release trapped steam and prevent surface boiling.

Temperature control is the single most critical variable in successful embedding. While many amateur tutorials suggest a pouring temperature of 125°F, experienced formulators find this threshold risks premature solidification before the soap can fully settle into intricate mold crevices. Conversely, pouring soap that is too hot will melt or warp the embedded shapes beneath it. The sweet spot for secondary pours rests precisely between 130°F and 140°F.

Three Master Techniques for Embedding Shapes
1. The Column Method (Rectangular Loaf Production)
This classic technique utilizes long, cylindrical shapes produced via column molds. Once the primary shape has fully set, it is suspended horizontally inside a larger rectangular loaf mold. Melt-and-pour soap is then poured around it.

When the master loaf hardens and is sliced crosswise, every individual bar reveals an identical, striking cross-sectional design running through its core. This method is exceptionally efficient for high-volume production of repeating patterns.

2. The Layered Cavity Method (Single-Bar Production)
For intricate, flat designs like cascading butterflies or floral silhouettes, the layered approach yields a clean, professional aesthetic:

- Liquefy a white soap base, add cosmetic-grade mica for color, pour it into flat silicone molds, and let it cool.
- Melt a batch of clear glycerin soap base and fill the cavities of a single-bar mold approximately halfway.
- Lightly spritz the surface with 99% isopropyl alcohol to eliminate surface tension and air bubbles, then allow it to cool for 20 minutes until a sturdy surface film forms.
- Carefully arrange 2 to 3 pre-made shapes onto the semi-set foundation.
- Verify that the fresh clear soap base is cooled to between 130°F and 140°F, then pour it over the shapes to encase them completely. Finish with a final mist of rubbing alcohol.
3. The Sculptural 3D Method
For artisan bars featuring elements that physically project beyond the soap’s surface—such as a blooming rose or a sculptural crest—precision timing is paramount.

- First, cast the 3D element in a specialized silicone mold and allow it to cure for one hour before trimming the base flat.
- Next, prepare a contrasting-colored base, fill a single-bar cavity three-quarters full, spritz with alcohol, and let it set for 10 to 15 minutes.
- Once the top layer forms a supportive skin, pour a thin skin-layer of soap and immediately press the 3D element into place, allowing it to anchor securely without fully submerging.
Troubleshooting Common Production Challenges
Even seasoned crafters occasionally face structural defects. Understanding the underlying chemistry helps resolve these issues quickly:

- Sinking or Melting Embeds: If suspended elements drift downward or dissolve upon contact, the surrounding liquid soap is either too hot or too fluid. Always let foundational layers develop a sturdy tactile skin before adding inclusions, and strictly monitor your pouring thermometer.
- Cloudiness and Air Bubbles: Trapped micro-bubbles are almost always caused by pouring soap that is too hot or pouring too aggressively. A generous spritz of isopropyl alcohol immediately before and after pouring neutralizes surface tension instantly. Cloudiness in clear bases indicates overheating; reduce microwave power levels.
- Inter-Layer Delamination (Cracking): If distinct layers peel apart cleanly after cooling, it indicates that the underlying layer was allowed to cool completely until it was cold and dry, preventing chemical bonding. Pour subsequent layers while the base is still slightly warm to the touch.
Frequently Asked Questions
How long does it take for melt-and-pour soap to set?
Standard single bars require roughly 1 to 2 hours at room temperature. For massive structural loaves, allow at least 4 hours of curing time. While refrigeration can accelerate this process (taking roughly 30 minutes), avoid placing soap in the freezer, as extreme thermal shock causes severe condensation and sweating upon removal.

What is the proper waiting period between sequential pours?
Monitor your layers closely; a 15-to-20-minute window is typically ideal. The surface should yield a slight resistance when pressed with a gloved finger, feeling firm yet warm. Waiting too long creates distinct boundary lines that weaken the bar’s structural cohesion.

Can active botanical additives be incorporated freely?
While raw botanical additives (such as fresh fruit purees or unsterilized plant matter) introduce water and organic compounds that spoil quickly, dry exfoliants like ground coffee, loofah particles, and cosmetic clays integrate seamlessly when used in strict moderation (typically under one teaspoon per pound of base).