








Introduction: Elevating the Craft of Home Soapmaking
For artisans and hobbyists alike, the journey of melt-and-pour soapmaking often begins with simplicity—a single-color, unscented or gently fragranced bar that offers instant gratification and a gentle introduction to chemistry and design. However, once crafters master the foundational steps, a natural desire for artistic expression emerges. Plain blocks no longer satisfy a creative palate.
Enter the technique of soap layering. Whether executed as bold, graphic stripes or soft, dynamic diagonal cuts, layering instantly transforms a basic DIY project into a polished, professional-grade artisanal product. Crucially, this advanced aesthetic does not require expensive industrial machinery, specialized licenses, or years of rigorous apprenticeship.

Instead, successful soap layering relies on patience, a basic spray bottle of rubbing alcohol, and a fundamental understanding of thermodynamic principles—specifically, how temperature dictates the structural integrity of stacked layers. By mastering temperature control and timing, makers can produce visually striking bars that remain structurally sound and resist splitting, even after slicing.
Chronology of the Craft: The Evolution of Melt-and-Pour Techniques
The evolution of soapmaking spans millennia, shifting from crude mixtures of animal fats and wood ash to modern, highly refined cosmetic bases. The melt-and-pour method, in particular, democratized the craft by removing the hazardous handling of sodium hydroxide (lye) from the equation.

- Phase 1: The Basics (Early Foundations): Historically, soapmaking was an industrial necessity rather than a craft. The introduction of pre-saponified melt-and-pour bases in the late 20th century allowed home crafters to focus exclusively on aesthetics, additives, and scents rather than chemical saponification equations.
- Phase 2: Single-Color Standardization: As the craft grew popular through online tutorials and crafting communities, standard square and rectangular bars dominated kitchens and craft fairs. While effective, these items lacked differentiation in a crowded handmade marketplace.
- Phase 3: The Rise of Multi-Dimensional Design: Crafters began experimenting with embeds, swirls, and color blocking. Layering emerged as the premier method for achieving clean architectural lines without specialized pouring machinery.
- Phase 4: Advanced Geometry (Current Era): Modern artisans routinely incorporate tilted molds, contrasting translucent and opaque bases, and precise thermal monitoring to achieve diagonal stripes, complex color gradients, and museum-quality visual depth.
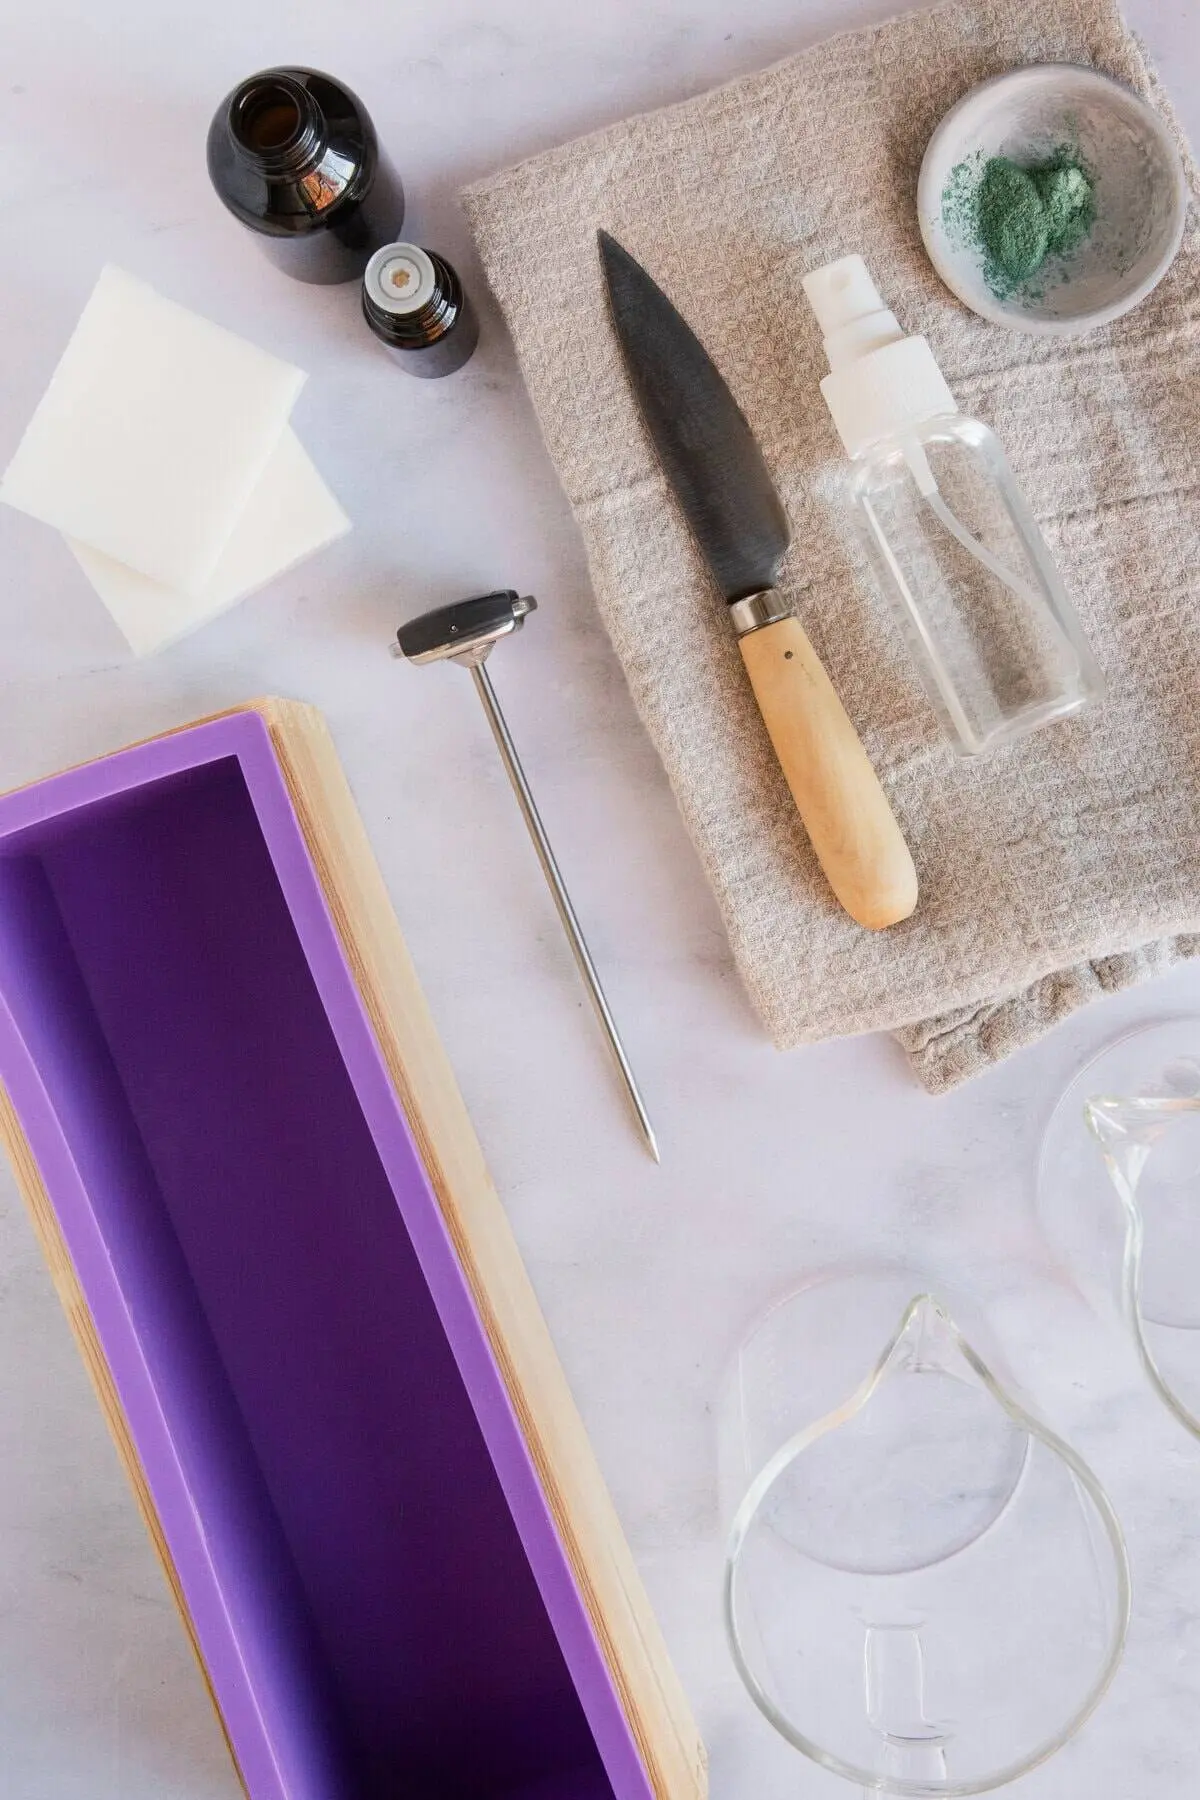
Essential Supplies and Equipment for Layered Soap
Achieving professional results requires more than just enthusiasm; it demands the right inventory of raw materials and precision tools. The following breakdown outlines the mandatory and optional components required for a successful layering project.
Core Materials
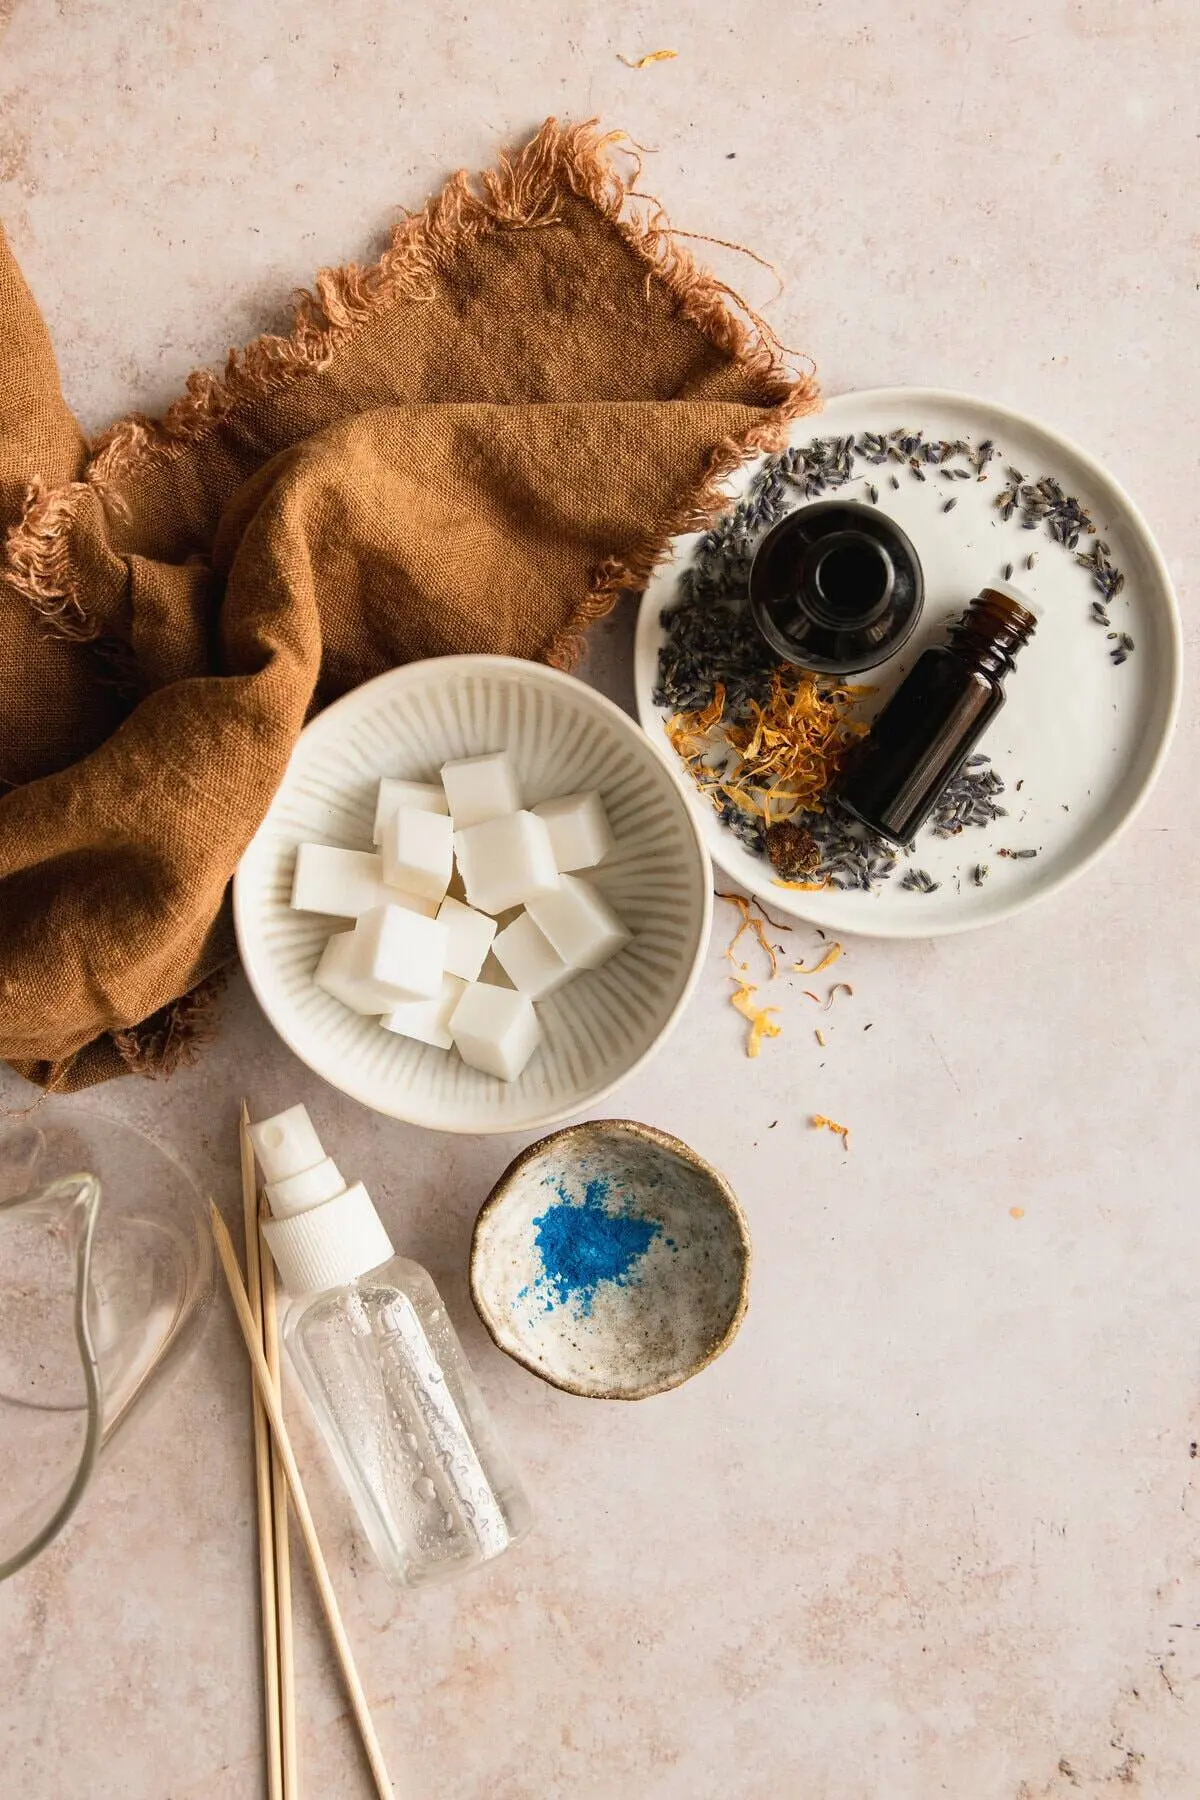
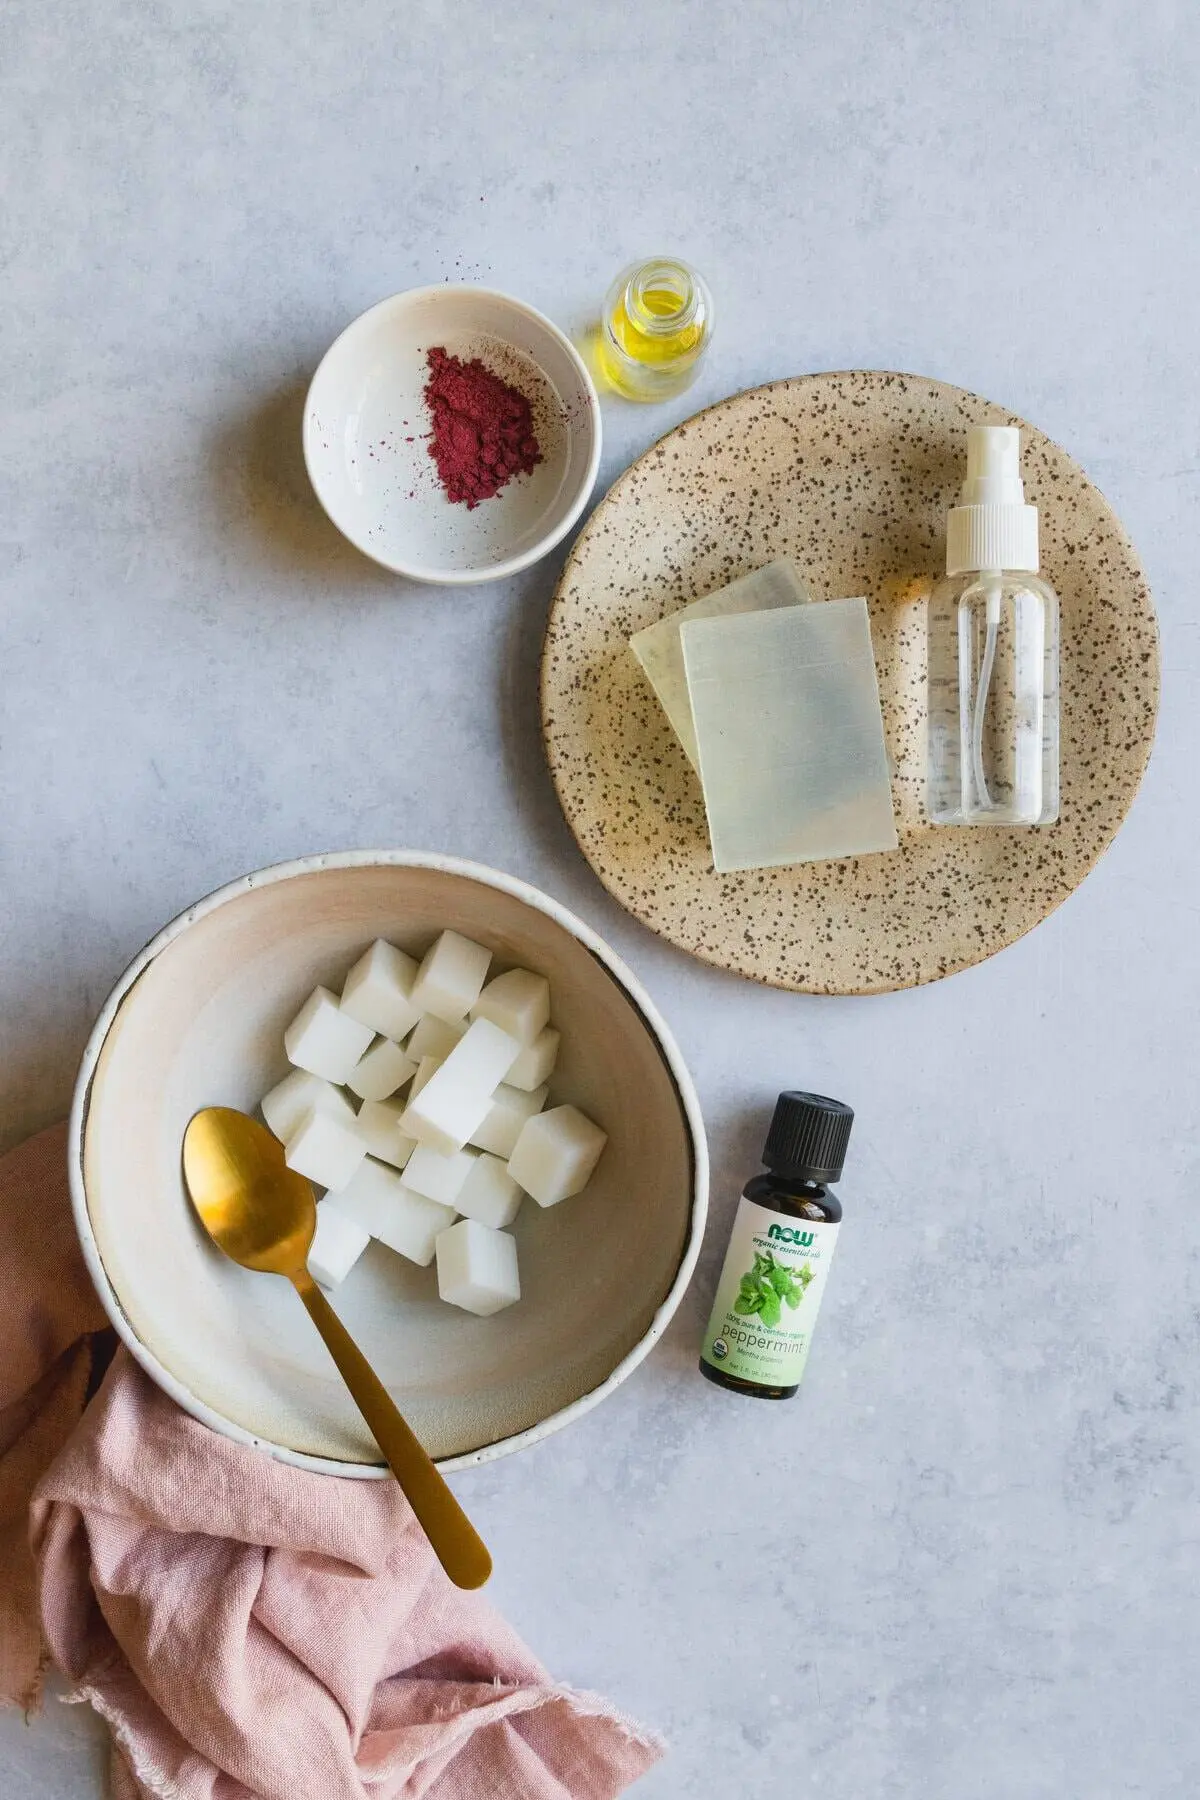
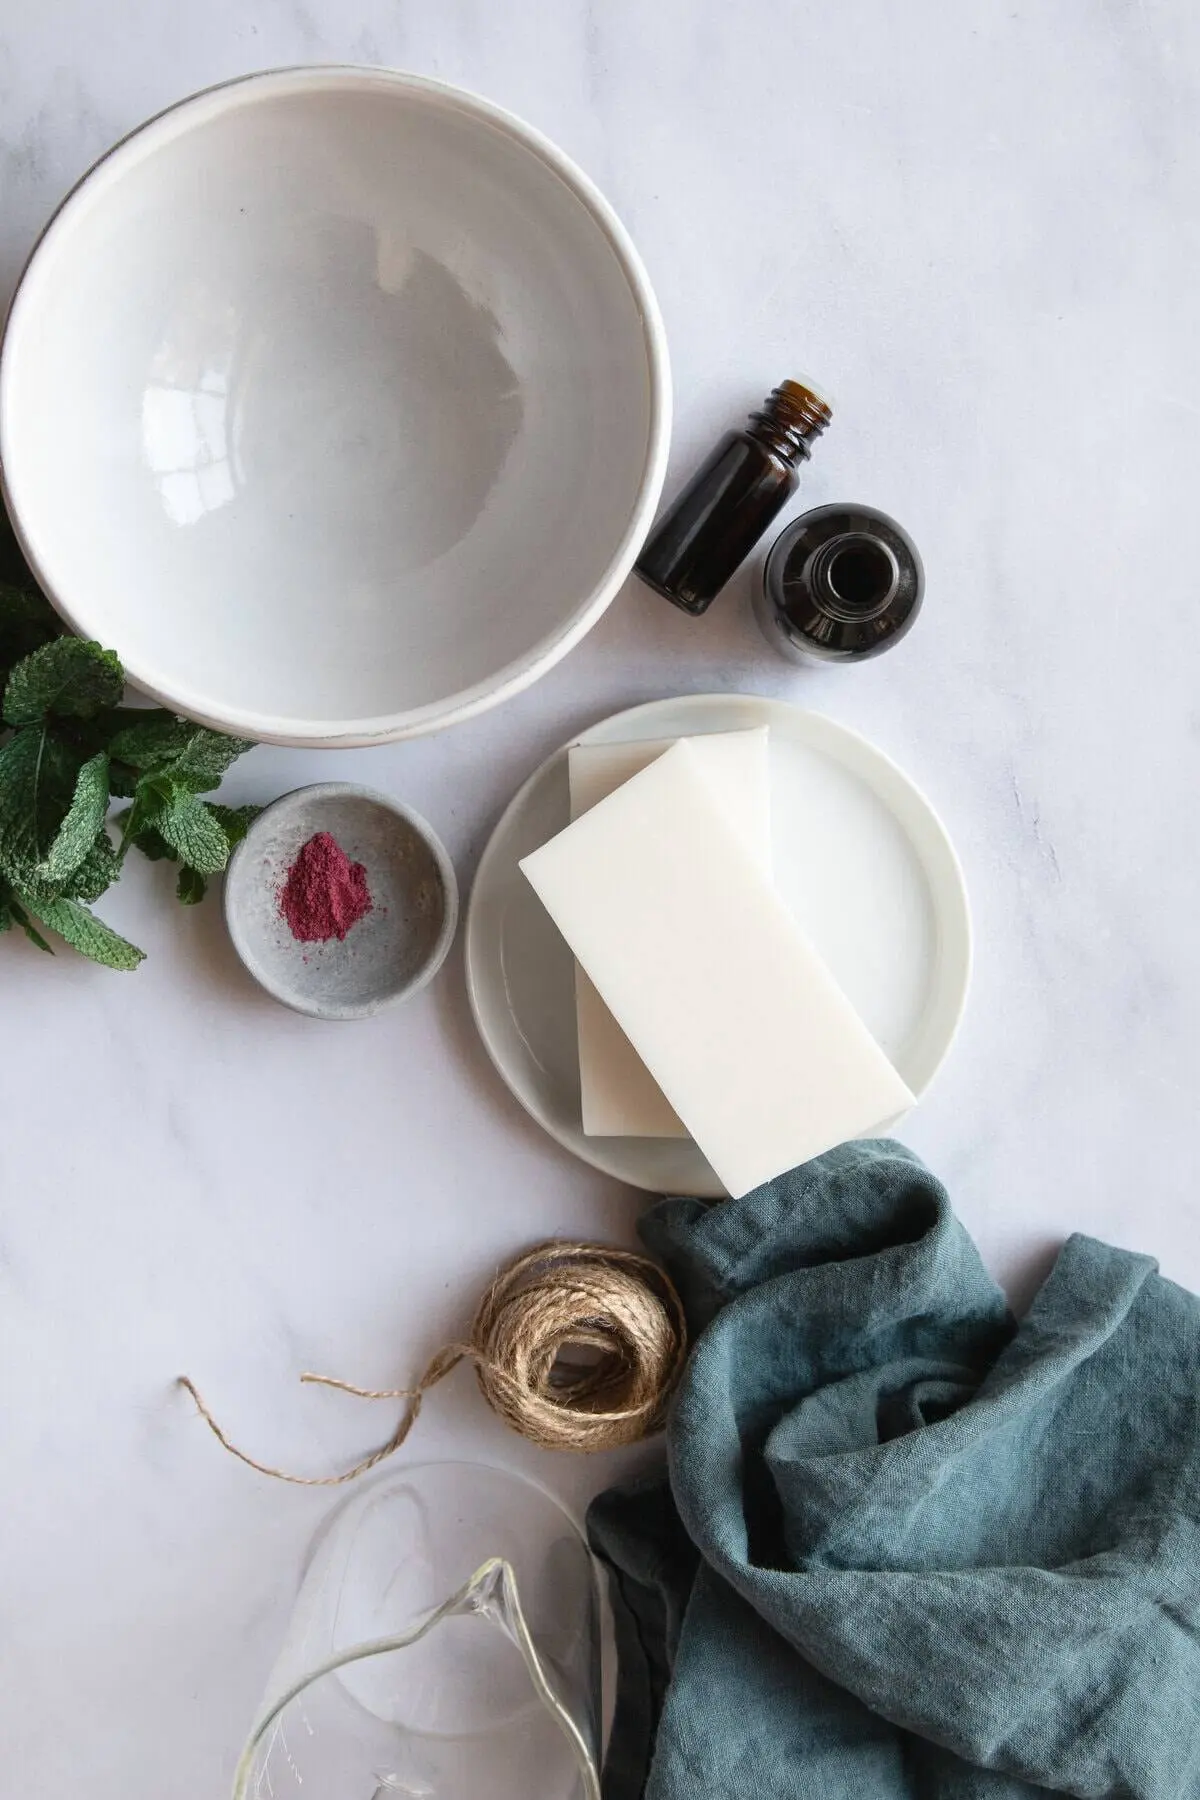
- Soap Base (Clear and White): Alternating between clear and opaque white bases creates dramatic visual contrast. Clear bases yield a translucent, glassy finish, while white bases scatter light, resulting in vibrant, saturated colors.
- Colorants: Liquid soap dyes deliver bold, punchy hues, whereas natural alternatives like beetroot powder or spirulina yield soft, earthy tones.
- Fragrances: Skin-safe essential oils or fragrance oils add olfactory complexity. Artisans can maintain a uniform scent profile or vary fragrances by layer to create dynamic sensory experiences.
- Rubbing Alcohol (91% or Isopropyl): The non-negotiable chemical "glue" of soap layering. Spritzing alcohol between layers eliminates surface bubbles and facilitates molecular bonding.
Specialized Equipment
- Molds: Loaf molds are the industry standard because they allow makers to slice dozens of uniform bars while displaying cross-sectional layers. Individual cavity molds are ideal for standalone shapes.
- Pouring Containers: Heat-safe, 16-ounce glass measuring cups equipped with precision pour spouts facilitate clean application. Maintaining a dedicated container for each color streamlines the workflow.
- Thermometers: A basic kitchen thermometer or a digital instant-read thermometer is vital. Precision in temperature management prevents premature melting or layer separation.
Step-by-Step Methodology: How to Execute Flawless Layers
While specific recipes vary, the structural technique for layering melt-and-pour soap remains uniform. The following protocol outlines the professional process for creating multi-tiered designs.

Step 1: Preparation and Melting
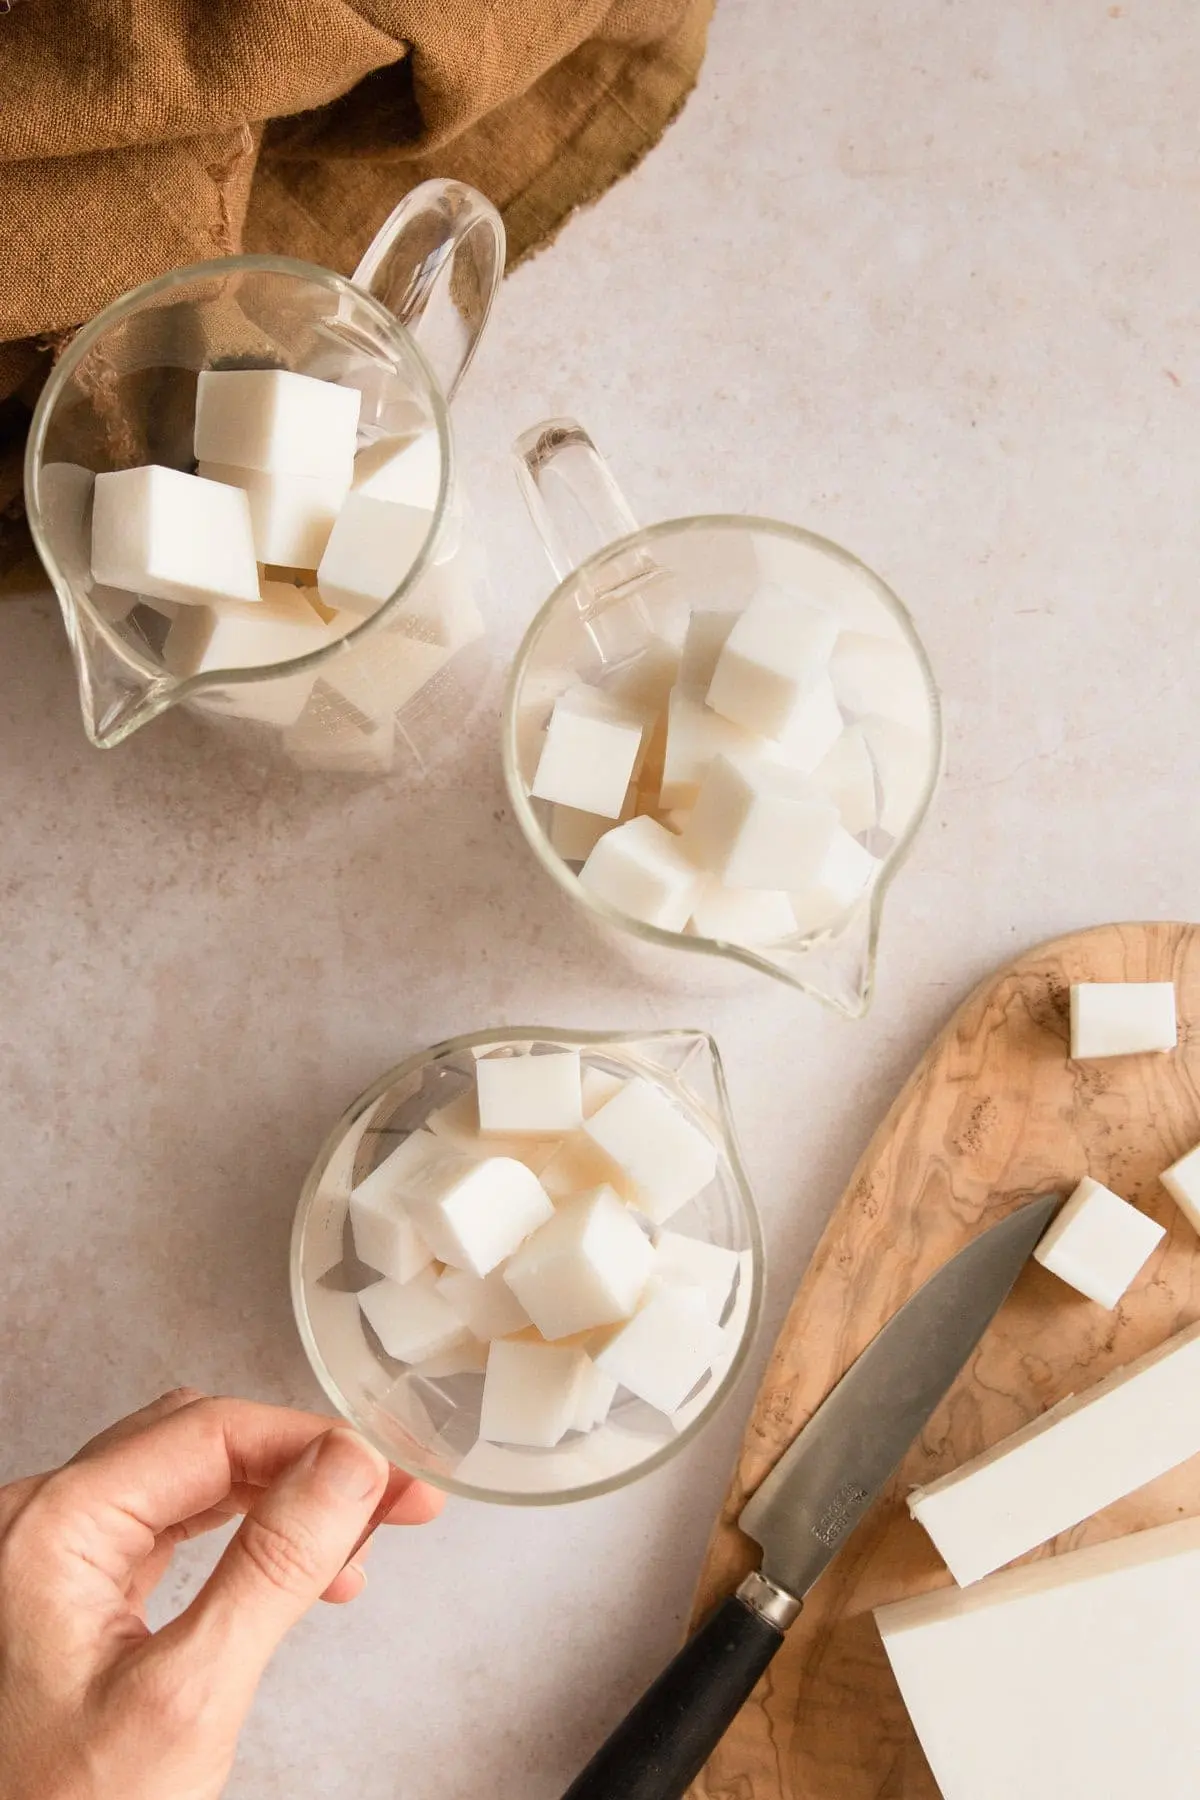
Begin by sectioning your melt-and-pour base into uniform 1-inch cubes. This geometry ensures even heat distribution, prevents scorching, and accelerates melting times. Place the cubes into designated heat-safe containers—one for each planned layer.
Microwave the base in short, controlled 30-second bursts. Stir thoroughly between intervals until the soap is just liquefied. Overheating alters the chemical structure, scorching the base or introducing unwanted thickness that impedes smooth pouring.

Step 2: Incorporating Color and Scent
Introduce colorants and fragrances to the molten base using slow, deliberate stirring motions. Vigorous agitation introduces air bubbles, which compromise the clarity and clean geometry of your finished layers. Tailor scents and hues to your design vision, ensuring all additives are strictly skin-safe.
Step 3: Pouring the Inaugural Layer
To achieve dynamic diagonal lines rather than standard horizontal stripes, tilt the mold slightly by placing a small ramekin or a bunched kitchen towel beneath one edge.

Pour the first layer into the lowest section of the mold. Because no foundational layer exists below it, initial temperature is irrelevant. Immediately spritz the surface with rubbing alcohol to dissipate surface bubbles. Allow the layer to cool until a thin, stable skin forms. The surface should feel resilient and warm, but not structurally wobbly or liquid underneath (typically 10 to 15 minutes).
Step 4: Bonding and Subsequent Pours
Before introducing the next stratum, apply a generous spritz of rubbing alcohol to the cooled surface. This step activates the bonding surface.

Monitor the temperature of the incoming molten soap closely; the target sweet spot is 140°F. Pouring above this threshold melts the underlying stratum, creating muddy color bleeds. Pouring below it results in weak adhesion, leading to structural failure during slicing. Pour slowly along the interior edge of the mold and spritz the top with alcohol to eliminate newly formed bubbles.
Step 5: Curing and Unmolding
Continue alternating colors until the mold reaches capacity, remembering to level the mold if you utilized a tilt during earlier steps. Finalize the project with a concluding alcohol spritz.

Allow the entire assembly to cure undisturbed for several hours or overnight. Resist the temptation to unmold prematurely, as soft interior layers may warp or shear under handling pressure. Once fully set, slice the loaf with a sharp, straight blade to reveal crisp, professional-grade strata.
Supporting Data & Industry Best Practices
To maintain high manufacturing standards, professional soapmakers adhere to specific empirical thresholds regarding temperature, timing, and chemical interaction:

- The 140°F Thermal Threshold: Empirical testing indicates that pouring new soap at precisely 140°F provides the optimal balance: it is cool enough to preserve underlying geometry, yet warm enough to achieve micro-melting at the interface for superior molecular adhesion.
- Alcohol Concentration: 91% or higher isopropyl alcohol is recommended over lower dilutions (such as 70%). Higher concentrations evaporate rapidly without introducing excess moisture, which can cause surface pitting in glycerin-based soaps.
- Cooling Parameters: Rapid cooling via refrigeration is discouraged, as sudden thermal shock causes condensation to form between layers, destroying adhesion and promoting mold growth or base degradation.
Official Recommendations and Safety Guidelines
Professional cosmetic chemists and regulatory bodies emphasize adherence to established safety guidelines when formulating handmade skin products:
- Skin Safety Compliance: Always verify that colorants and fragrance oils carry designated IFRA (International Fragrance Association) certifications for topical cosmetic use.
- Thermal Protection: Molten soap bases exceed 130°F during handling; operators should utilize heat-resistant gloves and protective eyewear when transferring glass measuring vessels.
- Allergen Disclosure: When gifting or selling finished artisan bars, proper labeling of botanical additives (such as nut oils or botanical powders) ensures consumer safety and transparency.
Implications: The Commercial and Creative Impact of Advanced Techniques
The mastery of melt-and-pour layering carries significant implications for both artisan entrepreneurs and home hobbyists:

- Market Differentiation: In an e-commerce ecosystem saturated with generic bath and body products, sophisticated visual techniques allow independent makers to command higher price points for handmade goods.
- Skill Scalability: Because the technique relies on fundamental physics rather than complex artistry, it scales easily from batch production in home kitchens to small-scale commercial operations.
- Creative Confidence: Overcoming common hurdles—such as layer separation and color bleeding—builds technical competence, paving the way for advanced cosmetic design explorations, including complex embedded motifs and sculptural soap carving.
Troubleshooting Common Manufacturing Issues
| Issue Identified | Root Cause | Corrective Action |
|---|---|---|
| Layers separate upon slicing | Omitted alcohol spray; base poured when bottom layer was completely cold. | Apply generous alcohol between layers; if layers are cold, pour subsequent layers slightly warmer (150°F–160°F) to force surface bonding. |
| Colors bleed together | Incoming soap was poured at an excessively high temperature. | Allow molten base to cool to 140°F and monitor using an instant-read thermometer before pouring. |
| Uneven or slanted layers | Unlevel workspace or thermal drafts during the cooling phase. | Ensure the working surface is verified level with a spirit level; cure away from open windows and drafts. |
| Air bubbles trapped between layers | Insufficient alcohol application or turbulent, rapid pouring technique. | Saturate surfaces with high-concentration isopropyl alcohol; pour slowly down the interior wall of the mold or over a spoon. |
Frequently Asked Questions (FAQ)
Can I mix different types of melt-and-pour soap bases?
Yes. You can seamlessly combine clear bases, opaque white bases, and specialty formulations such as goat’s milk, shea butter, honey, or aloe vera bases. However, you must never mix melt-and-pour bases with cold-process soap formulations, as their saponification states and chemical profiles are entirely incompatible.
Do I have to color every single layer?
No. Alternating between colored and uncolored transparent or opaque layers creates a sophisticated, minimalist aesthetic. Alternatively, you can achieve a sophisticated gradient (ombré) effect by diluting pigments across progressive pours.

How thick should individual soap layers be?
Thickness is purely an aesthetic choice. Thin layers (roughly 1/4 inch) create delicate, intricate patterns, while thicker layers offer bold, graphic statements. Thinner layers also benefit from faster cooling times between pours.
Can I embed objects between soap layers?
Yes. Melt-and-pour layering provides an ideal environment for embedding small soap shapes, loofah slices, or dried botanicals. Ensure all embedded materials are completely soap-stable and will not bleed unwanted pigments into surrounding layers over time.