









WASHINGTON — In an era dominated by mass-produced consumer goods and automated online shopping, the artisan craft community is experiencing a renaissance rooted in personalization and tactile creation. Leading this charge for the upcoming holiday season is a surprisingly accessible trend that has taken the DIY world by storm: handmade melt-and-pour "gift box" soaps. Designed to mimic exquisitely wrapped miniature packages—complete with embedded ribbon strips and delicate, flower-like bows crafted entirely from soap—these creations are redefining what it means to give a handmade present.

Industry experts note that the appeal lies in the delicate balance of high aesthetic value and low barrier to entry. Requiring no advanced chemical knowledge or industrial equipment, this craft allows even novice creators to produce department-store-quality bath and body products from the comfort of their home kitchens.

Main Facts
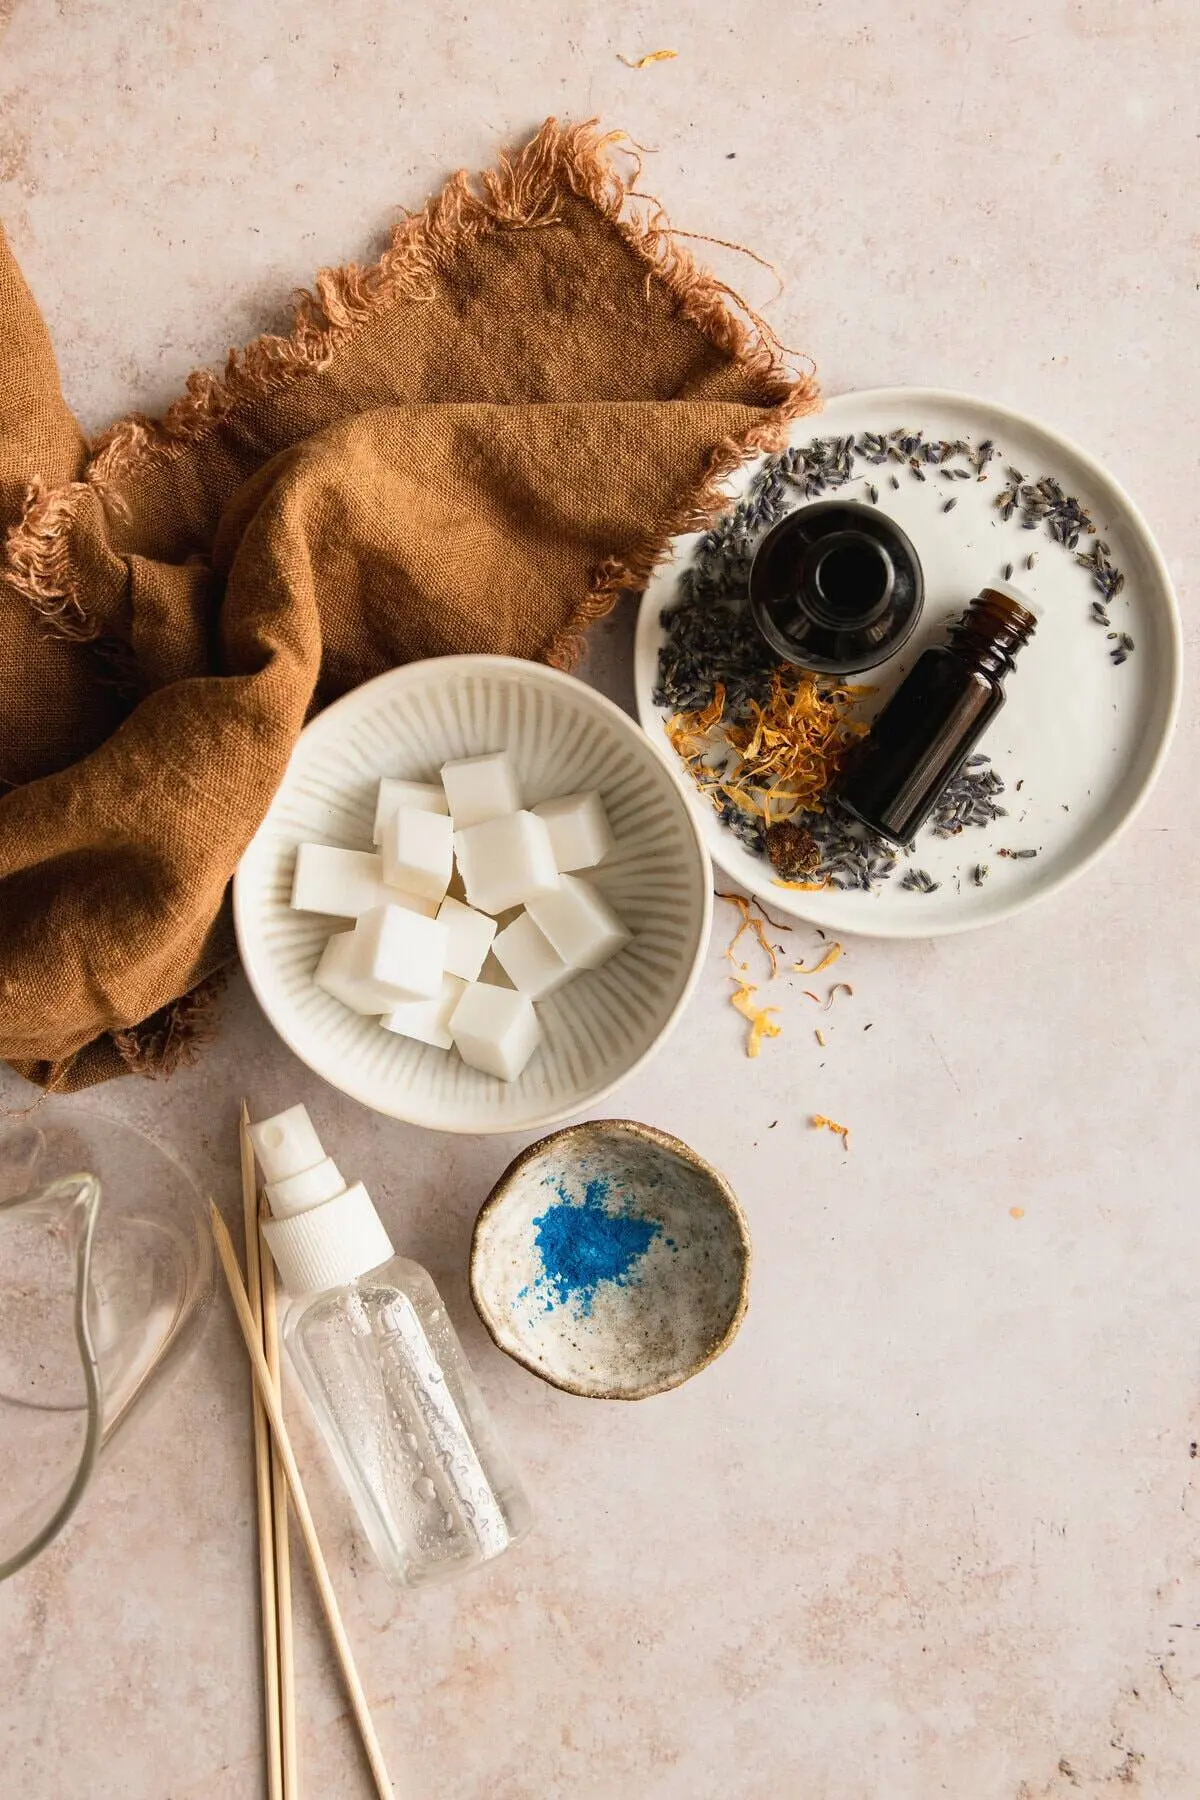
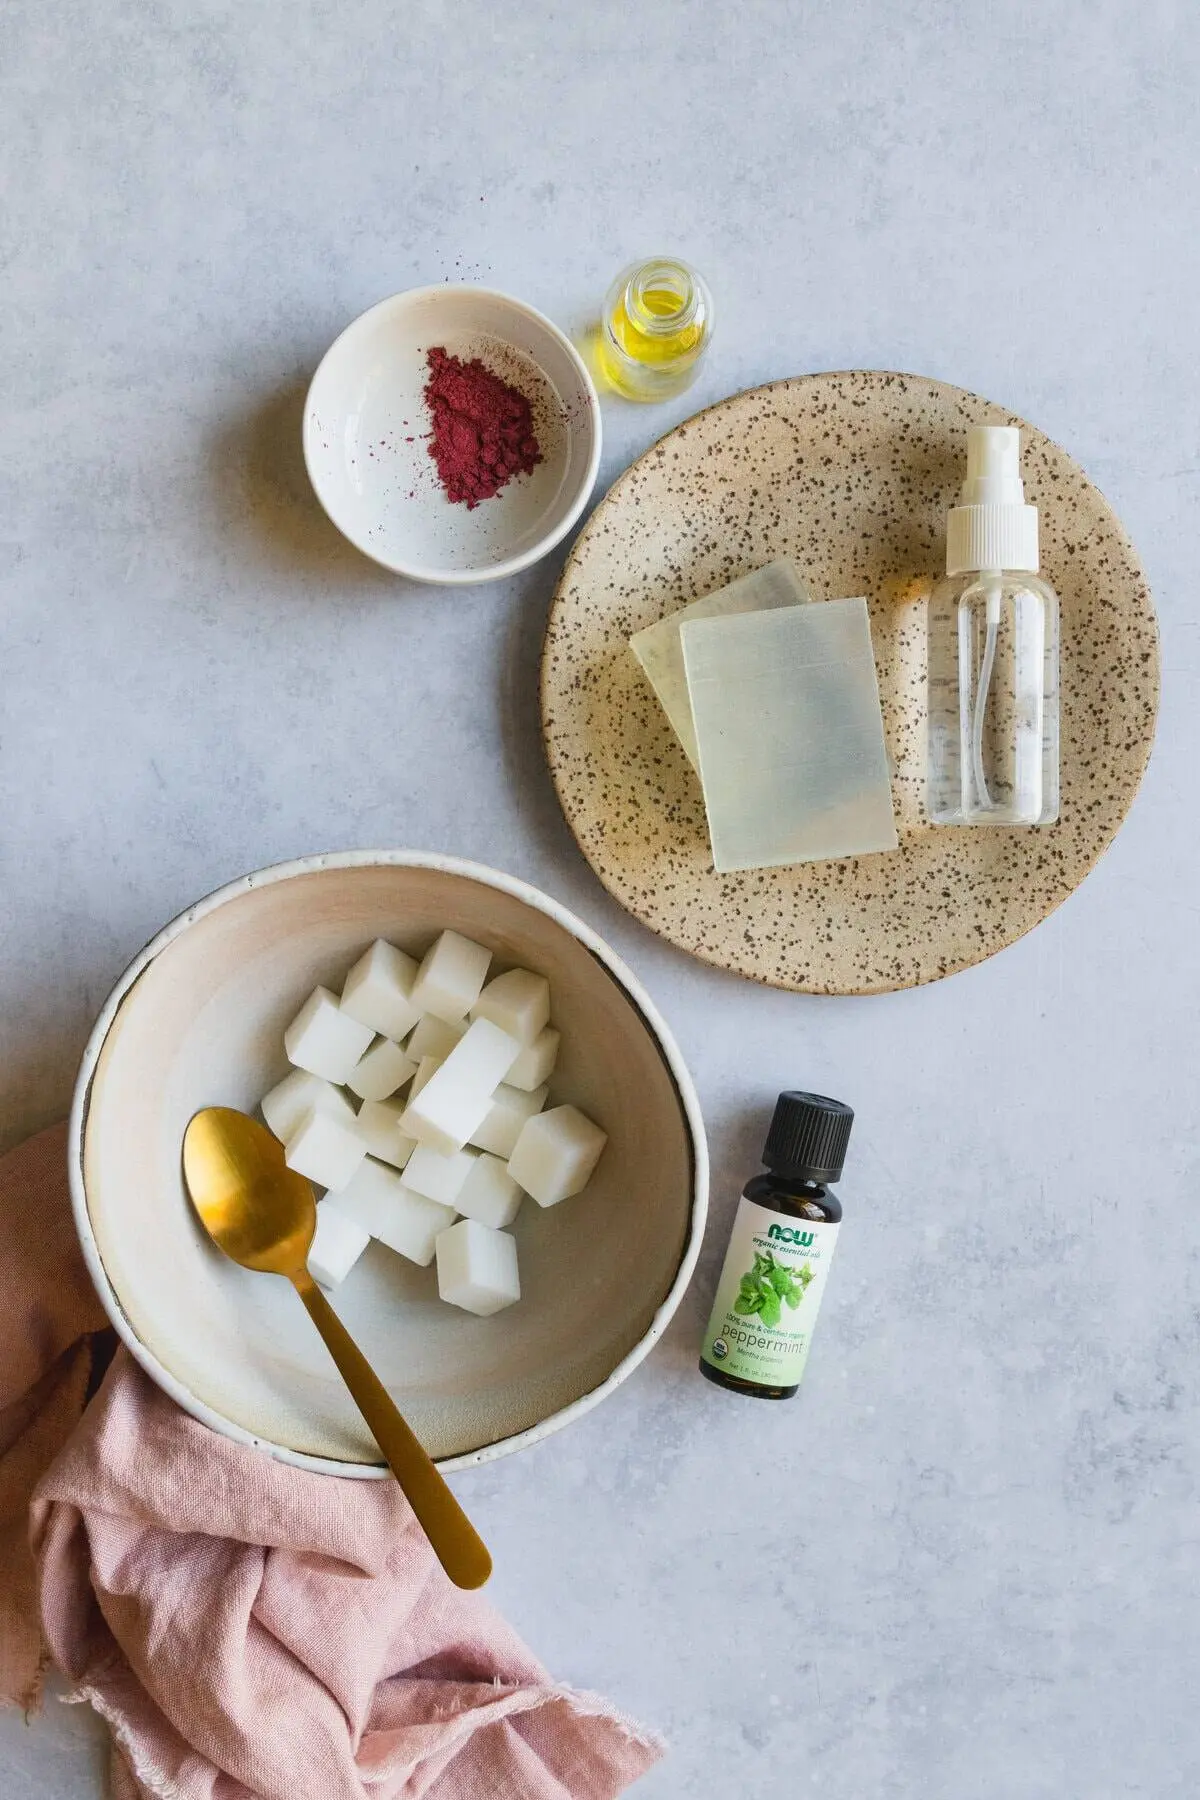
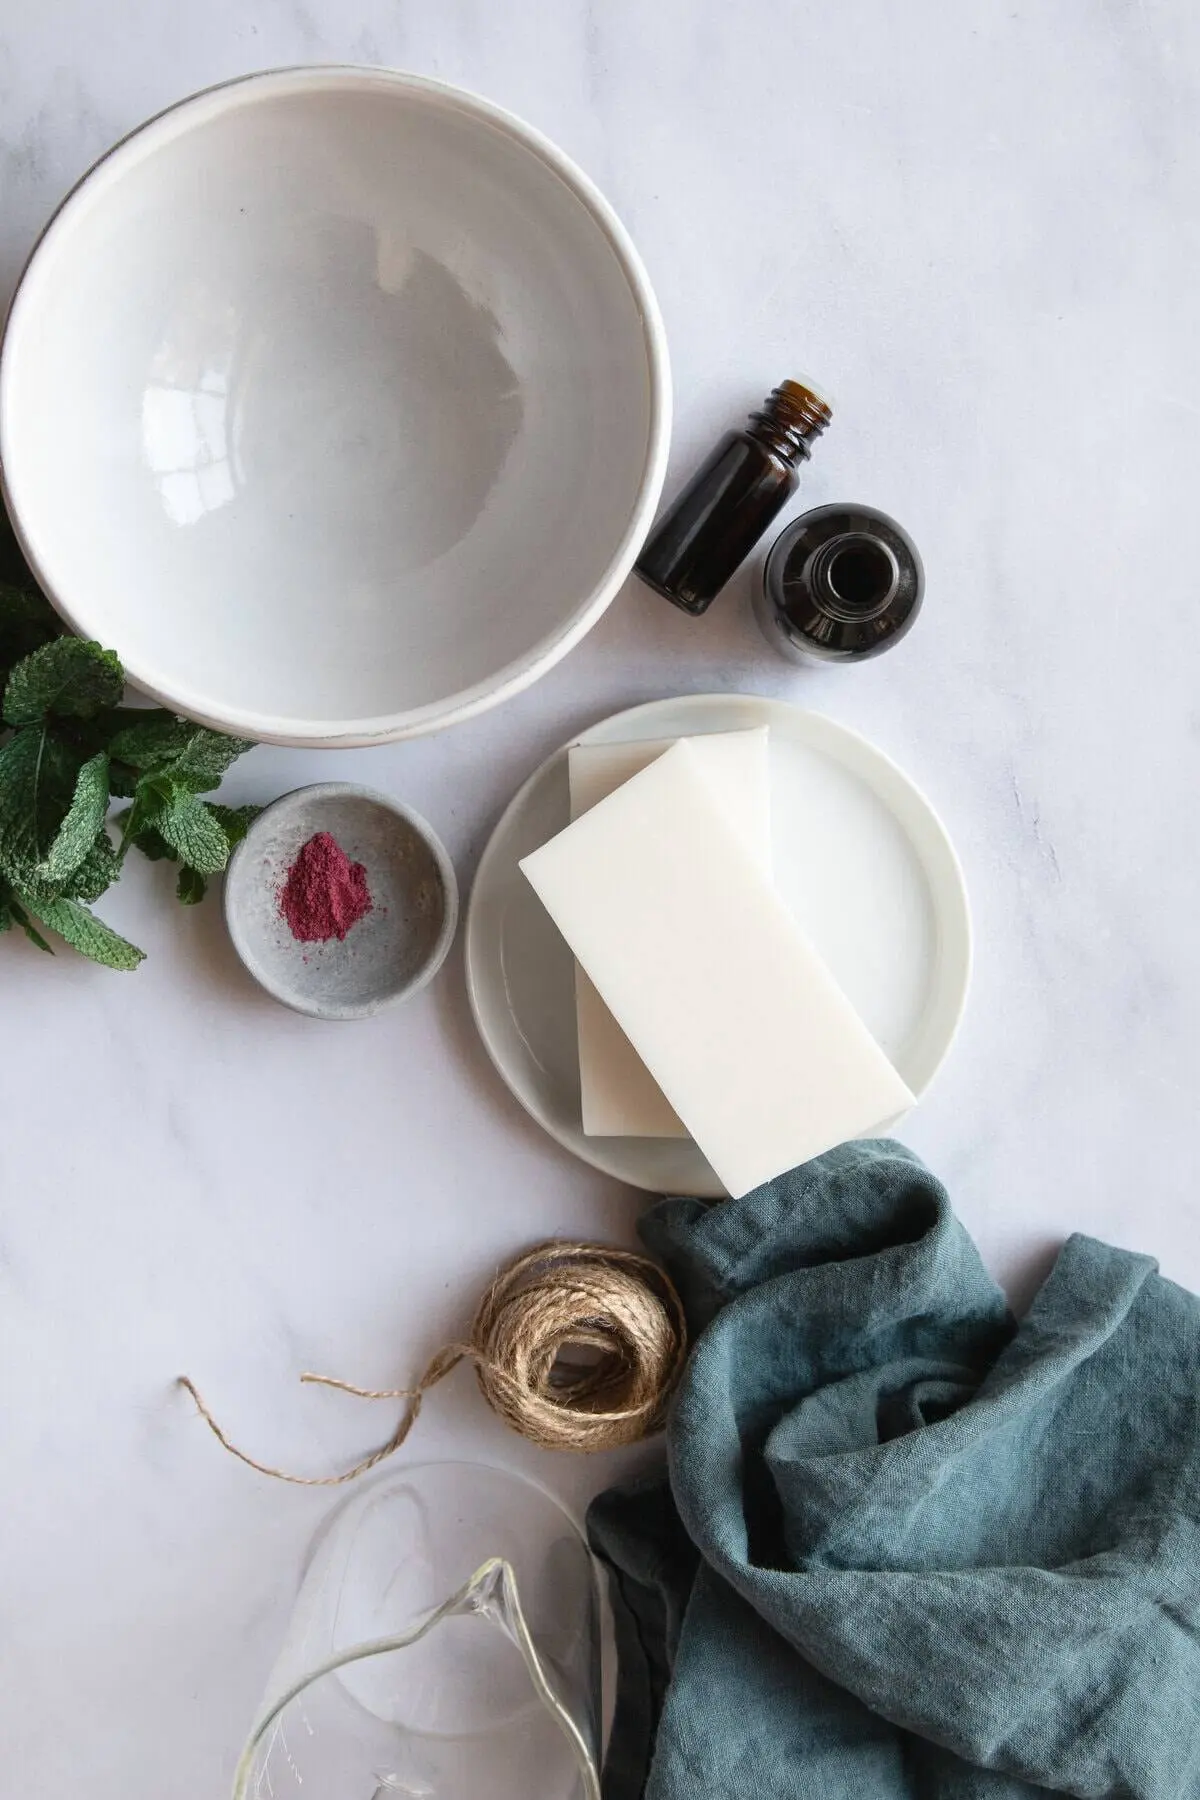
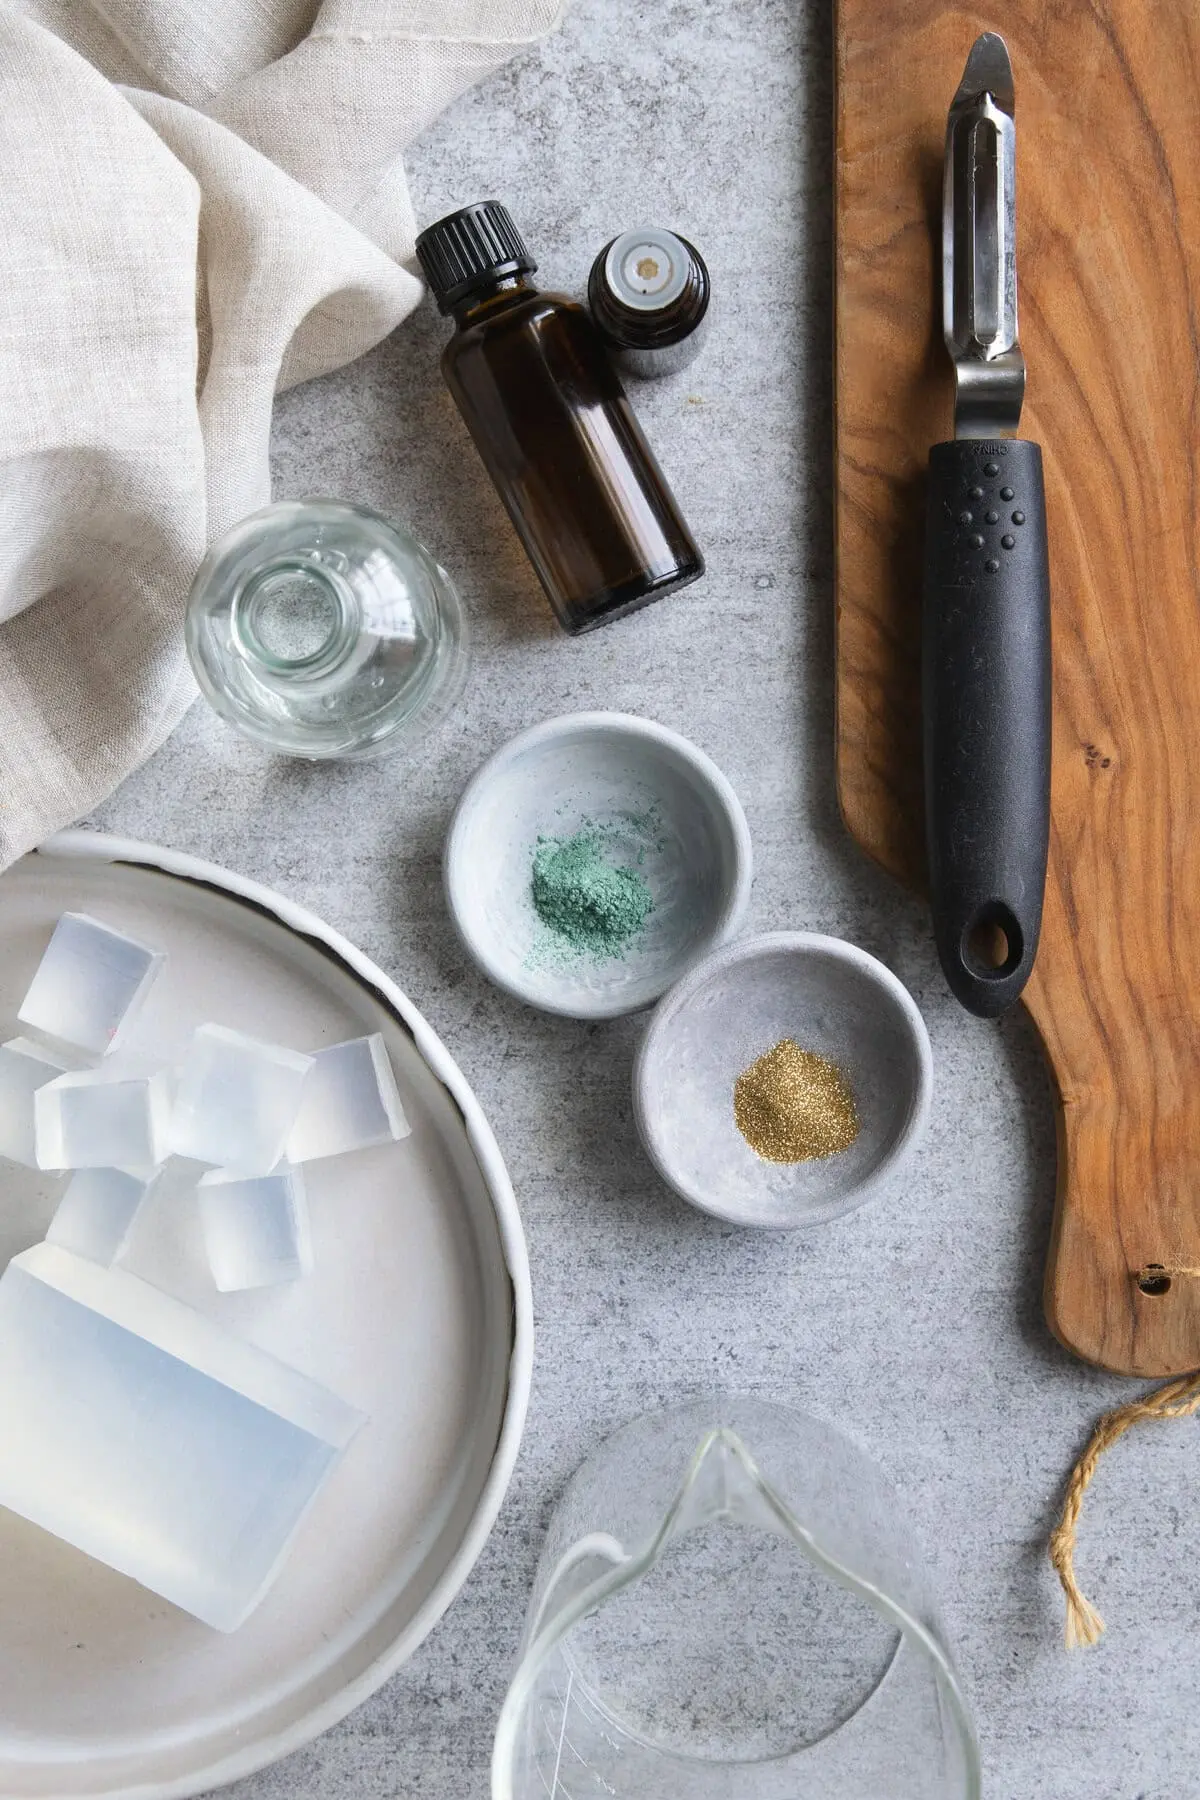
The DIY gift box soap trend centers on a specific methodology using melt-and-pour soap bases, cosmetic-grade mica powders for vibrant coloring, and everyday kitchen tools like vegetable peelers.

- The Core Aesthetic: The finished soaps visually mimic tiny, brightly colored gift boxes. They feature contrasting metallic ribbon strips embedded into the base and sides, topped with a cluster of handmade soap curls that resemble decorative gift bows.
- Accessibility: Unlike traditional cold-process soap making—which involves handling dangerous lye and requires weeks of curing time—melt-and-pour bases are pre-saponified, non-toxic, and ready to use within hours.
- Cost Efficiency: With estimated material costs averaging around $10 for a small batch, these soaps present an economical yet luxurious alternative to commercial holiday gifts.
- Customization: Creators can endlessly adapt the color palettes, shimmering mica highlights, and essential oil fragrances to match specific holiday themes, personal preferences, or seasonal aesthetics.
Chronology: The Step-by-Step Evolution of a Soap Gift Box
Creating these miniature masterpieces requires patience, precision, and a structured, multi-stage workflow. Because melt-and-pour soap solidifies rapidly upon cooling, organization is paramount.

Phase 1: Crafting the Ribbons
The process begins with the structural details that give the soap its signature wrapped-package appearance.

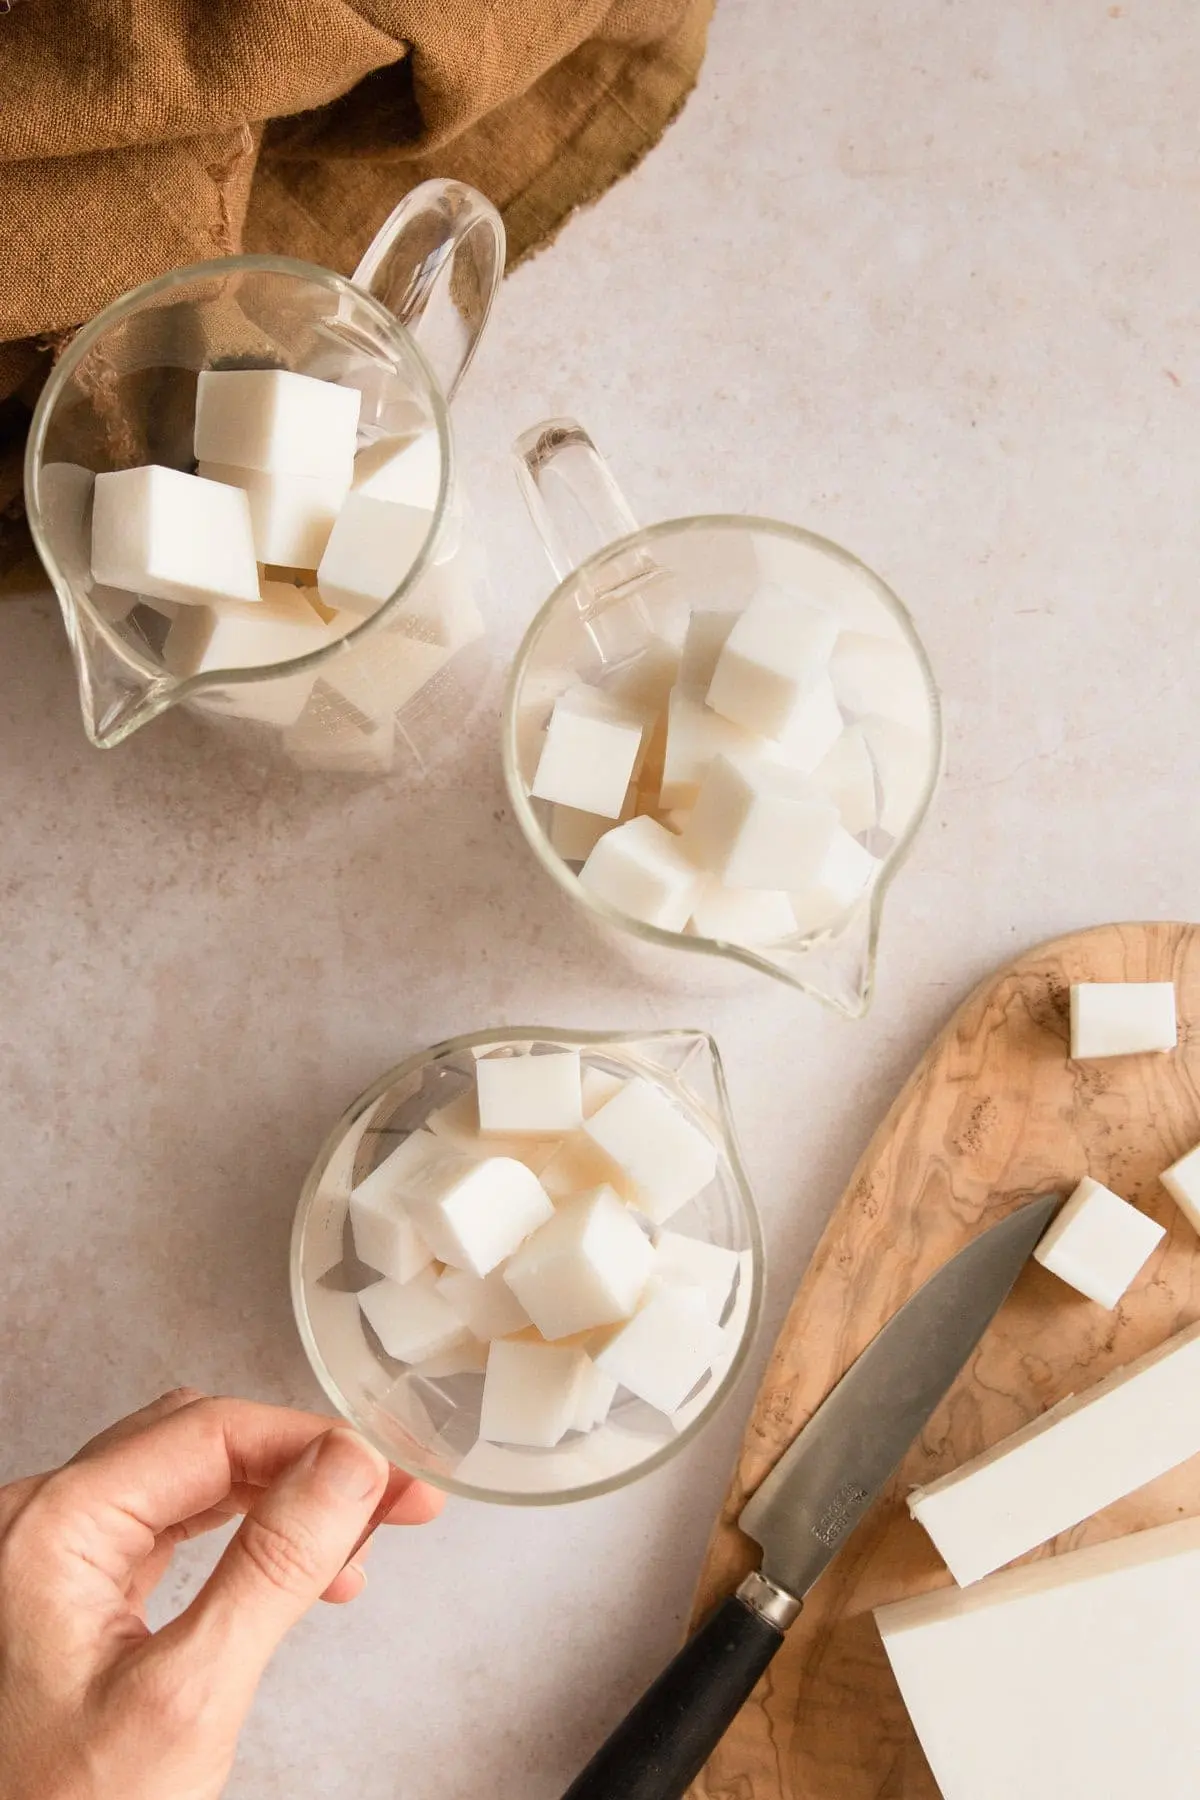
- Cube and Melt: Artisans start by chopping approximately 3 ounces of a clear melt-and-pour soap base into uniform 1-inch cubes. These are placed inside a microwave-safe measuring cup and heated in short, controlled 30-second bursts, stirring thoroughly between cycles to avoid overheating.
- Color Infusion: Once fully liquefied, gold mica powder (and optional glitter) is whisked into the clear base to achieve a brilliant, metallic sheen.
- Molding Sheets: Approximately 0.5 ounces of the gold soap is poured into a shallow mold compartment to form a thin square sheet designated for ribbon strips. The remaining gold soap is poured into a separate compartment to create a thicker block, which will later yield the decorative curls.
- Setting and Cutting: After spritzing the surface with rubbing alcohol to eliminate air bubbles, the soap is left to harden completely. Once set, the thin sheet is sliced into four uniform strips. Two of these strips are arranged in a cross ("plus sign") pattern, with overlapping center sections trimmed flat so they rest flush against the bottom of the final mold.
Phase 2: Constructing the Box Body
To ensure the embedded ribbons do not float or shift out of place, the main body of the soap is built using a meticulous two-tier pouring technique.

- Coloring the Base: Roughly 4 ounces of clear soap base is melted, infused with a chosen mica colorant (such as a rich holiday red or winter blue), and scented with skin-safe essential oils.
- Anchoring the Ribbons: Allowing the liquid soap to cool to approximately 140°F prevents it from melting the pre-cut gold ribbons. The ribbon cross is firmly pressed into the bottom of the mold before a shallow layer of colored soap is poured directly over it to lock it in place.
- The Final Pour: After a quick mist of rubbing alcohol to pop surface bubbles and a brief cooling period, the remainder of the colored soap base is poured to fill the mold to capacity, creating a solid, uniform block.
Phase 3: Sculpting and Attaching the Bows
The defining feature of the gift box soap is the sculptural bow assembled on its upper surface.

- Shaving Ribbons: Using a standard kitchen vegetable peeler, the artisan shaves delicate, paper-thin ribbons from the thick gold block prepared in Phase 1.
- Forming Curls: If the shavings do not naturally curl upon contact with the blade, they are gently rolled between the fingers to achieve a spring-like, dimensional curve.
- Assembling the Bow: Approximately 1 ounce of clear soap base is melted in a shallow dish. By lightly dipping the base of each soap shaving into the warm liquid, creators can securely stack and cluster the curls on top of the hardened gift box soap, building a volumetric bow. An additional light pour or dip in clear soap can be applied to encase the cluster in a protective, glossy shell.
Supporting Data & Technical Specifications
For those looking to scale production or gift these items reliably, understanding the underlying chemistry and shelf-life metrics is vital.

- Production Timeline: Active preparation takes roughly 1 hour, but factoring in cooling and setting periods across multiple pours requires an investment of about 4 to 5 hours total.
- Yield: Standard batches typically produce 2 robust, high-detail soaps per primary run, though scaling up is easily achieved with additional silicone cavities.
- Shelf Life: When properly stored, melt-and-pour soaps retain their integrity, scent throw, and visual appeal for up to one year.
- Environmental Sensitivities: Glycerin-rich melt-and-pour soaps are naturally humectant, meaning they draw moisture from the air. In humid environments, this can lead to "sweating" (condensation droplets forming on the surface).
Storage Protocols and Preservation
Because handmade artisan products lack the heavy synthetic preservatives found in commercial cleansers, post-production care dictates how long the items will remain pristine.

Experts recommend wrapping each finished gift box soap individually in tight plastic wrap immediately after they have fully cured. This barrier protects the glycerine soap from atmospheric humidity and prevents colorants from bleeding or smudging. Wrapped soaps should be housed in a cool, dark cupboard away from direct sunlight, which can rapidly degrade and fade vibrant mica pigments over time.

For extended storage, placing wrapped units in airtight plastic containers accompanied by food-safe silica gel packets minimizes moisture fluctuations. Should minor condensation ("sweating") occur prior to gifting, artisans advise simply unwrapping the soap, gently buffing the exterior surface with a soft, dry cloth, and re-wrapping it.

Industry Implications and Expert Insights
The surge in popularity of intricate melt-and-pour crafts highlights a broader cultural shift toward intentional, mindful gifting. Economists note that during periods of economic tightening, consumers often pivot away from expensive, impersonal luxury items toward handmade goods that convey personal time, care, and creativity.

Furthermore, professional soap makers emphasize that mastering techniques like soap curls opens up entrepreneurial pathways for small-scale home businesses. Platforms like Etsy and local holiday craft fairs have seen a significant year-over-year increase in demand for hyper-detailed, novelty bath products.

Ultimately, the DIY gift box soap proves that crafting does not need to be intimidating to be impactful. By combining basic chemistry with creative presentation, everyday makers can produce functional art pieces that delight recipients and bring a personalized touch back to the holiday season.